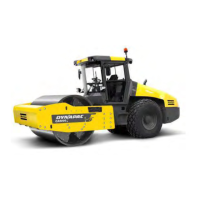
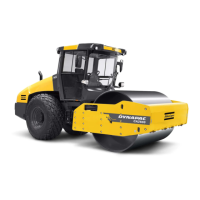
Machine description
4812160001_A.pdf2014-08-25
Function descriptions
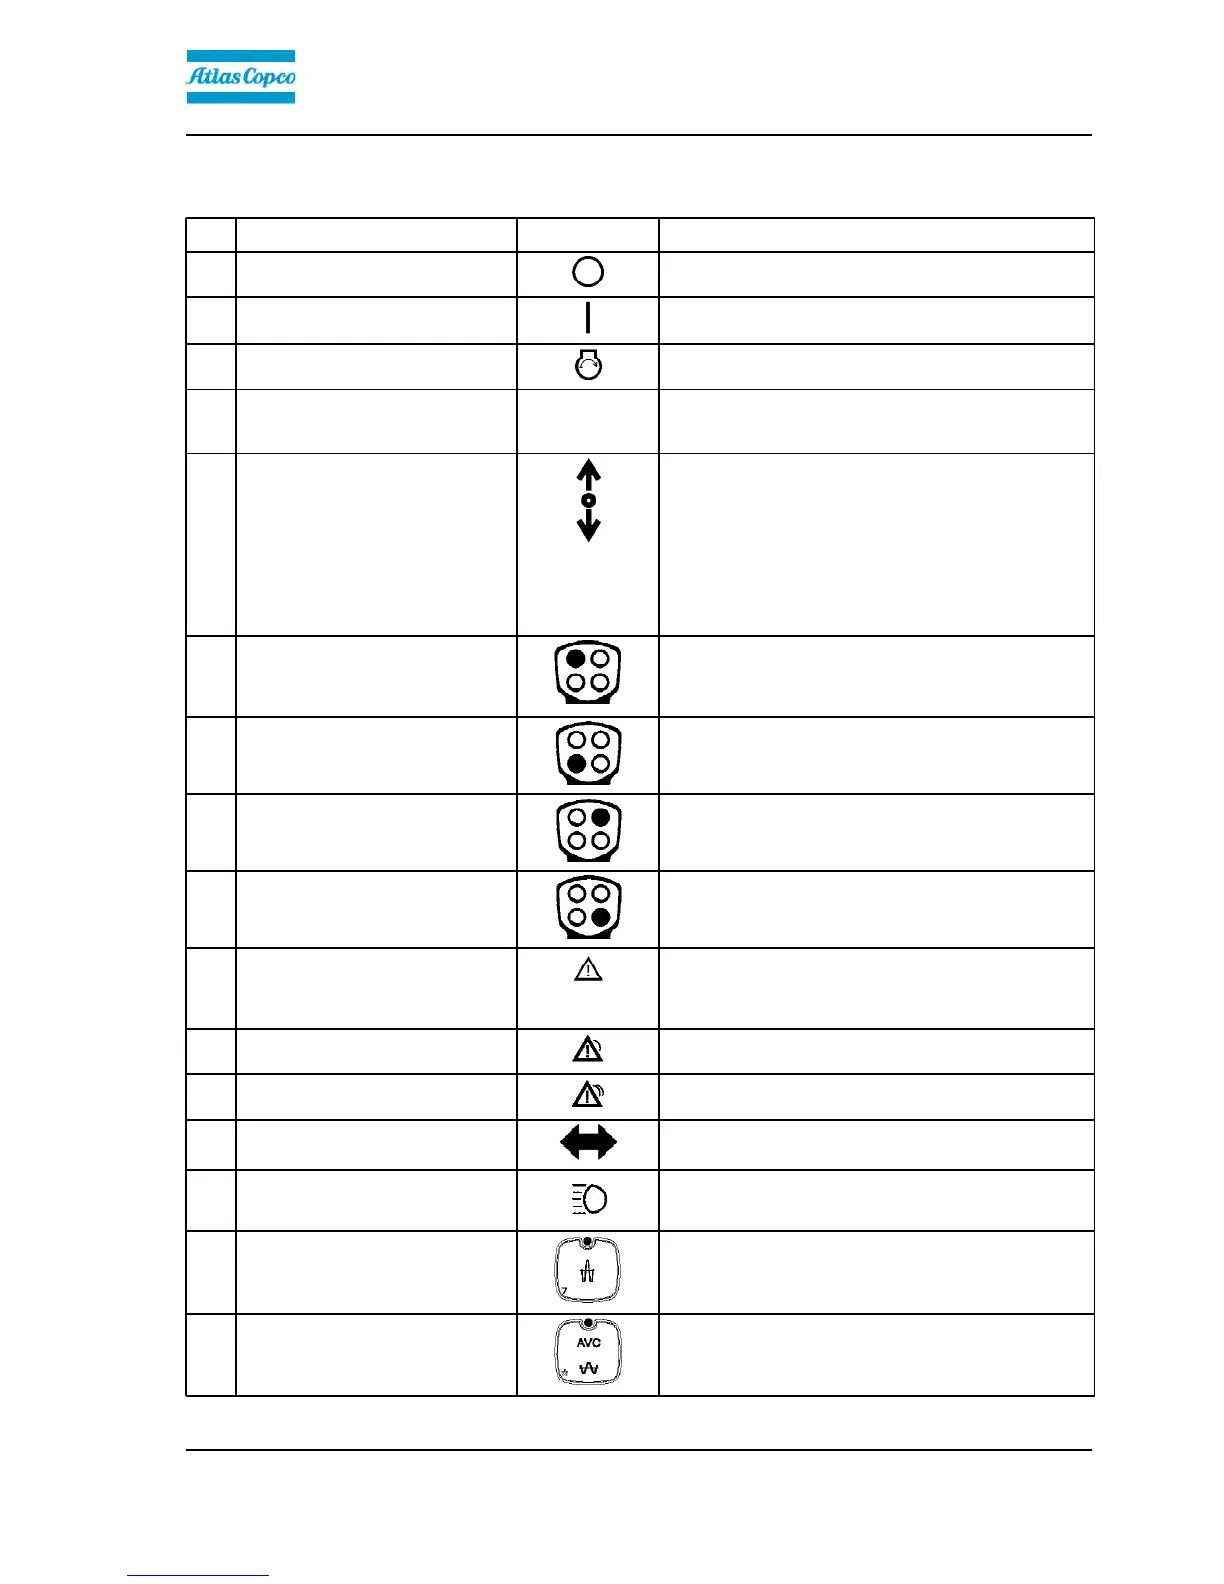
No Designation Symbol FunctionNo Designation Symbol Function
1 Ignition key The electric circuit is broken.1 Ignition key The electric circuit is broken.
All instruments and electric controls are supplied with
power.
All instruments and electric controls are supplied with
power.
Starter motor activation.Starter motor activation.
To start: Turn ignition key to the right until the
display LIGHTS UP, and wait until the displayed
roller GOES OFF and changes to the status image.
To start: Turn ignition key to the right until the
display LIGHTS UP, and wait until the displayed
roller GOES OFF and changes to the status image.
2 Forward/Reverse lever NB! When starting the machine, the lever must be in
neutral. The engine cannot be started if the
forward/reverse lever is in any other position.
The forward/reverse lever controls both the roller's
driving direction and speed. When the lever is moved
forward, the roller moves forward; when the lever is
move backward, the roller moves backward.
The roller's speed is proportional to the distance the
lever is from the neutral position. The further the lever
is from the neutral position, the higher the speed.
3 Strike-off blade, floating position
(Optional)
The float mode is activated by pressing and holding
the button for 2 seconds while the machine is in
Working mode (14) and Strike-off blade (16) is
activated.
3 Strike-off blade, floating position
(Optional)
The float mode is activated by pressing and holding
the button for 2 seconds while the machine is in
Working mode (14) and Strike-off blade (16) is
activated.
4 Vibration on/off First push will start vibrations, second push will stop
vibrations.
4 Vibration on/off First push will start vibrations, second push will stop
vibrations.
5 Strike-off blade, up (Optional) Raises the strike-off blade when Strike-off blade (16) is
activated.
5 Strike-off blade, up (Optional) Raises the strike-off blade when Strike-off blade (16) is
activated.
6 Strike-off blade, down (Optional) Lowers the strike-off blade when Working mode (14)
and Strike-off blade (16) on the machine are activated.
6 Strike-off blade, down (Optional) Lowers the strike-off blade when Working mode (14)
and Strike-off blade (16) on the machine are activated.
7 Central warning indication General fault indication. See the display (33) for
description of the fault.
For detailed information about the fault indication, see
the table "Warning indication - membrane panel".
7 Central warning indication General fault indication. See the display (33) for
description of the fault.
For detailed information about the fault indication, see
the table "Warning indication - membrane panel".
Yellow warning light - "less serious fault"Yellow warning light - "less serious fault"
Warning lights red - "serious fault"Warning lights red - "serious fault"
8 Direction indicator (Optional) Shows direction indicators activated (Activated via the
steering column switch).
8 Direction indicator (Optional) Shows direction indicators activated (Activated via the
steering column switch).
9 Main beam indicator (Optional) Shows main beam activated (Activated via the steering
column switch).
9 Main beam indicator (Optional) Shows main beam activated (Activated via the steering
column switch).
10 Amplitude selector, high amplitude Activation produces high amplitude. (Low amplitude is
the basic mode if the button is not activated.)
10 Amplitude selector, high amplitude Activation produces high amplitude. (Low amplitude is
the basic mode if the button is not activated.)
12 Automatic vibration control (AVC) When activated, the vibration is switched on
automatically when the roller's speed is ≥ 1.8 km/h
(1.1 mph) and disengaged at a speed of 1.5 km/h (0.9
mph).
12 Automatic vibration control (AVC) When activated, the vibration is switched on
automatically when the roller's speed is ≥ 1.8 km/h
(1.1 mph) and disengaged at a speed of 1.5 km/h (0.9
mph).
33
 Loading...