Version 5.8 71 July 2009
Installation Manual 4. Maintenance and Repair
d. Ease the RTM all the way into the slot, using your thumbs until the ejector/injector
latches touch the chassis and the RTM is flush with the chassis slot.
Note:
Do not use excessive force when inserting the blade into the chassis cage.
e. Lock the RTM into place by pressing the two black ejector/injector latches on both
ends inward, toward the middle, until you hear a click.
f. Using a Philips screwdriver, fasten the screws located at both ends of the RTM to
secure it to the chassis and to ensure that it has an earth connection to the
chassis.
g. Re-attach the cables to the RTM.
h. Power on the device and then unlock the device using the device's Embedded
Web Server (refer to the device's User's Manual) or EMS management system.
Unlock parameters, also known as node maintenance are also provided using an
SNMP interface (refer to the Product Reference Manual).
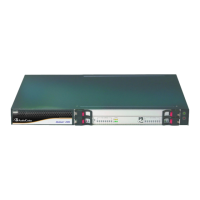
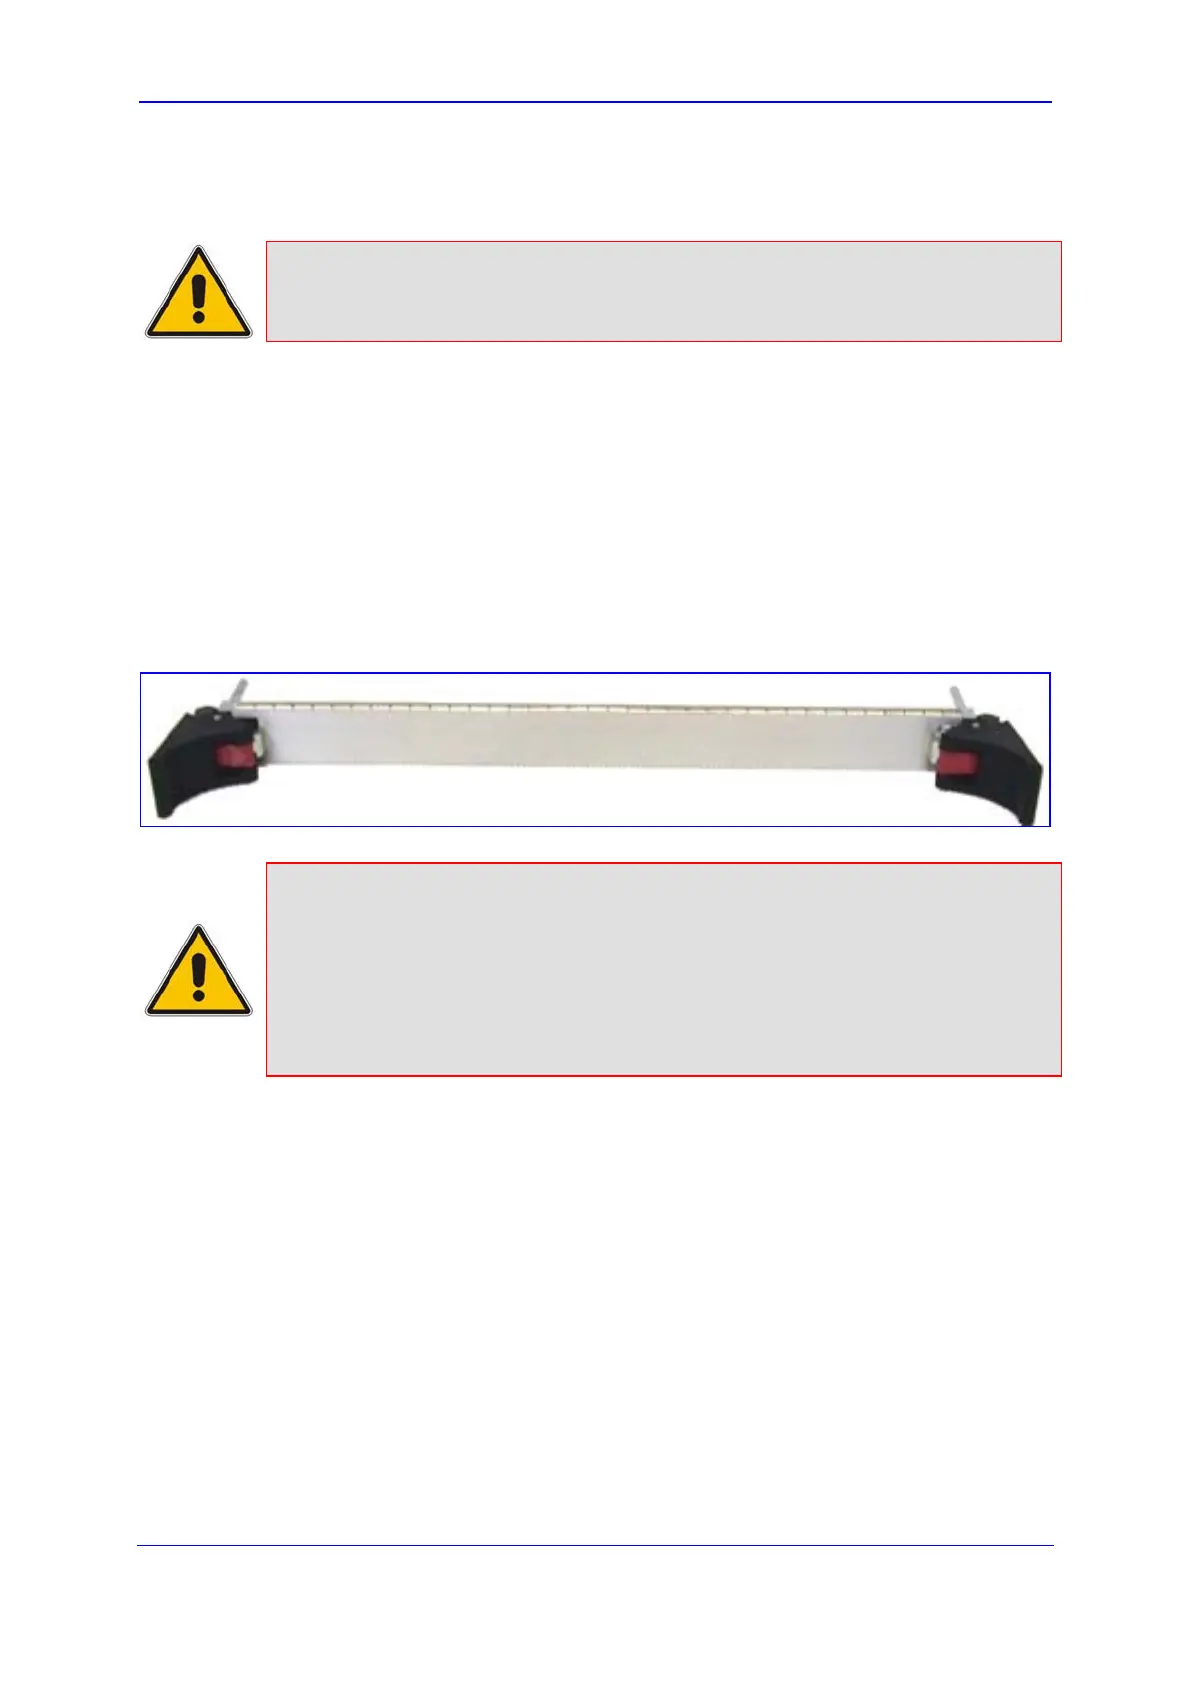
Figure 4-3: Blank Panel for Unoccupied Slots
Notes:
• It is imperative to cover unoccupied slots with blank panels (refer to the
figure above) in the chassis' front and rear slot cages to maintain internal
airflow pressure.
• Make a note of the MAC address of the blade that you are replacing. This
address is later required for setting the correct parameter configuration of
the replacement blade.
 Loading...