10. Scheimpflug
F
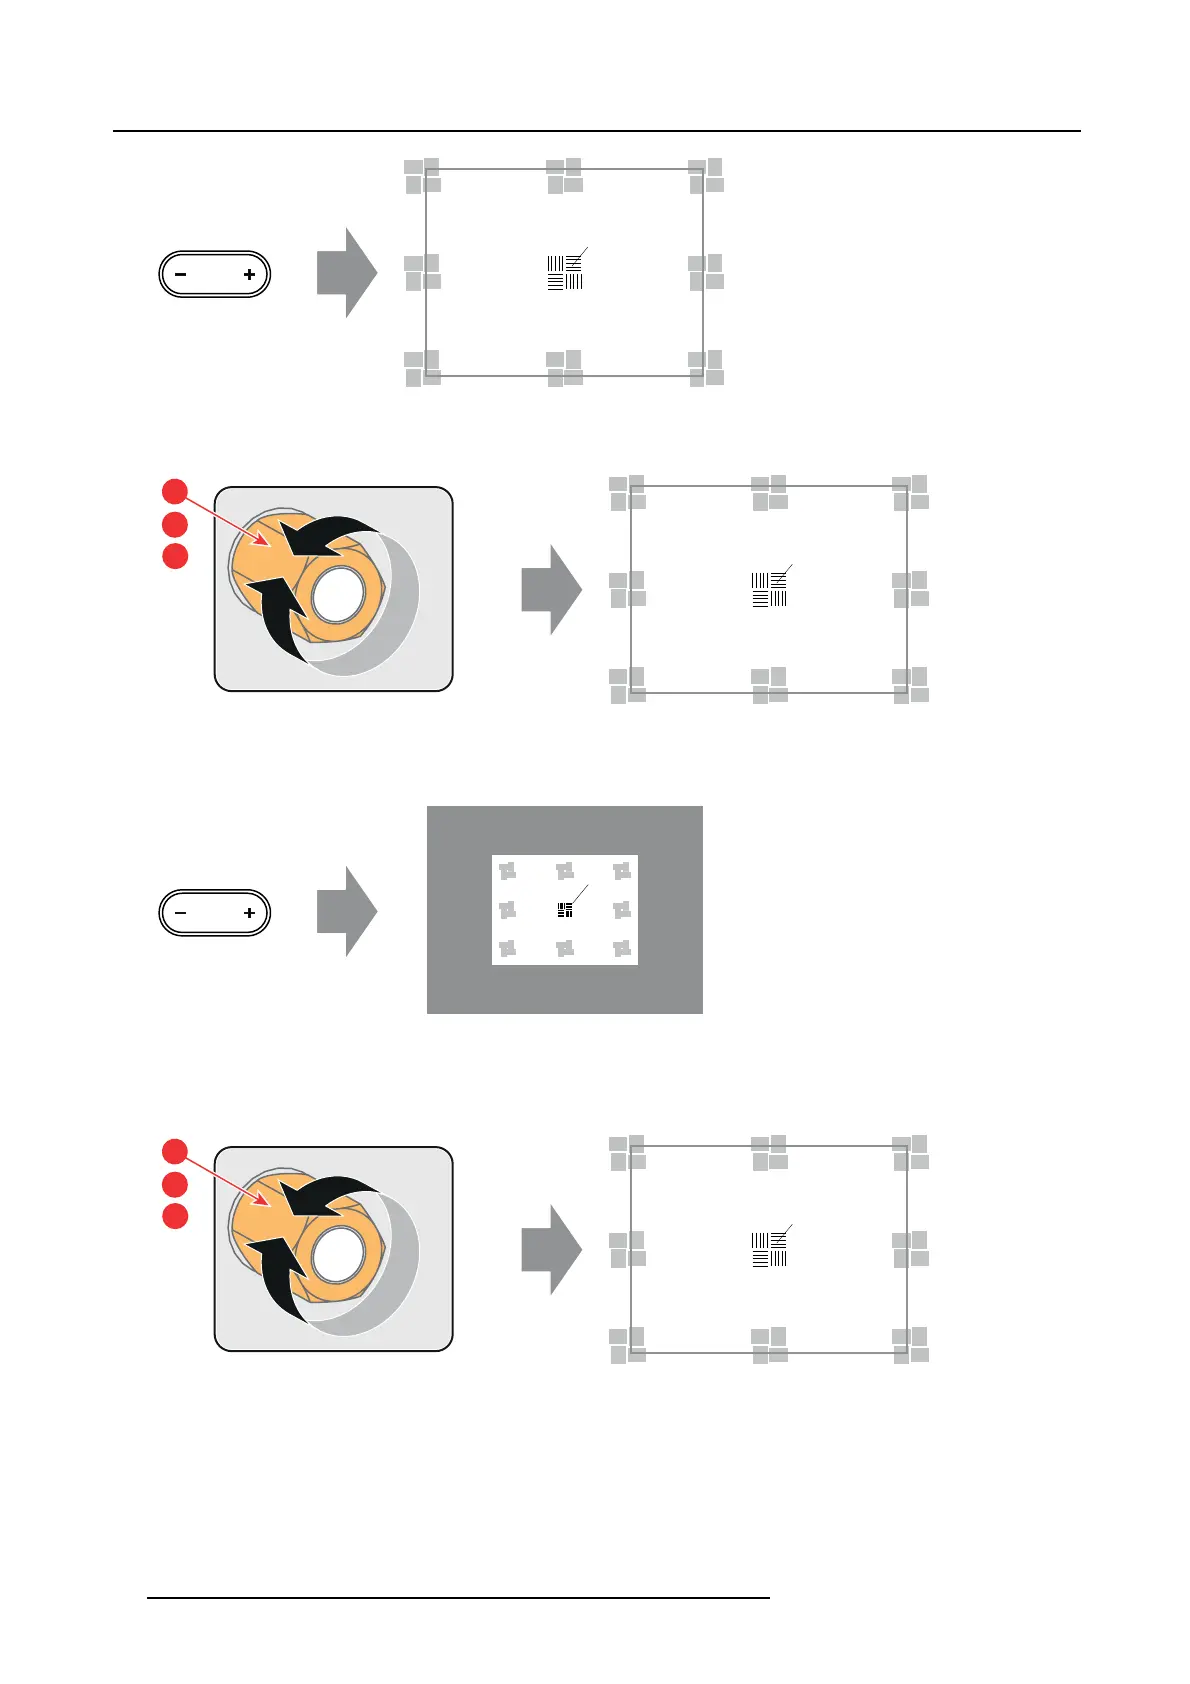
FOCUS
Image 10-18
If no, turn the three Scheimpflug adjustment nuts, reference 1, 2 and 3 image 10-17, equally in or o ut until the center of the
projected image is sharp.
F
1
2
3
Image 10-19
5. Zoom the lens for minimum image on the screen (TELE).
6. Optimize the focus of the projected im age in the c enter of the screen (F) using the motorized focus c ontrol (Local K eypad).
F
FOCUS
Image 10-20
7. Zoom the lens for ma ximum image on the s creen (WIDE). Do NOT adjust the focus!
8. Turn the three Scheimpflug adjustment nuts, reference 1, 2 and 3 image 10-17, equally in or out until the center of the projected
image is sharp.
F
1
2
3
Image 10-21
Now the Back Focal Length is correctly adjusted.
9. Is the projected image in the c orners as s harp as in the middle?
If yes, pr oceed with the procedure "Fixation of the Lens Holder front plate", page 62.
If no, Scheimpflug adjustment is required. See procedure "Scheimpflug adjus tment", page 60, prior to fixate the Lens Holder
front plate.
66
R5977692 DP2K-S SERIES 10/12/2012
 Loading...


