M
When you installed the tensioner, press the r
button.
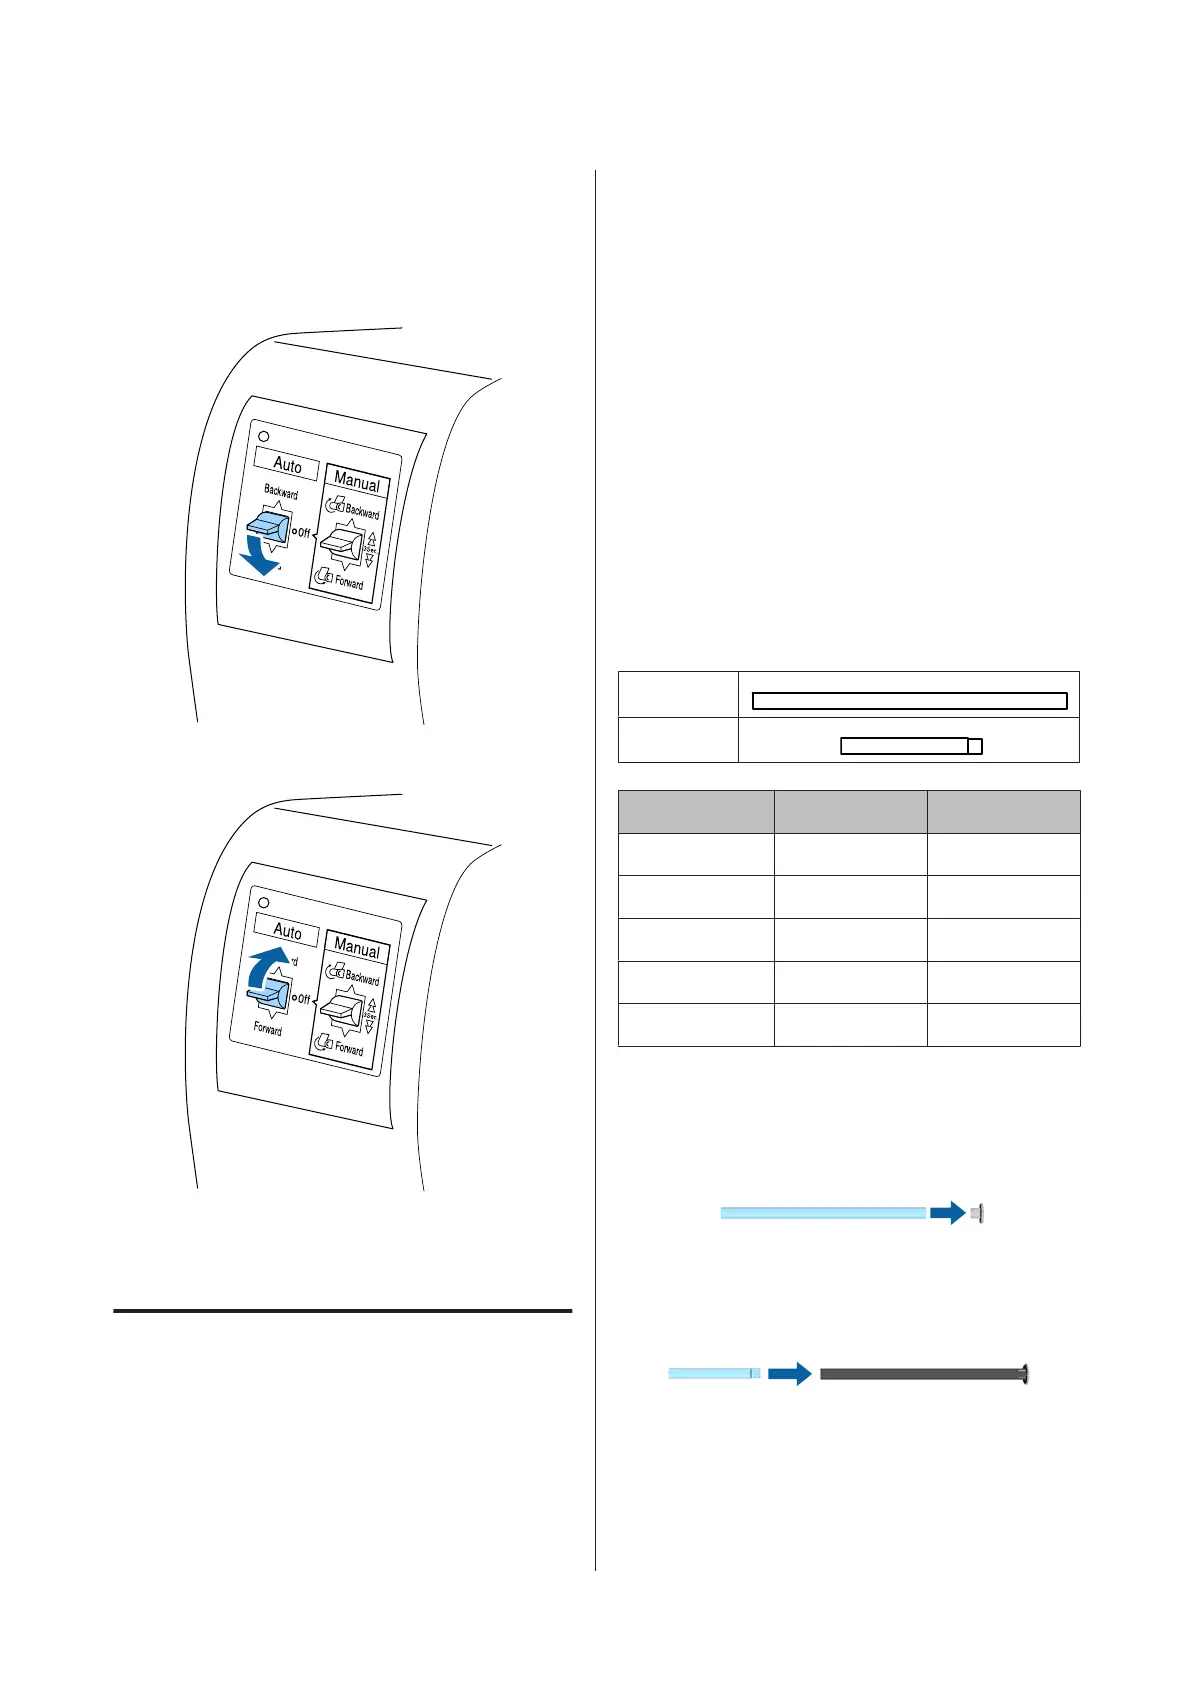
N
Set the Auto to the taking-up direction.
Printed side out: Forward
Printed side in: Backward
O
When you have set the Auto switch, press the
Z button.
Using the Tensioner
Make sure you use a tensioner when taking-up the
following paper with printed side in.
❏ Premium Glossy Photo Paper (170)
❏ Premium Semigloss Photo Paper (170)
❏ Singleweight Matte Paper
Tensioner can be used for some other papers than the
above. The following effects are expected.
❏ Take up tightly
❏ Reduce the amount of paper unwinding when
carrying
See the following table for details on paper that can be
used with the tensioner.
U “Supported Media” on page 182
For the tensioner, the number of pipes used differs
depending on the width of the wound paper as shown
below.
Large pipe
Small pipe
Paper Width Large Pipe q'ty Small Pipe q'ty
16 to 24 inch 1 0
24.1 to 34 inch 1 1
34.1 to 44 inch 1 2
44.1 to 54 inch 1 3
Over 54 inch 1 4
Assembling the tensioner
A
Attach a large pipe to flange R for the tensioner.
B
Attach the small pipe to the large pipe you
attached to flange R.
C
Attach more small pipes depending on the
width of the wound paper.
SC-P20000 Series/SC-P10000 Series User's Guide
Basic Operations
53
 Loading...