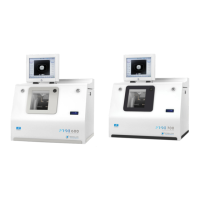
After edging a lens, if the position of the bevel or groove always seems too close to the front or rear surface,
you can adjust it.
To access that menu from your edger work screen, select > > .
The following screen is displayed:
1. Default bevel position
◦ Press to move the bevel towards the front surface of the lens.
◦ Press to move the bevel towards the rear surface of the lens.
2. Default polished bevel position
◦ Press to move the polished bevel towards the front surface of the lens.
◦ Press to move the polished bevel towards the rear surface of the lens.
3. Default groove position
◦ Press to move the groove towards the front surface of the lens.
◦ Press to move the groove towards the rear surface of the lens.
Once the modification is made, press to return to the work screen.
c. Adjusting the diameter of drill-holes
After drilling a lens, if the diameter of the holes always seems too small or too big, you can adjust it
according to the diameter of the drill bit used and the lens material.
To access that menu from your edger work screen, select > > .
The following screen is displayed:

 Loading...