The lifespan of the tools mentioned below do not account for possible incidents that can occur within
the trough (shocks, collision with part of a milled lens, etc.)
a. Changing or cleaning the drill bit
The wear indicator informs you of the need to change the 0.8 mm drill bit after 250 holes and the 1.0 mm bit
after 10,000 holes.
The chuck must always contain a tool to avoid any risk of oxidation.
Prerequisite:
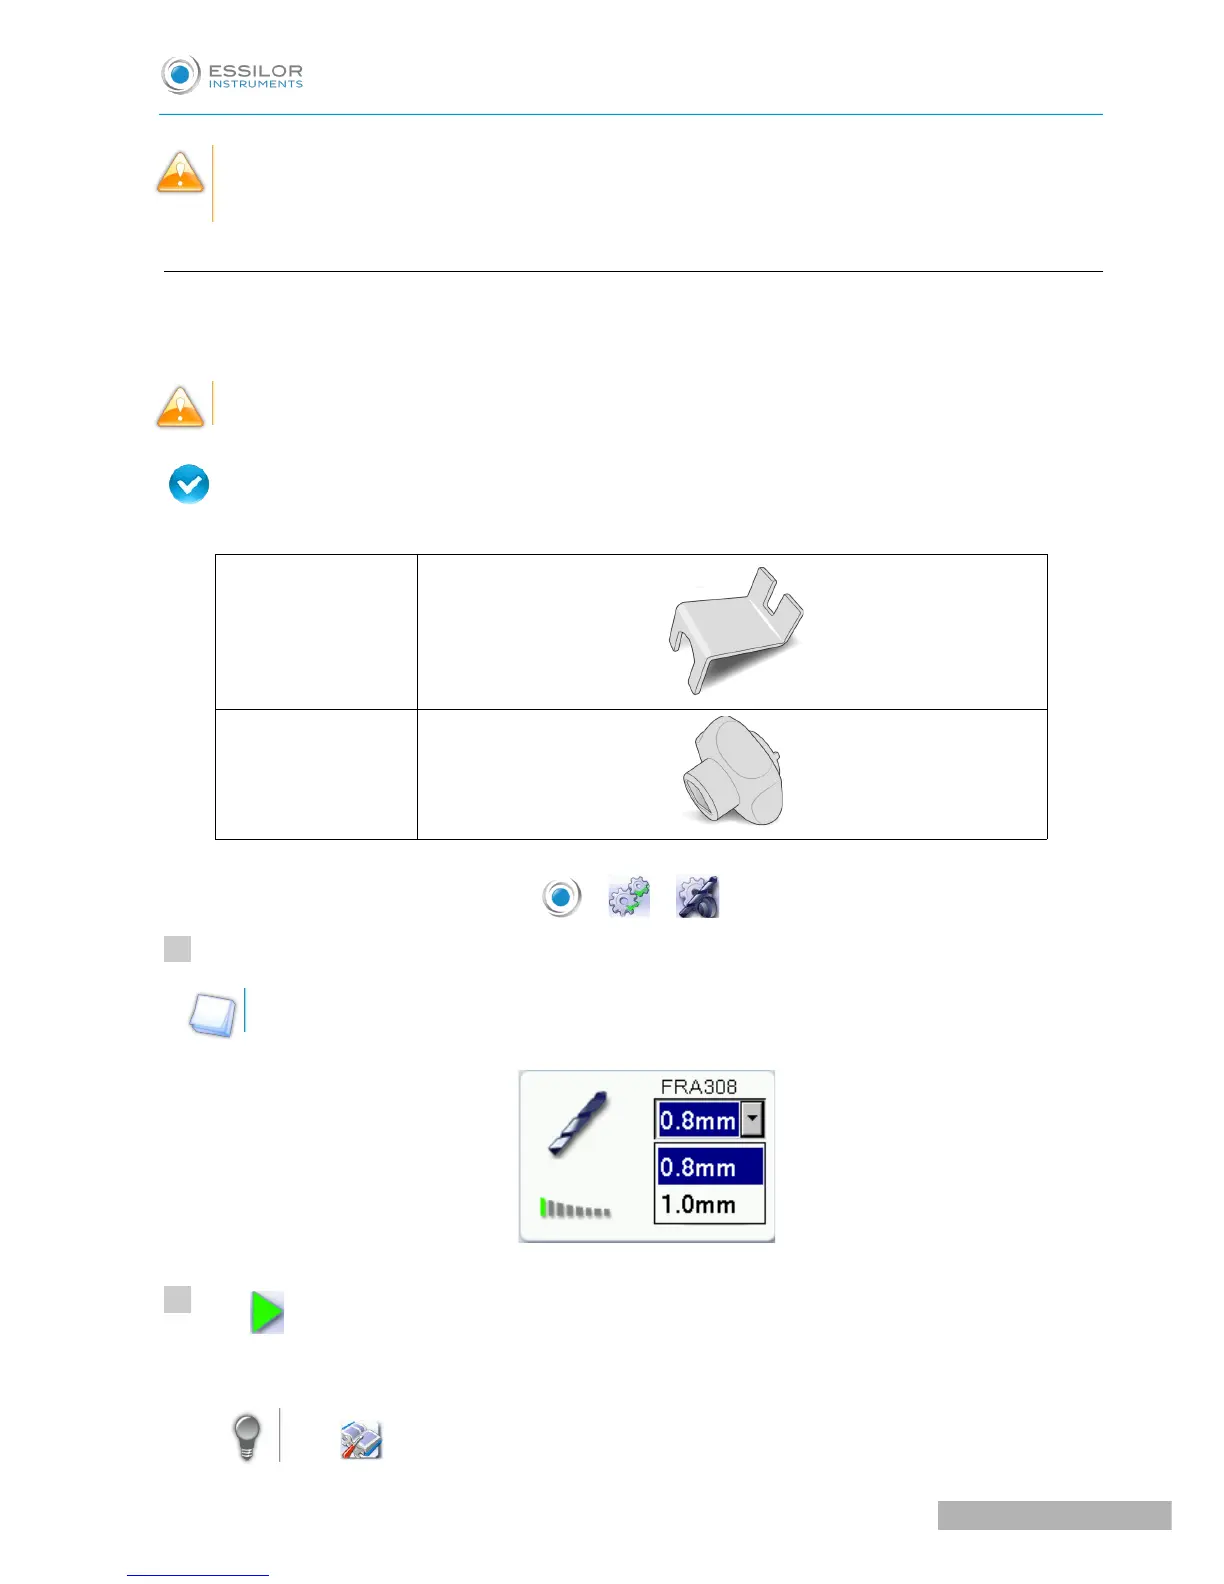
You must have the following tools:
Blocking key
an adjustable wrench
From the work screen of your edger, select > > to change or clean the drill bit.
Select the diameter of the drill bit to install (0.8 mm or 1.0 mm).
For cleaning, select the diameter of the drill bit in place.
Press .
The GMD module moves to facilitate the operation.
Press to receive more image information about the tool assembly/dismantling procedure.

 Loading...