• Drilled groove
• Drilled mixed finish
You have the option of adding or modifying drillings on a job.
The function can be accessed on the edging screen:
Carry out:
• a short click on (when the job does not show drilling),
• a long click on (when the job already shows drilling).
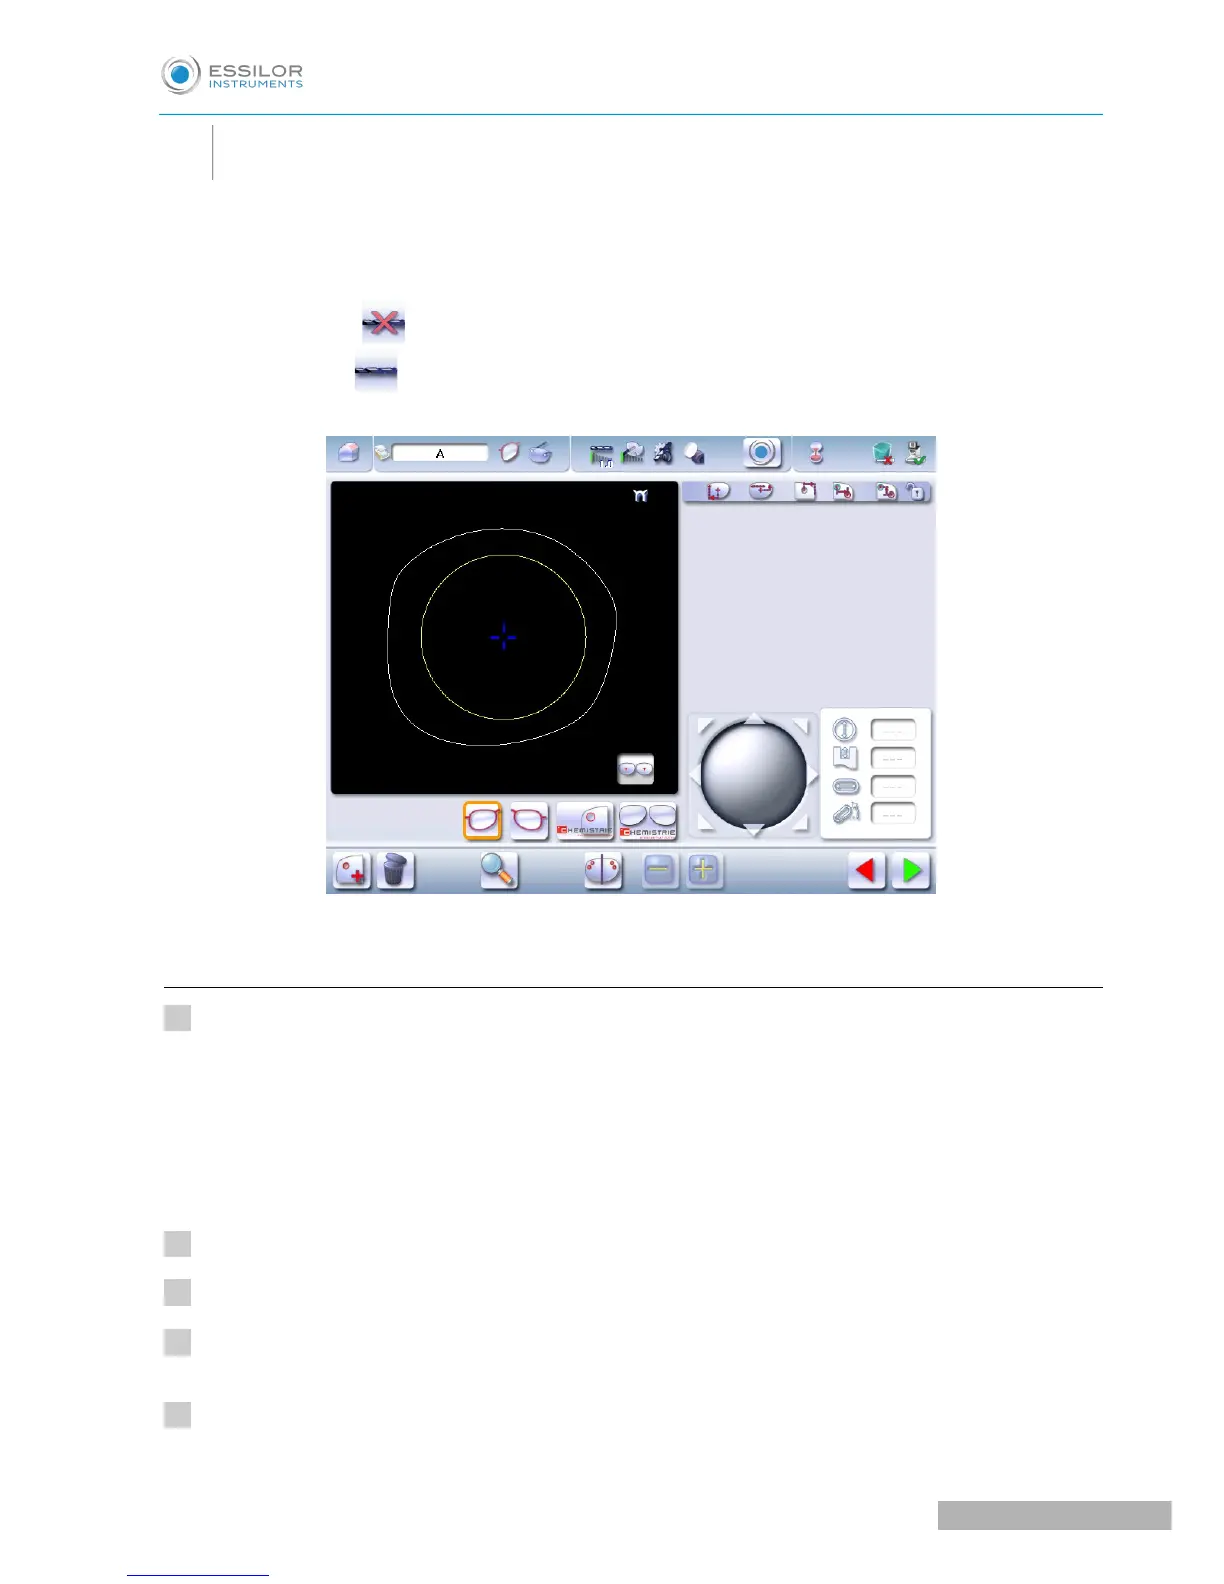
The following screen will appear:
For more information, consult the section Preparing a drilled job. (F p.128).
a. Automatic drilling
Call up the desired shape located on the tracer or on the job management program.
The shape is displayed on the edger work screen.
After the tracing of a shape with drilling settings:
• The drilling function is selected by default.
• The automatic mode is selected by default.
Select lens material.
Select the type of finish.
Select the type of cycle.
Choose whether or not to polish and/or chamfer your lens.

 Loading...