h. Adjust the position of the step bevel
After the edging of a lens, if the position of high-base bevel or step bevel seems consistently too far ahead
or too far behind, you can adjust it.
To access that menu from your edger work screen, select > > .
The following screen is displayed:
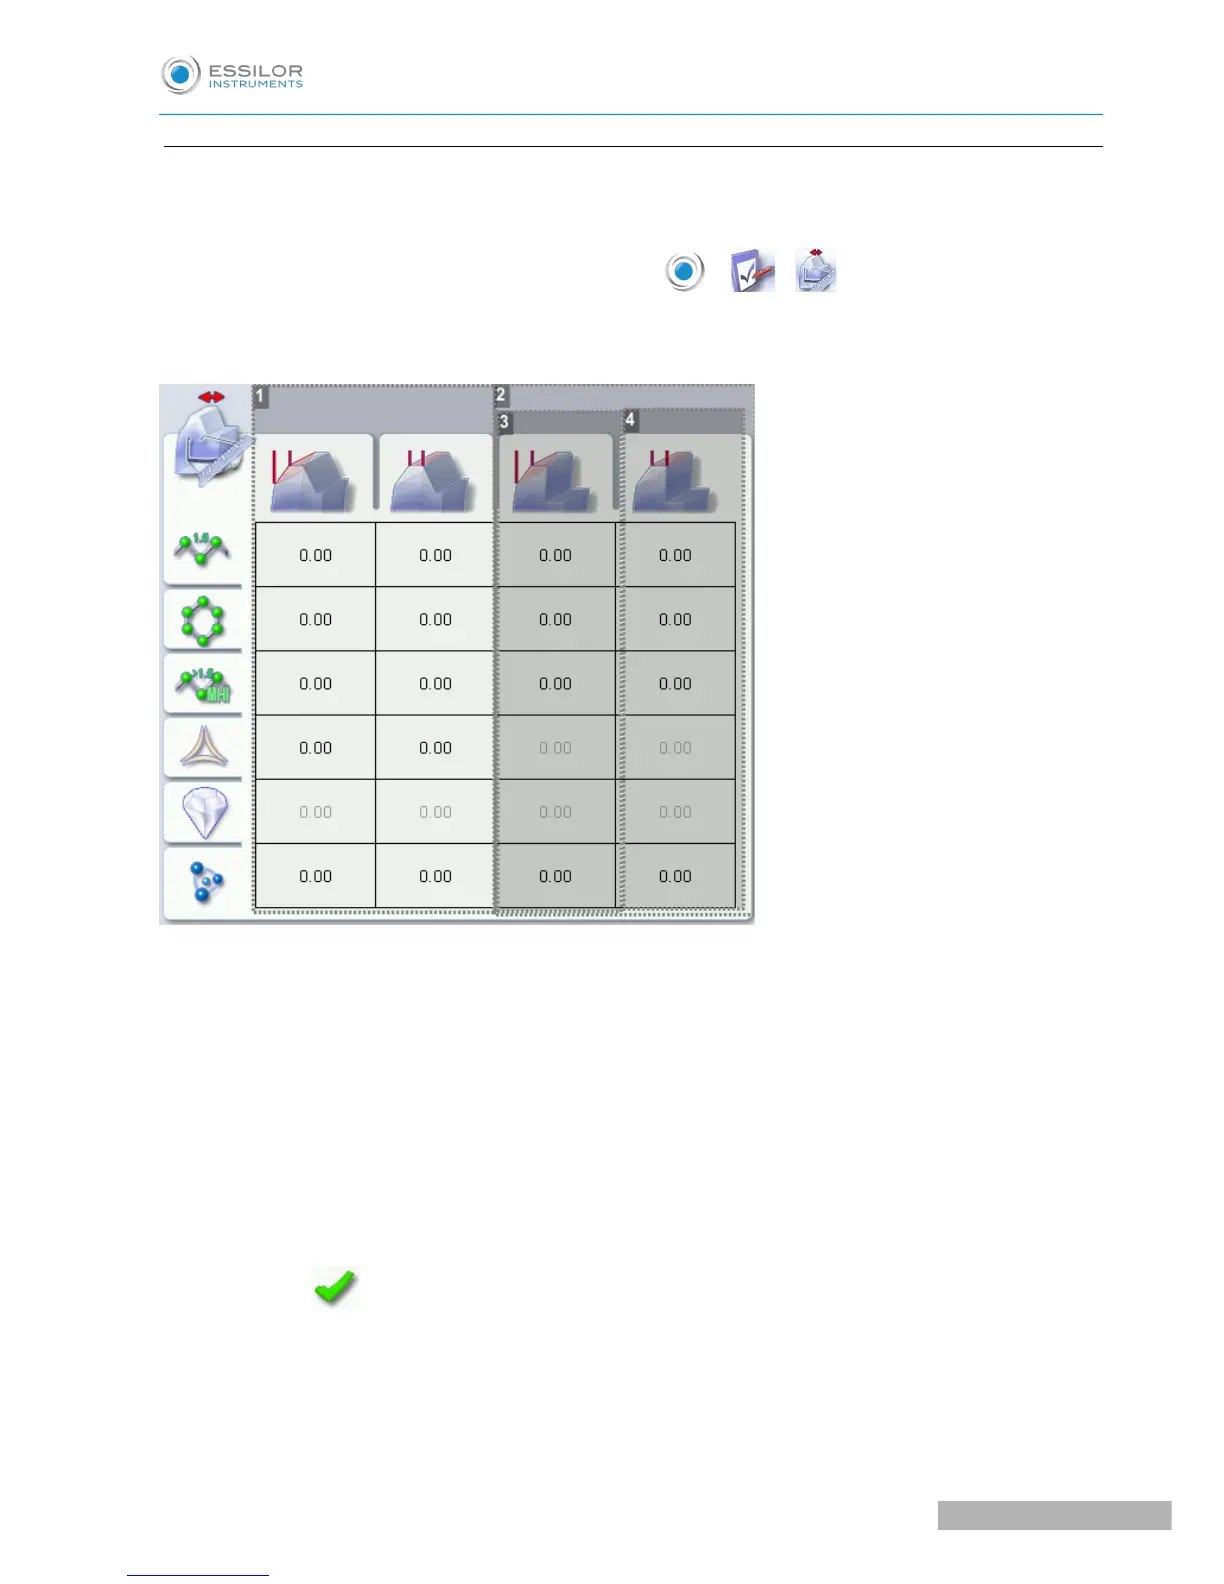
1. High-base bevel cannot be accessed if the step bevel tool is in place
For more information, consult the section Setting the edger > Adjusting the precision of the edger >
Adjusting the high-base bevel (F p.147)
2. Step bevel
3. Increase or reduce the front surface tracking value
a. Press the value to be modified.
> The numeric keypad is displayed.
b. Enter the new value.
◦ Negative value: the front surface tracking value will be smaller
◦ Positive value: the front surface tracking value will be larger
c. Press to confirm.
4. Increase or reduce the flat side of the bevel
a. Press the value to be modified.
> The numeric keypad is displayed.
b. Enter the new value.
◦ Negative value: the flat side of the bevel will be smaller

 Loading...