5 Scan
264
Scan
5
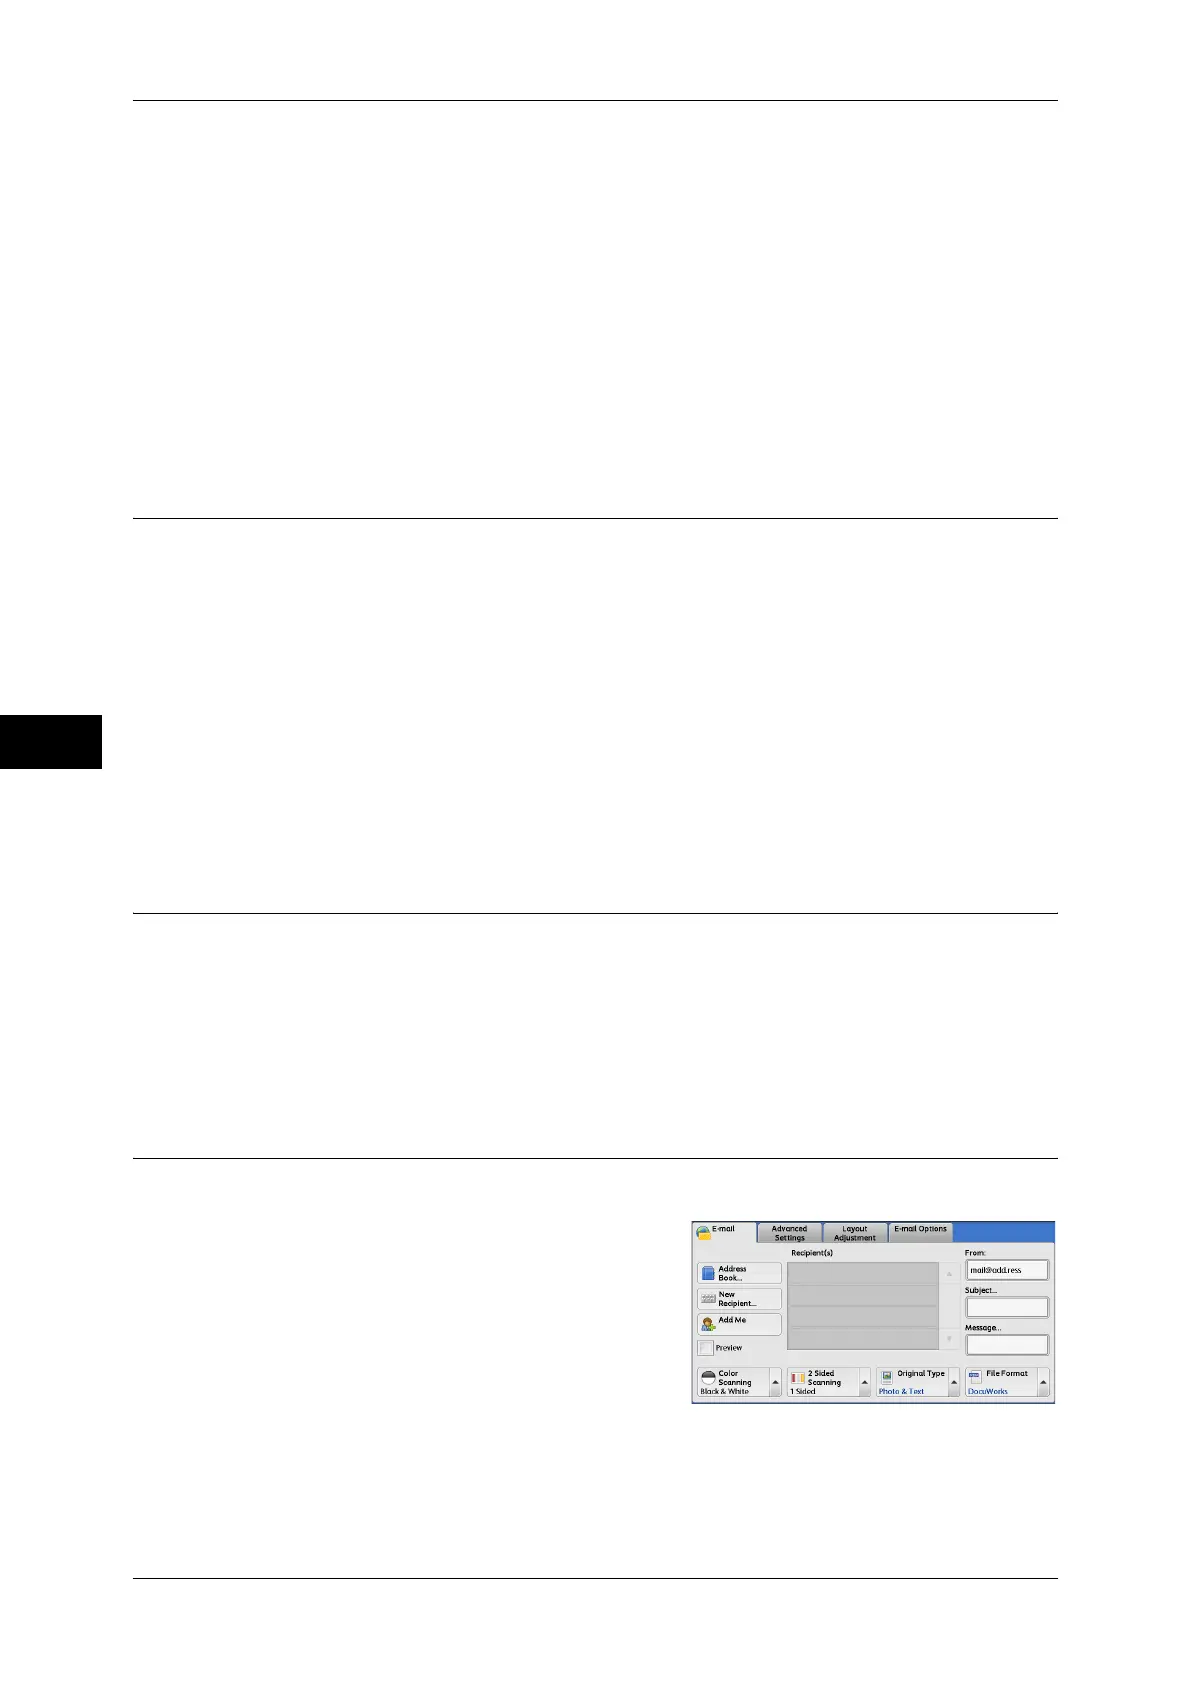
Address Book
Allows you to select an e-mail address from the Address Book as the sender's e-mail
address.
For information on the Address Book, refer to "Address Book (Specifying an E-mail Address)" (P.258).
Keyboard
Allows you to enter the sender's e-mail address with up to 128 characters using the
displayed keyboard.
Close Menu
Hides the pop-up menu.
Subject (Setting the Subject)
You can specify the e-mail subject using one of the following procedures.
Auto Set
Automatically sets the subject to [Scan data from XXX] (where XXX is the host name
of the machine).
To set a user-defined subject
1 Select [Subject].
2 Enter a subject with up to 128 characters using the displayed keyboard.
For information on how to enter characters, refer to "Entering Text" (P.68).
Message (Entering the E-mail Body)
You can enter the e-mail body using the following procedure.
1 Select [Message].
2 Enter a message with up to 512 characters using the displayed keyboard.
For information on how to enter characters, refer to "Entering Text" (P.68).
Preview (Previewing the Scanned Images during a Scan Job)
You can preview the scanned images while scanning the document.
1 Select the [Preview] check box.
2 Preview the scanned images after the document is scanned.
Important • You cannot preview the scanned images when [MRC High Compression] is set to [On] or
the [Specific Color] check box is selected on the [File Format] screen.
 Loading...