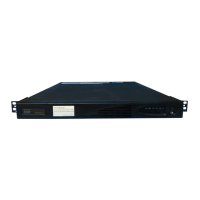
2. At the back of the rack, observe the Electronic Industries Alliance (EIA)
positions and determine where you are going to install the 2145 UPS-1U.
Because of its weight, position the 2145 UPS-1U where it is easy to handle in
one of the lower positions in the rack.
Perform
the following steps to install the support rails for the 2145 UPS-1U:
1. Open the top of the 2145 UPS-1U shipping carton. Grip the flaps on either
side of the 2145 UPS-1U.
2. Lift the 2145 UPS-1U clear of the shipping carton and place it on a flat, stable
surface with the front facing you.
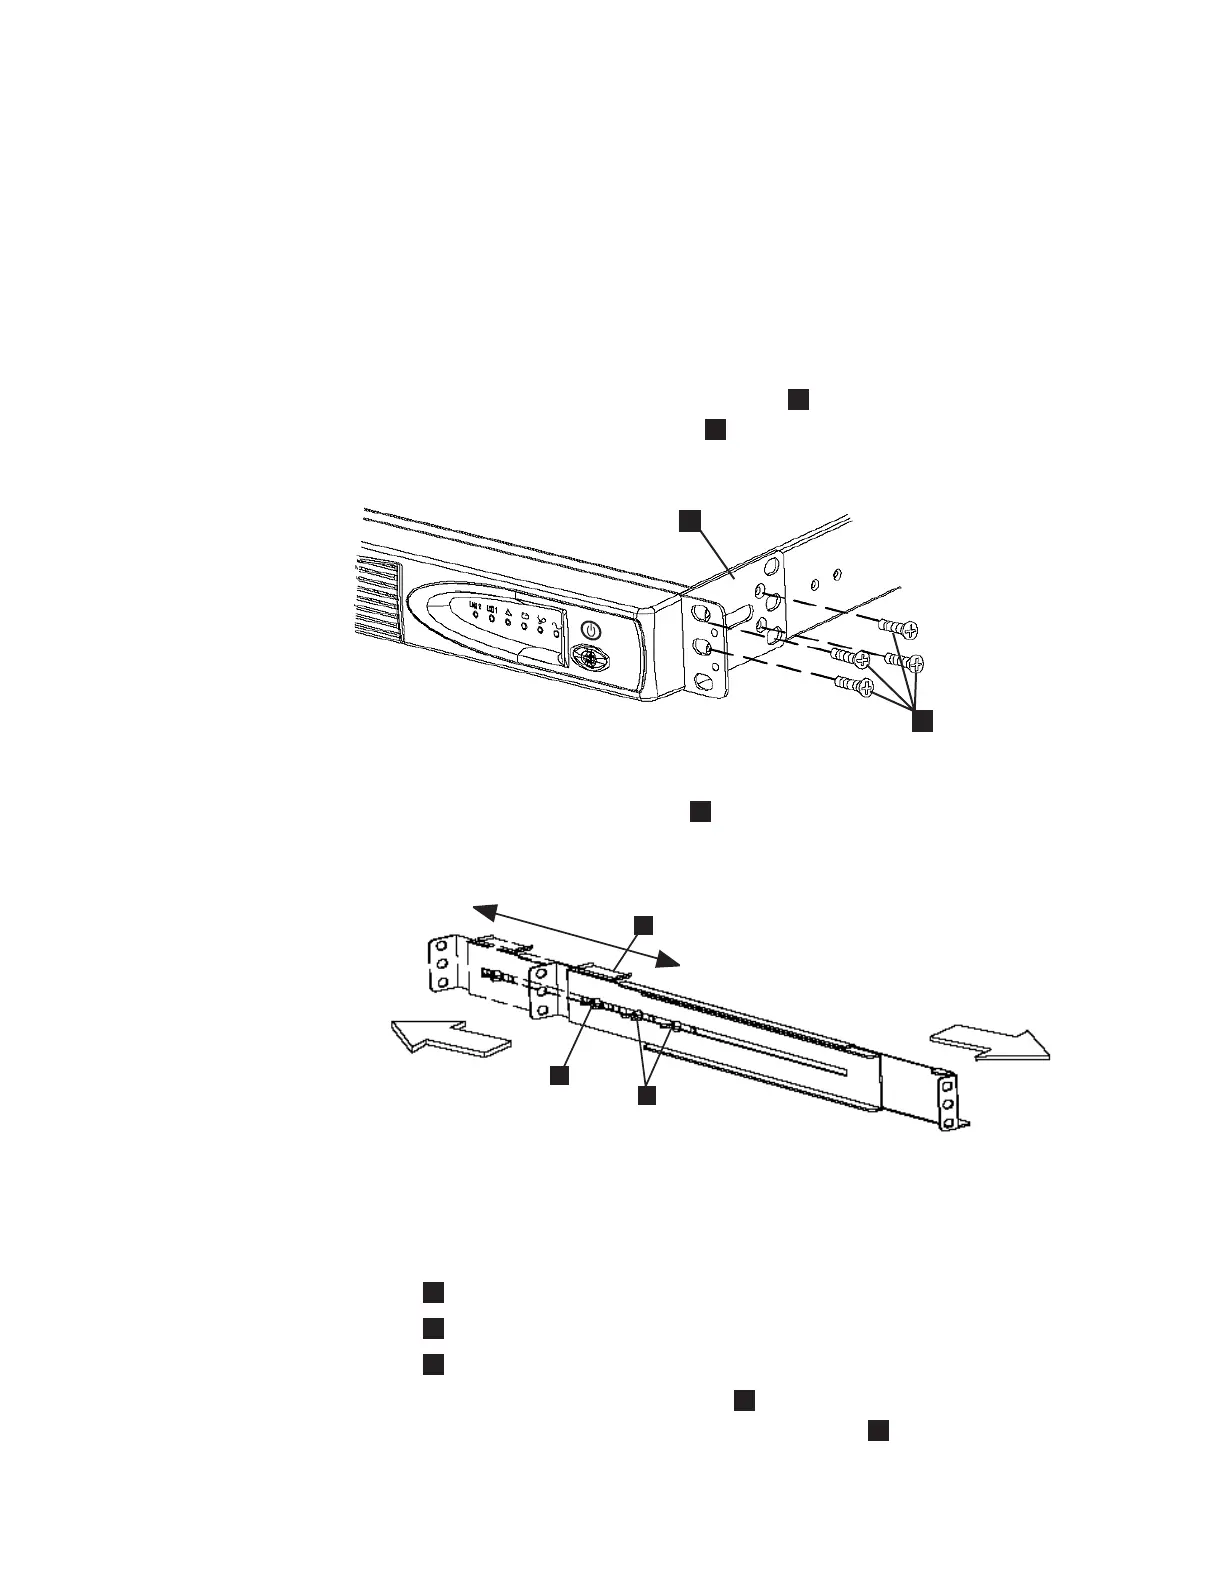
3. Attach the long side of a mounting bracket
1
to each side of the 2145
UPS-1U using four M3 × 6 screws
2
for each bracket, as shown in Figure 49
on page 80.
4. Loosen the assembly wing nuts (
1
in Figure 50 on page 81) on both rail
assemblies and adjust the rail size to the depth of your rack.
1
Assembly wing nuts
2
Hold-down bracket
3
Wing nut
5. Position the rear, hold-down bracket (
2
in Figure 50 on page 81) towards the
end of the rail assemblies and tighten the wing nut (
3
in Figure 50 on page
81).
1
2
svc00004
Figure 74. Installing the support rails for a 2145 UPS-1U into the rack
1
2
3
Front
Rear
svc00033
Figure 75. Adjusting the rail depth on the 2145 UPS-1U
Appendix B. SAN Volume Controller 2145-4F2 115
|
|
|
|
 Loading...