Installing the cable retention bracket - option B
Install the SAN Volume Controller 2145-8G4 cable retention bracket after you
install the node in the rack.
To attach the bracket to the rack rail, perform the following steps:
1. Install the power cable into the power supply.
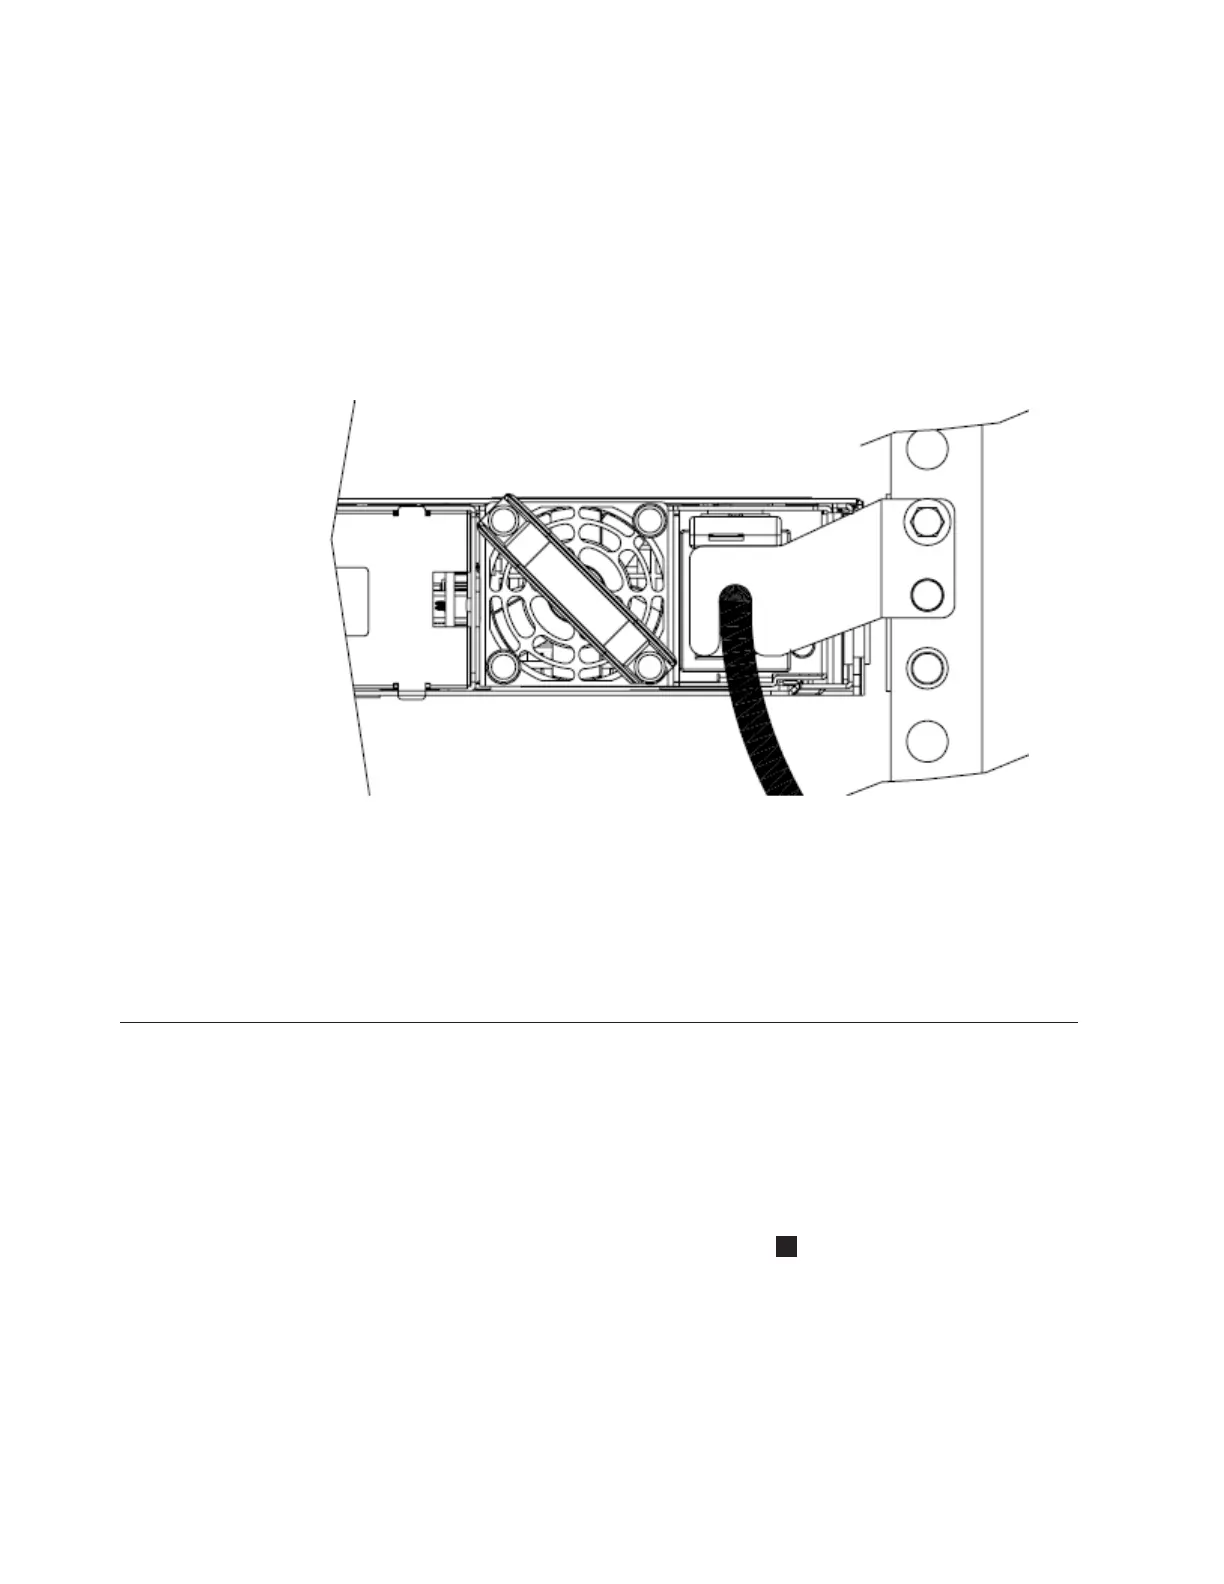
2. At the back of the cabinet, remove the securing bolt from the node side rail
next to the power supply, as shown in Figure 34.
3. Slide the cable retention bracket over the cable and position over the side rail.
Secure it in place using the original bolt.
Note: Remove this cable retention bracket if you need to slide the node forward or
out of the rack.
Connecting the SAN Volume Controller 2145-8G4 to the SAN and to
the Ethernet network
Before you connect the SAN Volume Controller 2145-8G4 to the SAN, you must
connect the Ethernet and fibre-channel cables.
Before you begin this task, refer to the user’s cable connection table to find out
where to connect the Ethernet and fibre-channel cables.
1. Connect the Ethernet cable to Ethernet port 1
5
in Figure 35 on page 59.
Attention: You must use only Ethernet port 1 on the SAN Volume Controller.
The software is configured only for Ethernet port 1.
2. Connect the other end of the Ethernet cable to the proper connector on the
Ethernet hub or switch.
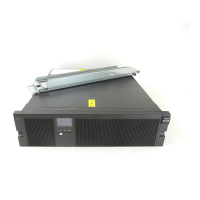
svc00302
Figure 34. The SAN Volume Controller 2145-8G4 with cable retention bracket option B
attached
58 IBM System Storage SAN Volume Controller: Hardware Installation Guide
|
|
|
 Loading...