Country or region Length Connection type
(attached plug
designed for
200 - 240 V ac
input)
Part number
United States of America (Chicago),
Canada, Mexico
1.8 m (6 ft) NEMA L6-15P 14F1549
Installing the SAN Volume Controller 2145-4F2 hardware
There are several steps that you must perform to prepare and then install the SAN
Volume Controller 2145-4F2 hardware.
The following topics describe the SAN Volume Controller 2145-4F2 hardware
installation tasks in the order they should be performed.
Note: If you are adding a new I/O group to an existing SAN Volume Controller
2145-4F2 cluster, there is no need to power off the existing, operating cluster
nodes.
1. Install and verify the redundant ac power switch, if it is to be used and is not
already being used for a node.
2. Install the UPS.
3. Install the node.
4. Connect the fibre-channel and Ethernet cables to the node.
5. Connect the node to the UPS.
6. Verify the node.
7. Install and verify the master console, unless it is already installed. Optionally,
you can perform this step first.
After you finish these steps, the hardware installation is complete.
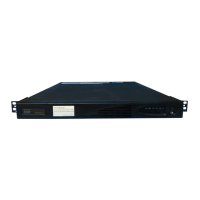
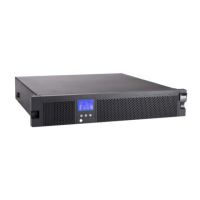
Installing the 2145 UPS-1U
Before you can use the SAN Volume Controller, you need to install the
uninterruptible power supply (UPS).
Complete the following steps to install the 2145 UPS-1U:
1. Install the support rails for the 2145 UPS-1U.
2. Install the 2145 UPS-1U into the rack.
3. Connect the 2145 UPS-1U battery.
4. Connect the power cables to the 2145 UPS-1U.
5. Install the 2145 UPS-1U cable retention bracket.
Installing the support rails for the 2145 UPS-1U
You must install the support rails in the rack before installing the 2145
uninterruptible power supply-1U (2145 UPS-1U).
Complete the following prerequisites before installing the support rails:
1. Use the user’s hardware location chart to determine where in the rack that the
2145 UPS-1U is to be installed.
114 IBM System Storage SAN Volume Controller: Hardware Installation Guide
|
|
|
|
 Loading...