Chapter 2 — Set Up the Printer
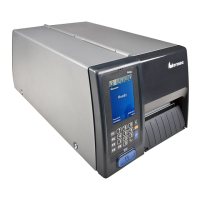
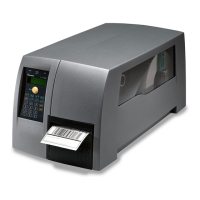
26 PM23c, PM43, and PM43c Mid-Range Printer User Manual
7 Adjust the label gap and black mark sensor. The sensor LED should
line up with the center of the media. For help, see Chapter 6.
8 Close the media cover.
9 Press the Print button to advance the media.
10 Configure the printer for the correct media type (media with gaps,
black mark, continuous fixed length, or continuous variable
length).
11 Calibrate the sensors on the printer. You can calibrate the media
from the Main Menu (Wizards > Calibration > Media) on a full
touch printer or from the web page (Services > Media
Calibration) for all models of the printer.
12 Configure the start and stop adjust settings.
About the Label Dispenser
The label dispenser accessory, which includes the Label Taken Sensor,
removes the liner from self-adhesive label stock as each label is printed.
You manually remove the label at the front of the printer.
After you load media, you need to configure the feed adjust settings.
You may need to adjust the recommended values slightly depending
on your media type, supply method, and roll sizes, or because of
individual differences between printers.
Load Media for the Label Dispenser
If you have the optional label dispenser installed in your printer, the
printer will separate self-adhesive labels from the liner. The label taken
sensor causes the printer to wait for you to remove a label before
printing the next one. You can also install the internal media rewinder
if you want to rewind the liner.
1 Open the media cover.
 Loading...
