INSTALLATION AND PREDELIVERY
REMOTE CONTROLS
IMPORTANT:
Use
a marine sealant rated for REMOTE CONTROLS
above or below waterline
use.
RTV
silicone
is
not
approved for
below waterline
use.
Polyurethane Remote Control Selection
sealants are not easily removed and may damage
outboard or boat mounting surfaces when
removed.
1
2
3
TYPICAL
DR5818
1.
Clamp screws
2.
Transom plate
3.
Stern bracket holes
Apply marine sealant generously behind the
heads and to the shanks of the mounting
bolts
before inserting them,
and
to
the surfaces of
washers that contact the transom.
Secure the outboard
to
the
boat's transom using
the mounting hardware provided.
IMPORTANT: After
30
minutes of operation,
retighten clamp screws
by
hand.
DO
NOT
use
tools to tighten clamp screws. Check clamp
screws regularly.
~
WARNING
~
When replacing bolts, screws,
or
other
fasteners, use
Evinrude/Johnson Genu-
ine Parts
or
parts
of
equivalent strength
and material.
40
~
WARNING m
The remote control used
must
have the
start-in-gear prevention feature. This fea-
ture can prevent injuries resulting
from
unexpected boat movement when the
out-
board starts.
Remote control styles
and
applications are
described
in
the Evinrude/Johnson Genuine Parts
and
Accessories Catalog.
Plan
the installation of
all remote controls carefully. Read the outboard's
Operator's Guide and the remote
control's installa-
tion instructions prior
to
installation.
The remote control used must have the following
features:
• Start-in-gear prevention.
• Emergency stop /
key
switch.
• Shift stroke must conform
to
outboard's specifi-
cations (1.125 to 1.330
in.
(28.6 to 33.8
mm)
measured between NEUTRAL and FOR-
WARD).
•
All
wiring must
be
compatible with Modular Wir-
ing
System (MWS) components.
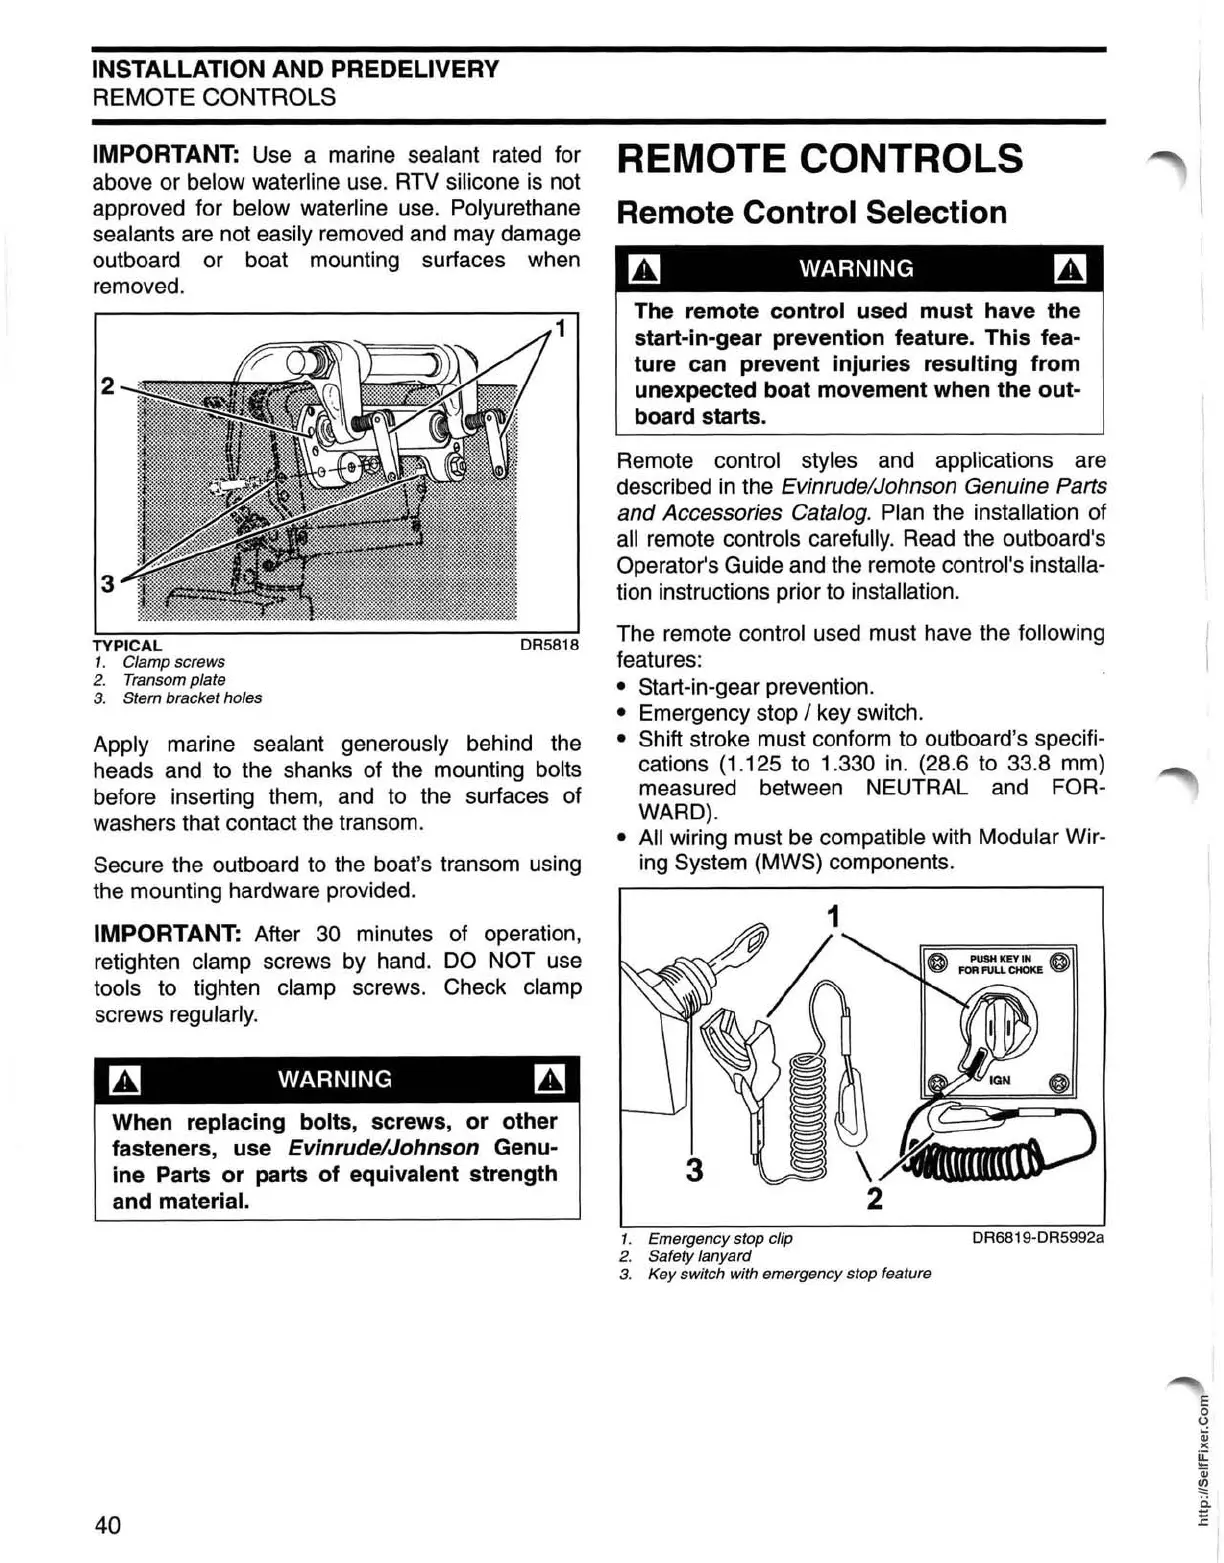
1. Emergency stop clip
DR6819-DR5992a
2. Safety lanyard
3. Key switch with emergency stop feature
E
o
o
~
><
~
Qj
~
i:i
E
 Loading...