Scalar i6000 Installation Guide 39
Aligning the New Expansion Module with the System Unit
Modules use a four-bolt attachment method with close-clearance 8 mm bolt holes. The tight clearances
allow the bolts to act as module-to-unit alignment pins.
1 Push the new expansion module toward the system unit until the frames touch.
2 Adjust the expansion module leveling legs until the frame corners and the attachment bolts are aligned.
Inserting the Attachment Bolts
1 Verify that the adjacent sides of the receiving unit and the new expansion module are parallel.
If not, adjust the leveling legs on the opposite side of the new module until the adjacent sides are
parallel. Be sure to turn the front and back legs the same number of turns.
2 Verify that the attachment holes are aligned. If not, adjust the leveling legs of the new module until the
attachment holes align. Be sure to turn the front and back legs the same number of turns.
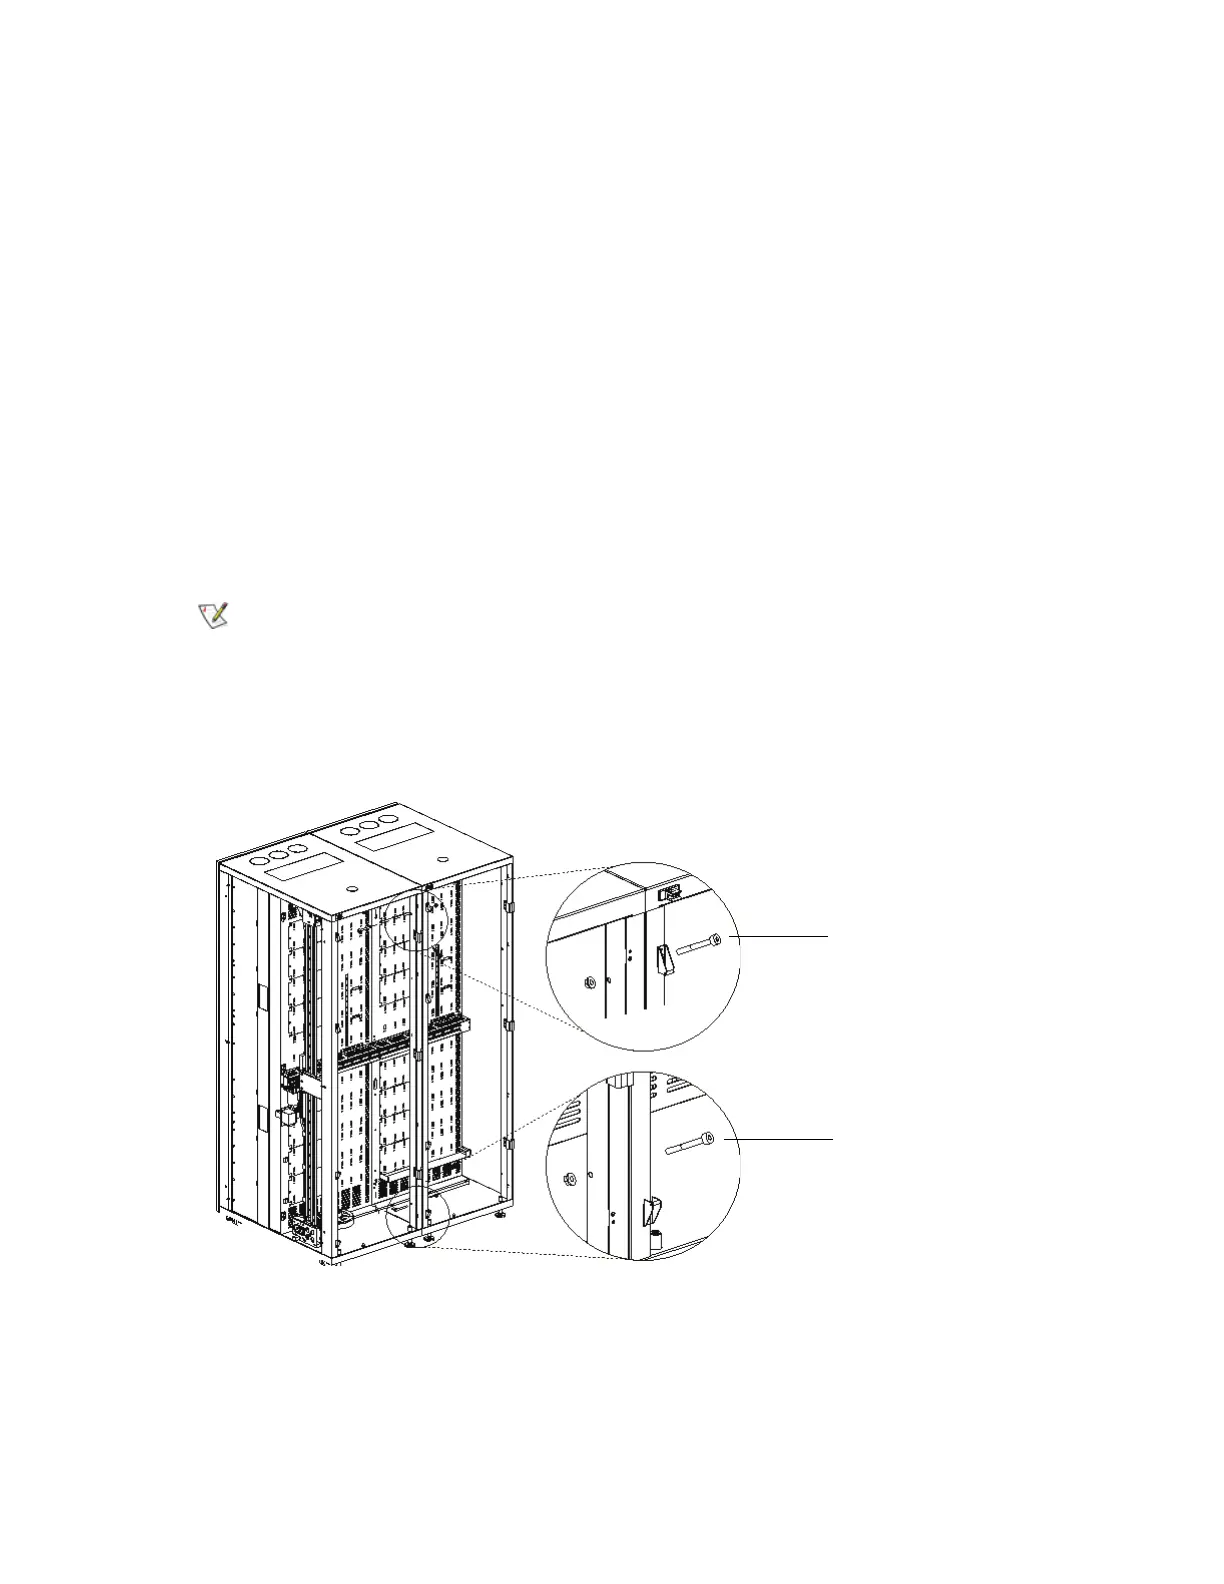
a. Repeat these steps for the front lower bolt, front upper bolt, back lower bolt, and back upper
bolt, in that order:
Insert the attachment bolt from right to left into the attachment hole
.
b. If the bolt does not slide smoothly into the hole, raise or lower the leveling legs until it does.
c. Once the bolt is inserted, loosely thread the nut onto the bolt. Do not tighten the nut.
For older libraries, you may need to insert the back lower bolt from left to
right. See Technical Bulletin 6-00925, “Change in Procedure for Joining
i2000 Frames”.
front upper bolt
front lower bolt
 Loading...


