46 Installing a Multi-Module Library
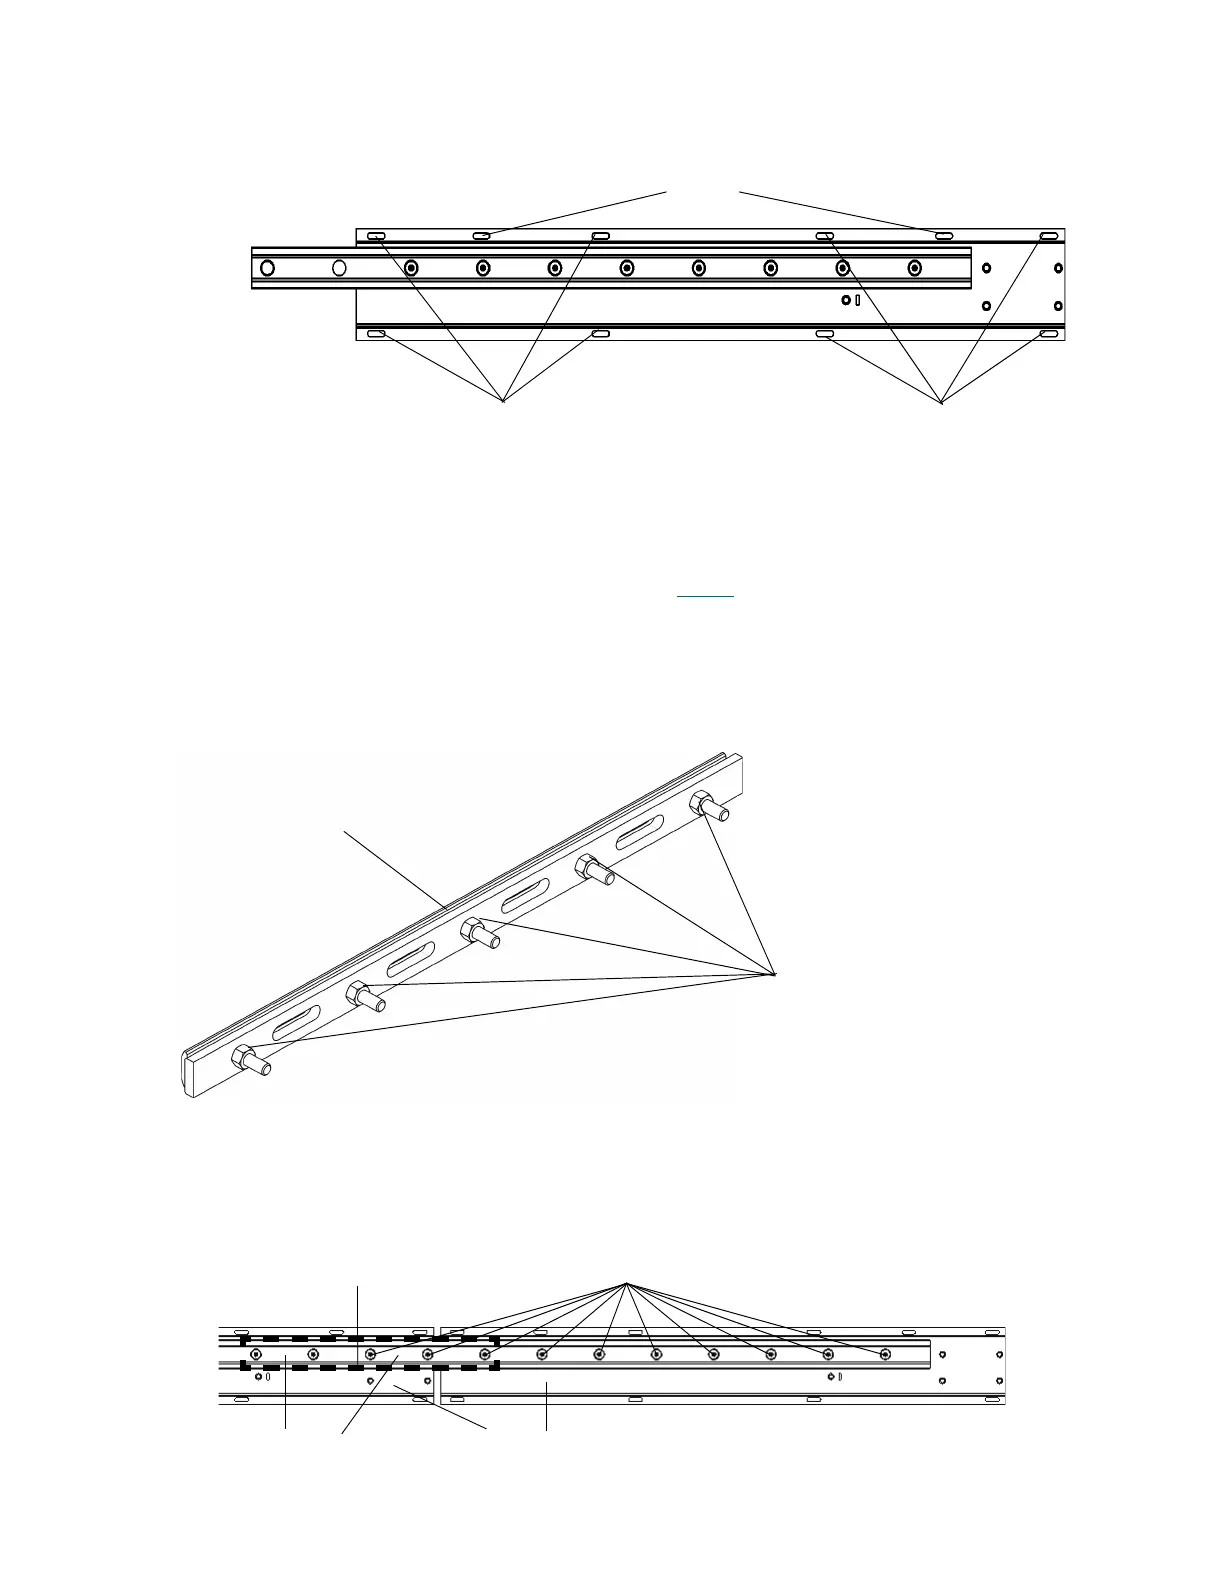
2 Loosen the eight 2.5 mm screws attaching the X-axis channel to the module.
3 Push the X-axis channel and middle X-axis rail to the left until the X-axis rail of the expansion module
contacts the X-axis rail of the module on the left.
4 Hold the X-axis channel so that the adjacent X-axis rails are touching each other and tighten the eight
2.5 mm screws.
5 Loosen the X-axis rail 3 mm screws that were tightened Step 1
on page 45.
Aligning the Middle X-Axis Rail
1 Loosen the five 8 mm nuts on the X-axis rail alignment tool (part number 3-00147-01). Once the nuts
are loose, separate the two metal bars of the tool and insert the back bar into the X-axis rail.
2 Position the middle of the X-axis rail alignment tool over the junction point in the rails.
If the X-axis rail tool is positioned correctly you should be able gain access to the 3 mm screws through
the holes in the tool.
2.5 mm screws
2.5 mm screws
alignment pins
8 mm nuts
X-axis alignment tool
middle X-axis rails
junction
3 mm screws
x-axis channels
 Loading...


