Scalar i6000 Installation Guide 41
Attaching the X-Axis Rails
Attaching and Aligning the Upper and Lower X-Axis Rails
Repeat the following procedure for each additional expansion module, starting with the first new expansion
module and working to the right.
Required tools: 2.5 mm hex wrench
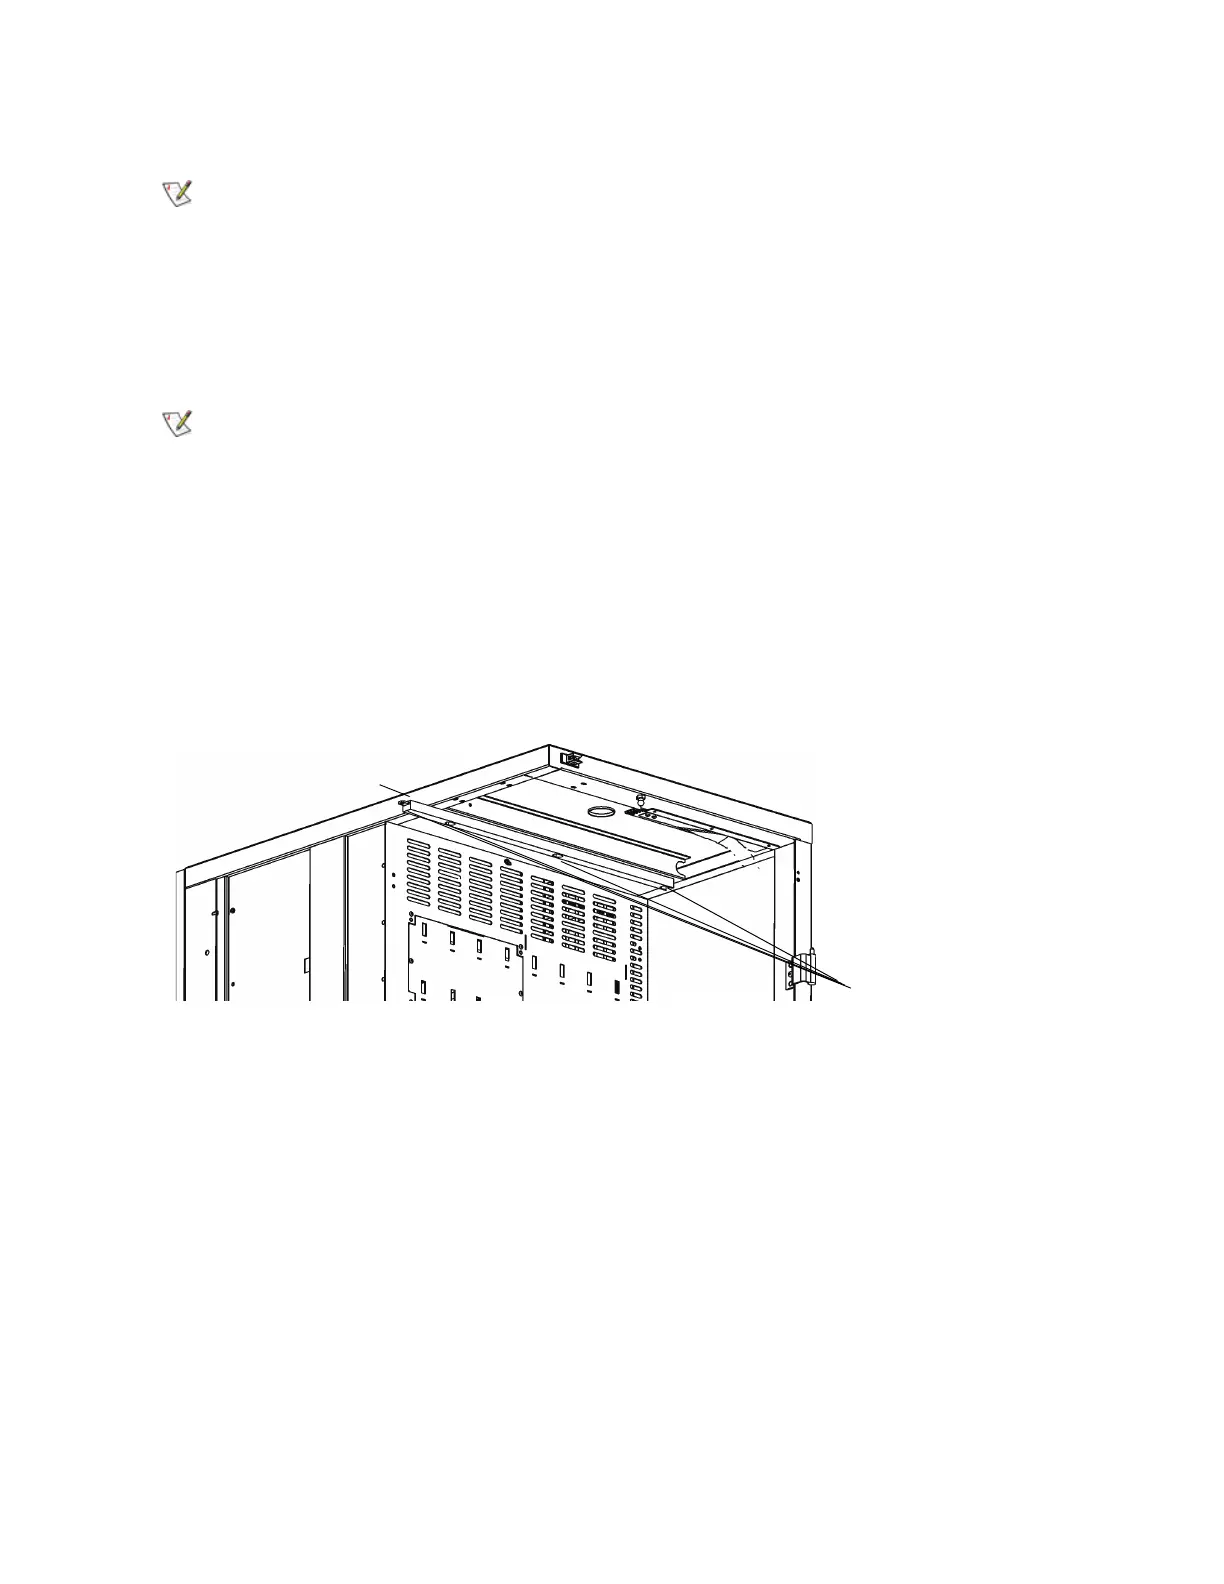
1 Attach the upper X-axis rail as follows:
a. Use the 2.5 mm hex screws to attach the upper X-axis rail loosely.
b. Push the rail to the left and align it front to back with the previous rail so that the joint is smooth.
c. Tighten each screw on the rail beginning at the left end. Do not tighten the screw that is on the
next rail at the junction between the current module and the module to the right.
The X-axis rails are shipped in a package secured in the back of the expansion
module with the cable management ties. Remove the packages and unpack
them in a convenient location before beginning the following procedures.
For expansion modules in positions 9 through 12, the X-axis upper and lower
rails contain longer slots. Check for the rail identification hole which signifies
the replacement X-axis upper or lower rail.
2.5 mm hex screws
2.5 mm hex screw
attached to module on left
 Loading...


