Controller Options
D127/D128 2-40 SM
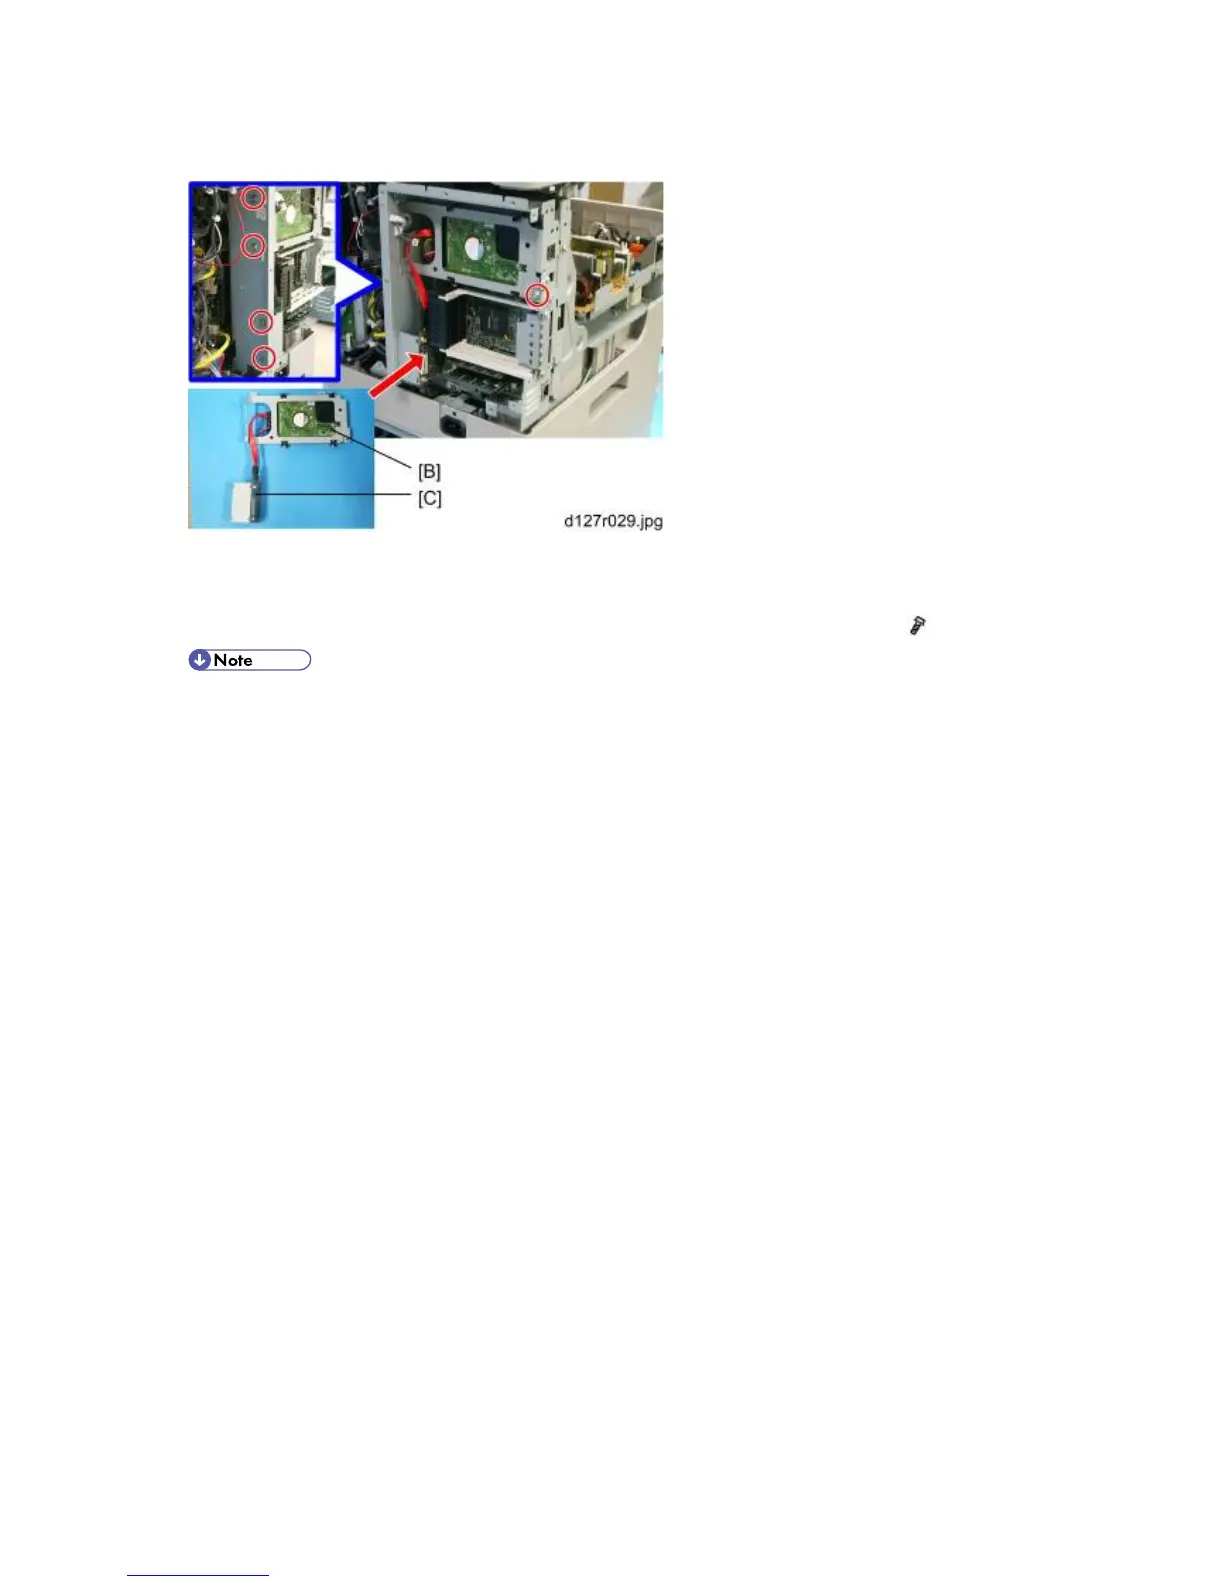
5. Remove three of the screws and pull the bracket as the arrow shows to detach the board [A].
6. Connect the HDD Unit [B] and SAT Interface Board [C] with the Cable (small) and the Cable
(large).
7. Install the HDD Unit [B] and the SAT Interface Board [C] in the controller board (
x 5).
Be sure to lead two of the cables over the HDD bracket to the SAT interface board [C].
This makes installation easy.
8. Reinstall the controller box cover and rear cover in the machine.
Turn the main power switch on.
9. Touch the “Format” button displayed with the message on start-up.
10. Turn the main power switch off/on after the message directs to do so.
Installing the Security Card
1. Insert the Security Card in the SD slot.
For D127, use slot 2 (lower) and merge the Security Card into the Printer/Scanner card
with SP5-873-001. Remove the Security Card from the SD slot 2 after moving the
security applications and keep the Security Card at a safe location.
For D128, use slot 1 (upper).
2. Enter the SP mode.
3. Input a machine serial number with SP 5811-001.
4. Go into the SP mode and push "EXECUTE" with SP5-878-001.
5. Select SP5878-002, and then press "Execute" on the LCD.
6. Exit the SP mode after "Completed" is displayed on the LCD.
 Loading...