User Manual 5 Electrical Connection
step 1 Insert one plug of the supplied network cable into the network port of the Ethernet switch and the
other plug into the ETH port of the Data Logger.
step 2 Set network parameters.
- - End
• For the default IP address of Ethernet ports (ETH1, ETH2, ETH5), see 6.2
Commissioning Step.
• If the DHCP (Dynamic Host Configuration Protocol) feature is enabled for the
Ethernet port (ETH1, ETH2, and ETH5), its IP address can be retrieved after
it is connected to a router or other device.
5.12 Connecting to the AC Power Supply
The Data Logger can be connected to a power source with voltage ranging from 100 to
277Vac.
step 1 Lead the external power supply cable to the wiring area of the Data Logger.
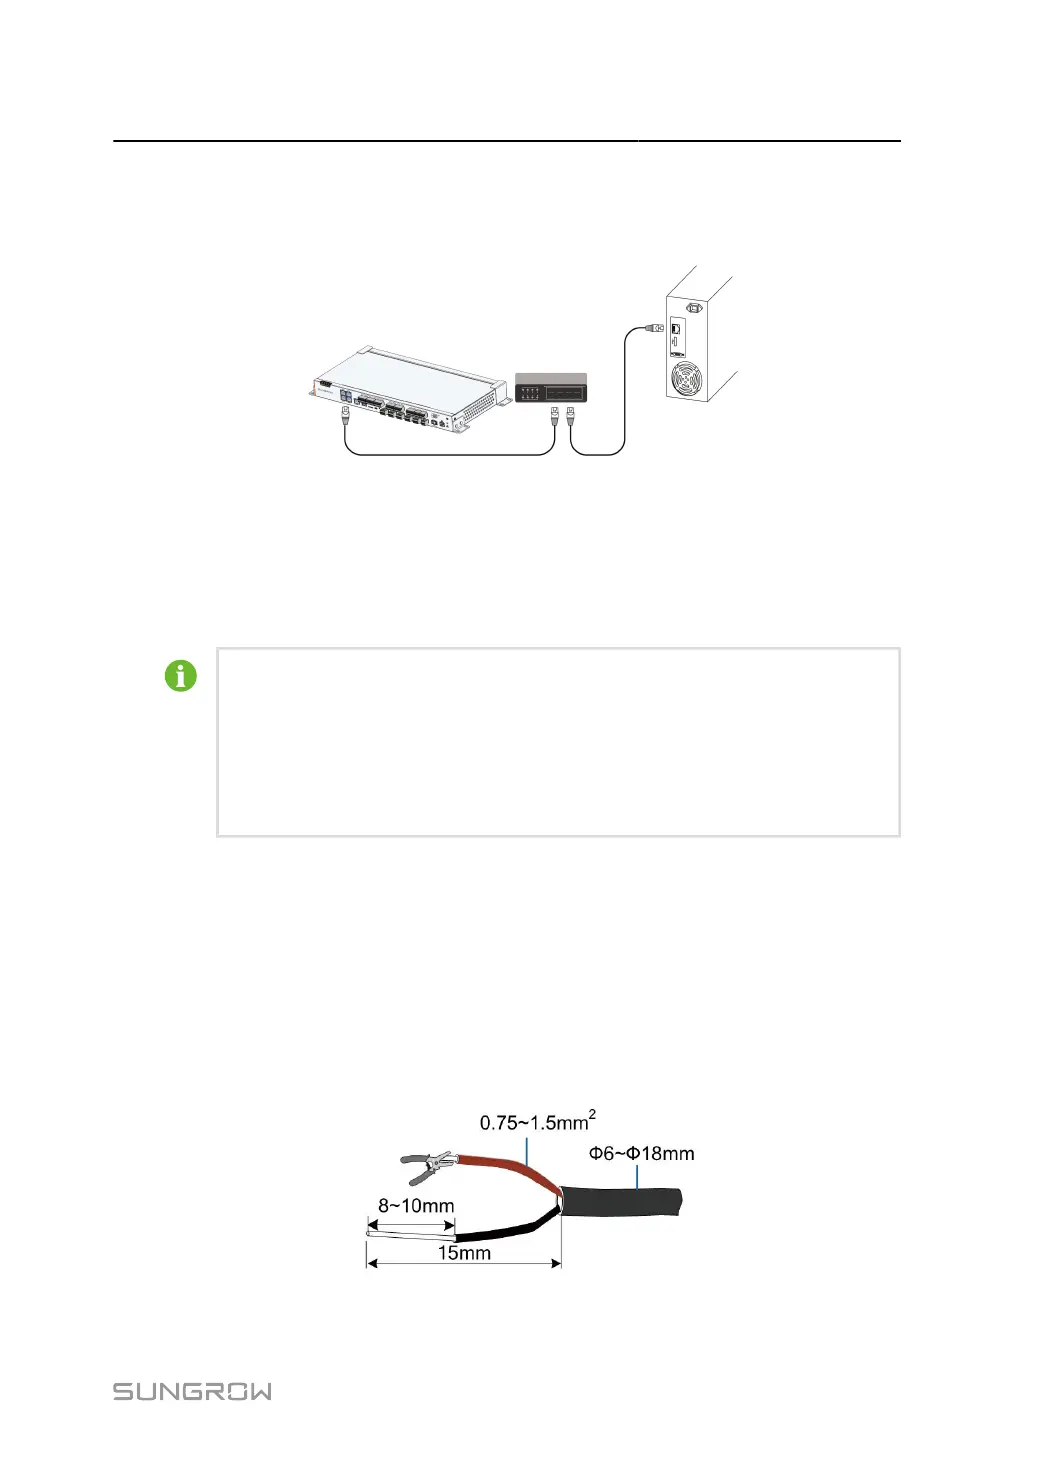
step 2 Strip off the protective layer and insulation layer of the power cable with wire strippers, as shown
below.
37
 Loading...