Crankshaft, Connecting Rods and Pistons
4.
Ensure that the
3
locating dowels are in position
i
in the upper crankcase.
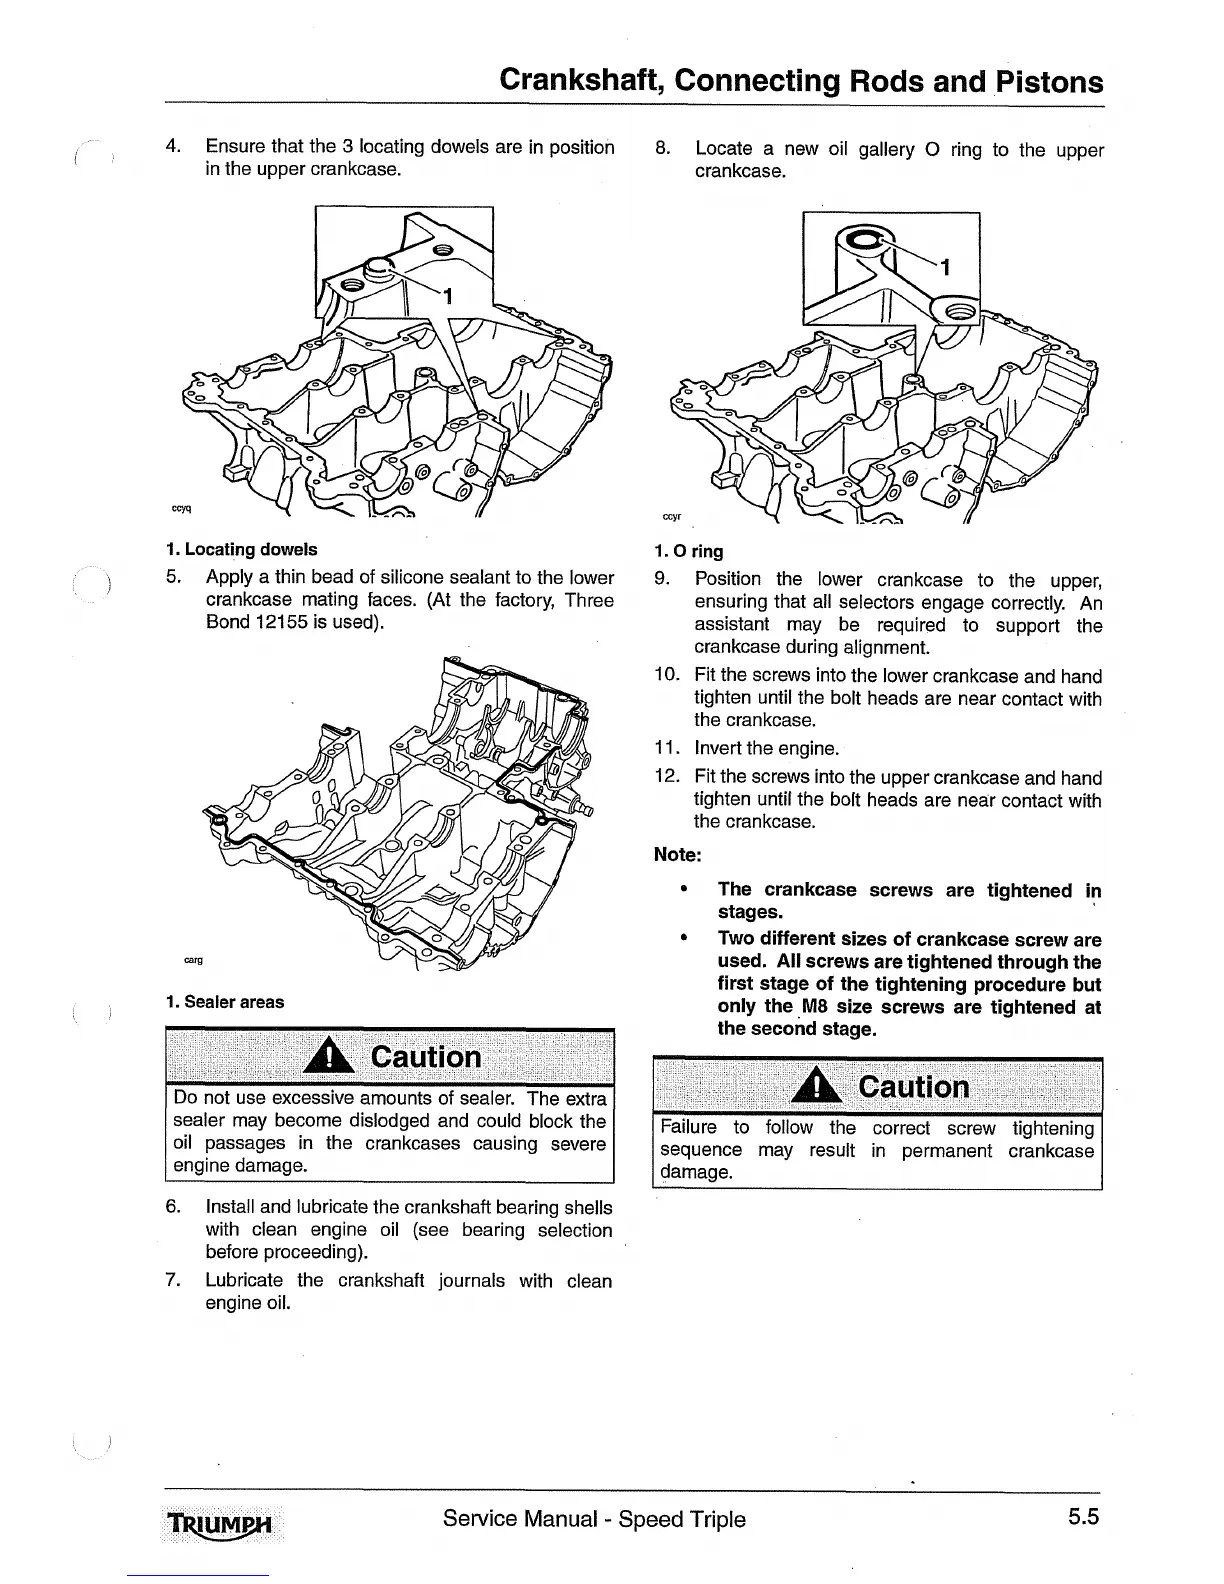
8.
Locate a new oil gallery
0
ring to the upper
crankcase.
1.
Locating dowels
i
5.
Apply a thin bead of silicone sealant to the lower
crankcase mating faces. (At the factory, Three
Bond 121
55
is used).
1.
Sealer areas
i
A
Caution
I
Do not use excessive amounts of sealer. The extra
I
sealer may become dislodged and could block the
oil passages in the crankcases causing severe
engine damage.
6.
Install and lubricate the crankshaft bearing shells
with clean engine oil (see bearing selection
before proceeding).
7.
Lubricate the crankshaft journals with clean
engine oil.
1.0
ring
9.
Position the lower crankcase to the upper,
ensuring that all selectors engage correctly. An
assistant may be required to support the
crankcase during alignment.
10. Fit the screws into the lower crankcase and hand
tighten until the bolt heads are near contact with
the crankcase.
11. Invert the engine.
12. Fit the screws into the upper crankcase and hand
tighten until the bolt heads are near contact with
the crankcase.
Note:
The crankcase screws are tightened in
stages.
*
Two different sizes of crankcase screw are
used.
All
screws are tightened through the
first stage of the tightening procedure but
only the
M8
size screws are tightened at
the second stage.
A
Caution
1
Failure to follow the correct screw tightening
1
sequence may result in permanent crankcase
I
damage.
Service Manual
-
Speed Triple
5.5

 Loading...