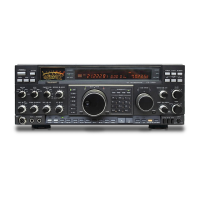
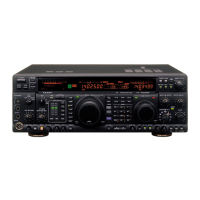
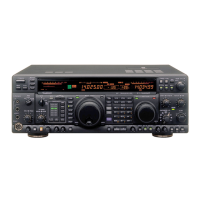
Installation
of
Optional Accessorise
..
OPTIONAL FILTERS
XF-117CN/XF-117A
1.
Tum
the transceiver's power
off
by
pressing and holding in the
[PWR]
switch for
Y2
second, and disconnect the DC cable from the transceiver's DC cable pigtail.
2. Referring
to
Figure
1,
remove the six screws affixing the top case
of
the transceiver,
and remove the top case; disconnect the speaker's connector when you remove the top
case, and disconnect the front panel
of
the transceiver. Remove the MIC connector at
the same time.
3. Refer
to
Figure 3, and remove the six screws which affix the circuit board
to
the chas-
sis. Remove the four coaxial cables shown, as well as the two flat cables, so as
to
allow
the board
to
be folded forward.
4. Again refer
to
Figure 2 for the mounting locations for the
I.F.
filters. Press the filter(s)
to be installed into the appropriate slot(s) on the circuit board.
5. Fold the circuit board forward, and solder the pins
of
the filter(s)
to
the circuit board.
Trim
off
any excess length.
6. Fold the circuit board back into its normal position. Replace the six mounting screws,
along with the four coaxial cables and two flat cables. Be careful to observe the proper
color-coding on the coaxial cables, per Figure 3.
7. Replace the microphone connector and front panel. Replace the top case (remember to
replace the speaker connector), attach the DC cable, and
tum
the transceiver
On
by
pressing and holding
in
the
[PWR]
switch for
Y2
second.
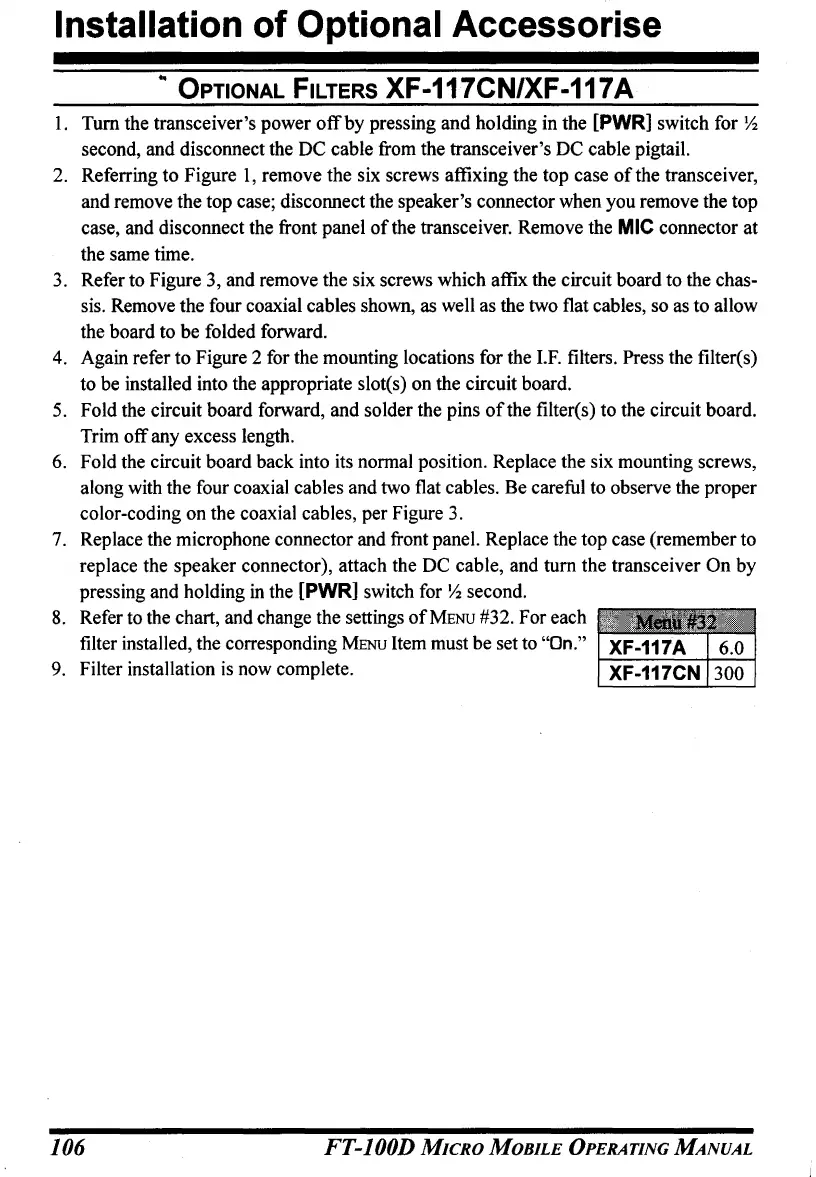
8. Refer to the chart, and change the settings
of
MENU
#32. For each
filter installed, the corresponding
MENU
Item must be set to "On."
9. Filter installation is now complete.
t------t---i
106
FT-100D
MICRO
MOBILE
OPERATING
MANUAL
 Loading...