USING THE WEB INTERFACE
EATON Managed ePDUt User’s Guide S 164201xxx Rev 1 DRAFT 10−OCT−2008
79
Setting the Date and Time
You can set the internal clock on the ePDU manually, or you can link to a Network
Time Protocol (NTP) server and let it set the date and time.
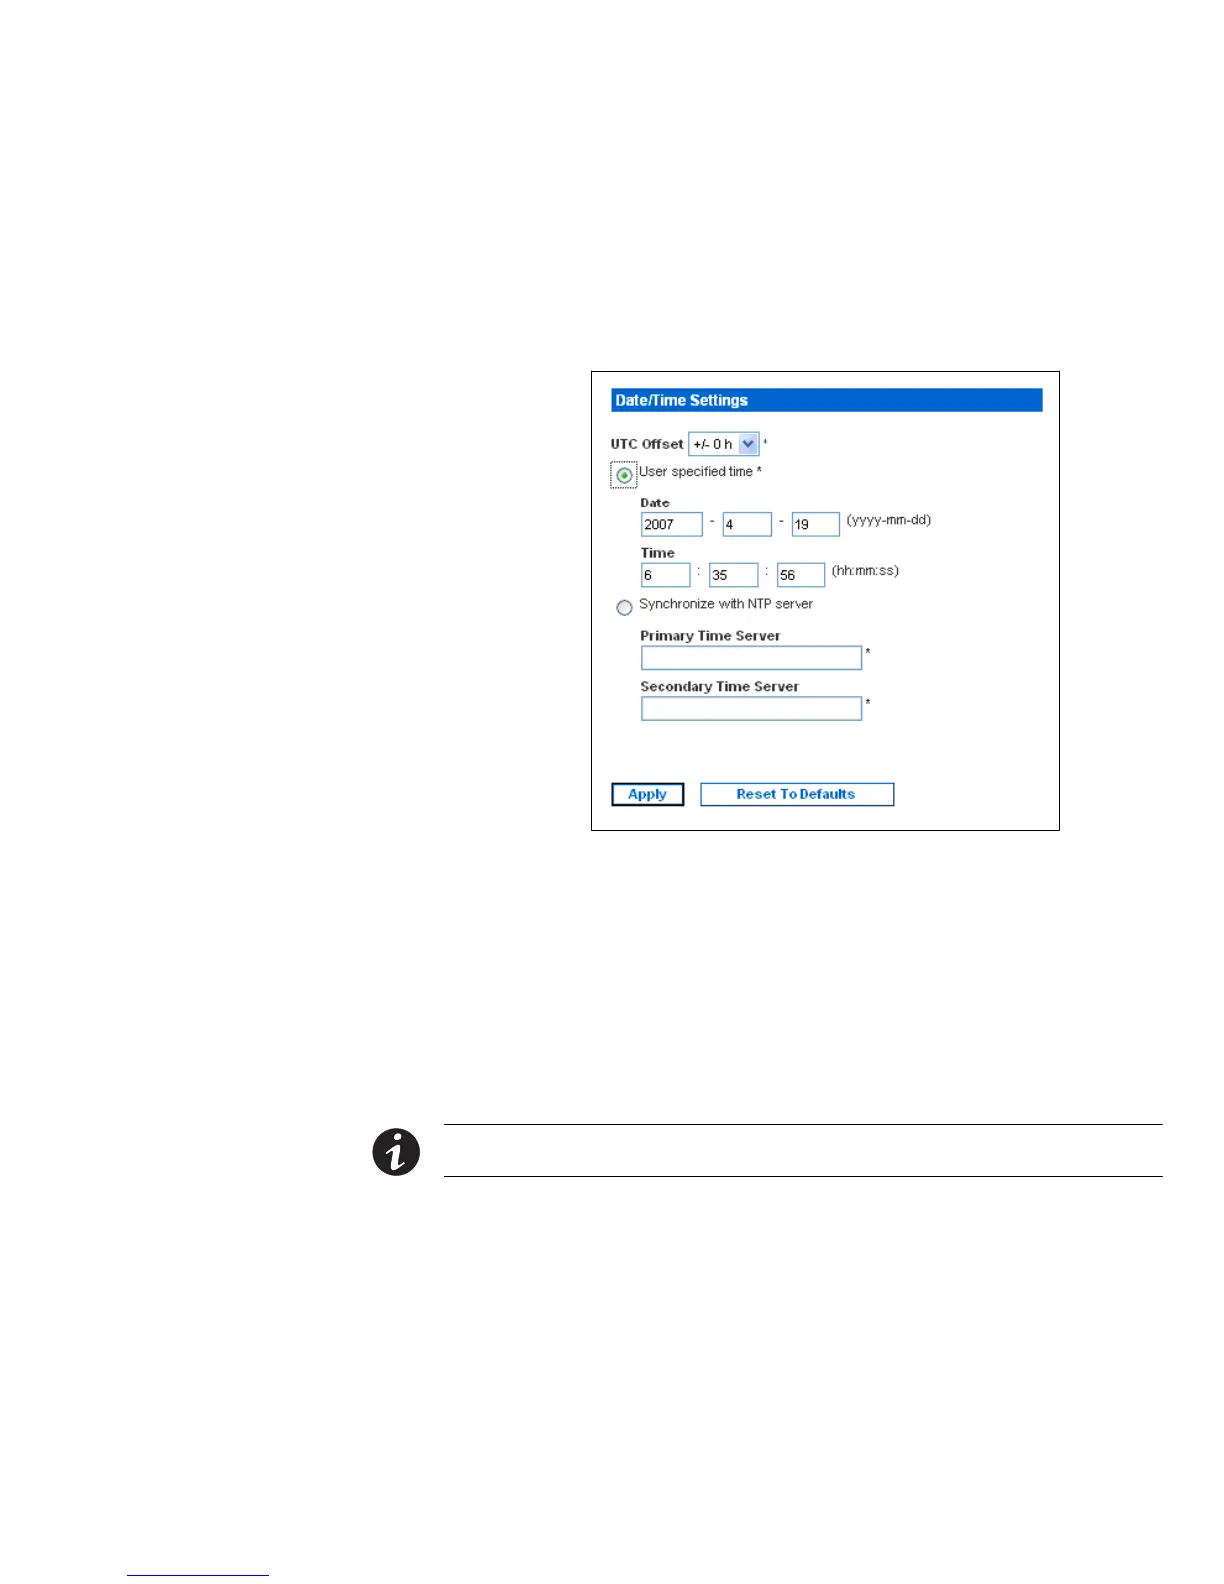
1. Select Device Settings, and then select Date/Time. The Date/Time Settings page
displays (see Figure 76).
Figure 76. Date/Time Settings Page
2. Enter a time zone by selecting the appropriate Coordinated Universal Time (UTC)
offset from the UTC Offset list (for example, US Eastern Standard Time = UTC−5).
3. To set the date and time manually, select the User Specified Time option, then
enter the date and time in the appropriate fields. Use the yyyy/mm/dd format for
the date and hh:mm:ss format for the time.
4. To let an NTP server set the date and time, select the Synchronize with NTP server
option and enter the IP addresses of primary and secondary NTP servers in the
corresponding fields.
NOTE If the ePDU’s IP address is assigned through DHCP, the NTP server addresses will be automatically
discovered, then users will not be able to enter any data in the fields of primary and secondary time server.
5. Click Apply. The date and time settings are applied.

 Loading...