FloBoss 107 Instruction Manual
Revised June-2017 Installation and Use 2-7
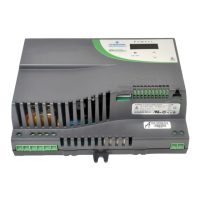
2.2 Installing the FloBoss 107 and Expansion Rack
This section details how to install the FB107 base unit and the expansion
rack.
To avoid circuit damage when working inside the unit, use
appropriate electrostatic discharge precautions (such as wearing a
grounded wrist strap).
When working on units located in a hazardous area (where explosive
gases may be present), make sure the area is in a non-hazardous
state before performing procedures. Performing these procedures in
a hazardous area could result in personal injury or property damage.
2.2.1 Required Tools
Use the following tools to perform installation and maintenance
procedures on the FB107:
Philips screwdriver, size 0.
Flat blade screwdriver, size 2.5 mm (0.1 inch).
Flat blade screwdriver, large.
2.2.2 Installing the FloBoss 107 without an Expansion Rack
To install the FB107 base unit without the expansion rack:
1. Using the four holes on the FB107 base unit, mark the points at which
the base unit should attach to the wall (refer to Figure 2-4).
2. Drill four holes into the wall.
3. Position the FB107 to line up with the mounting holes you drilled.
4. Insert four #8 screws through the FB107 base unit and screw them
into the wall or the mounting plate. Do not over tighten.
Note: Depending on your installation, you may require wall anchors or
longer screws than are supplied.
To simplify installation, you can purchase an optional metal adapter
plate (product number FS1ADP-1) for the FB107 base unit (see Figure
2-4). After you secure the adapter plate to its location (using #8
mounting screws), the FB107 base unit attaches directly to the adapter
plate.
 Loading...
