Maintenance 10. Joint #2
VT Rev.1 177
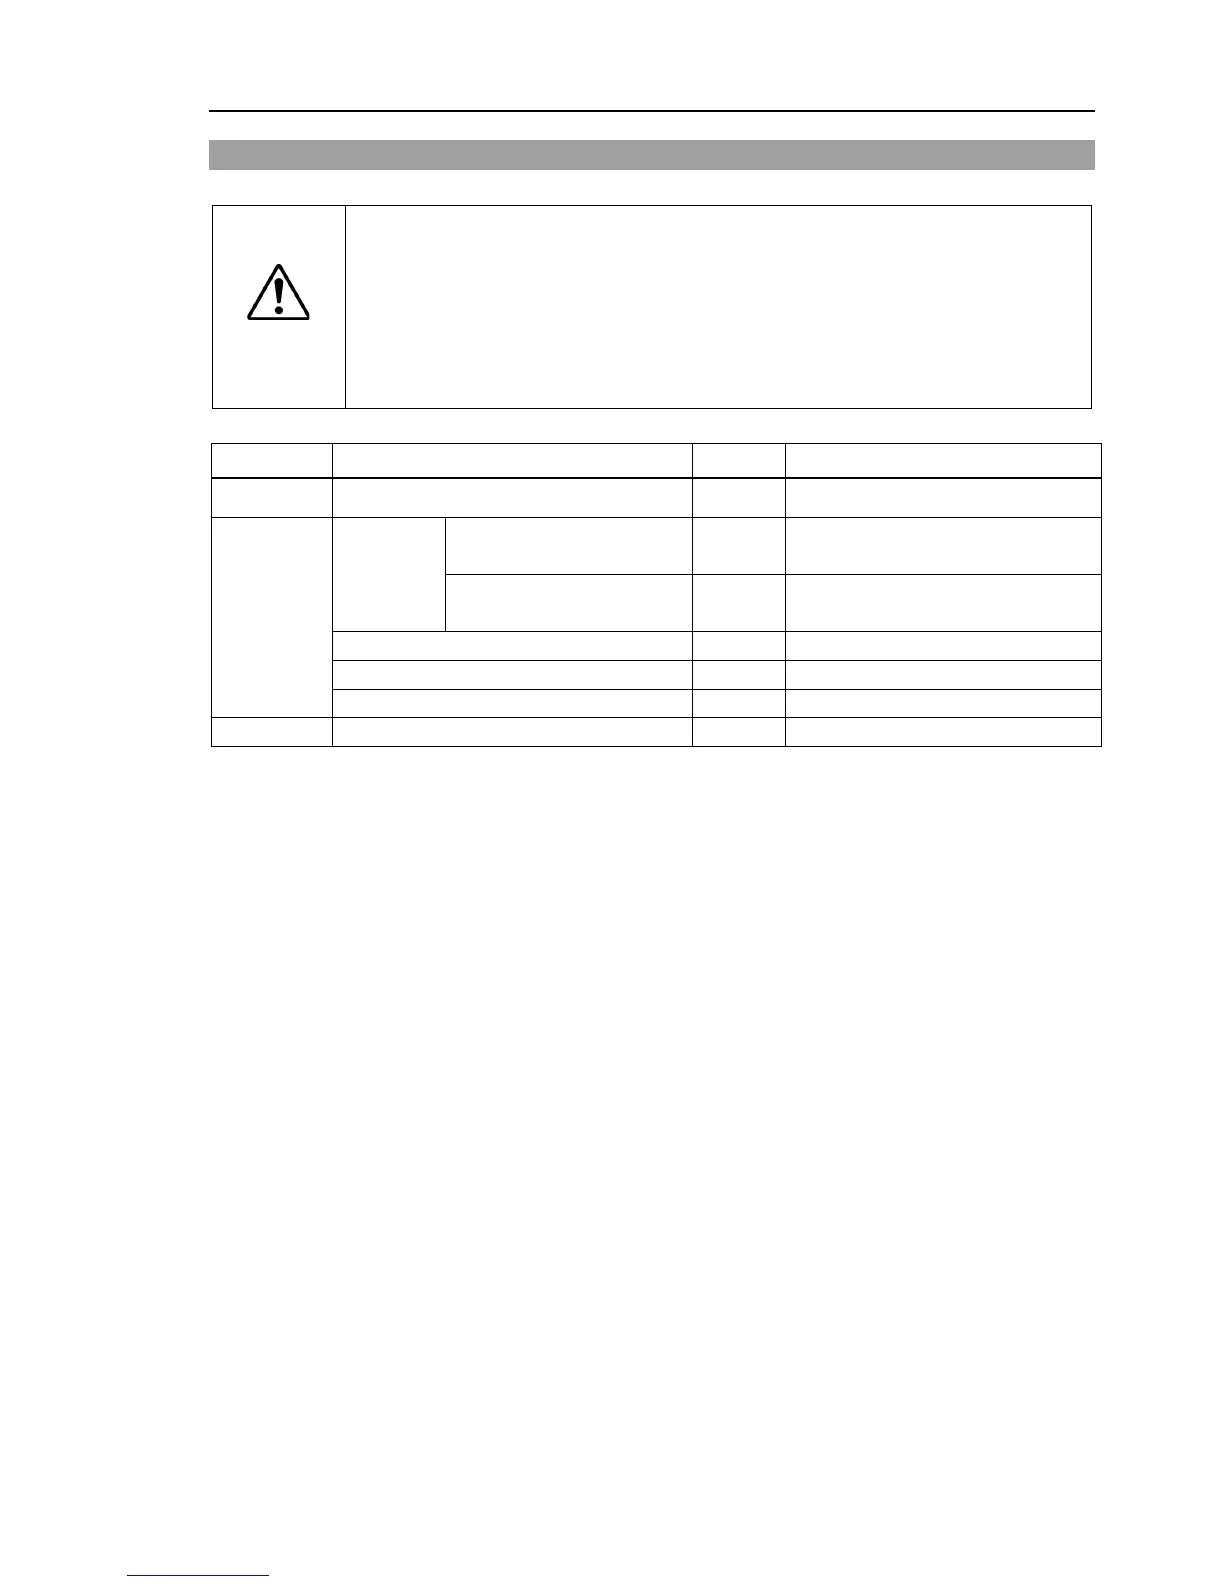
10.1 Replacing Joint #2 Motor
CAUTION
■
This procedure has possibility of damage
or malfunction to the Manipulator.
Be very careful when performing
O NOT loosen the bolts while the Arm #2 is not tilted.
It may cause the belt come off and the Arm #2 falls down, and it is extremely
Be sure to do the Removal steps (1) and (2) before removing the
Joint #2 motor unit 1 2194597
Tools
Hexagonal
wrench
width across flats: 2.5 mm 1
For M3 hexagon socket head cap
bolts
width across flats: 3 mm 1
For M4
hexagon socket head cap
bolts
For tightening torque control
The brake is mounted on each joint to prevent the arm from lowering due to its own weight while the
controller power is OFF or the motor is OFF status. The brake does not work during replacement.
Be careful when performing maintenance work.
When removing the Joint #2 motor, tilt the Arm #2 and press it against the Arm #1.
Reference: Maintenance: 10.1 Joint #2 - Replacing the Motor, Removal step (2)
 Loading...


