01-10 Engine Service 01-10
SERVICE PROCEDURES (Continued)
15. RESTRICTED EXHAUST SYSTEM: When the
engine is first started and is idled, the reading
may be normal. But, as the engine rpm is
increased, back pressure caused by a clogged
exhaust pipe, etc., will cause the needle to slowly
drop to 0. The needle then may slowly rise.
Excessive exhaust clogging will cause the needle
to drop to a low point even if the engine is only
idled.
When vacuum leaks are indicated, search out and
correct the condition. Excess air leaking into the
system will upset the fuel mixture and cause
conditions such as rough idle, missing, or burned
valves. ALWAYS SERVICE VACUUM LEAKS.
Oil Consumption Test
The following diagnostic procedure is intended to be
used to determine the source of excessive internal oil
consumption.
1. Determine what is considered to be excessive oil
consumption. Note hours of engine service and
the following observations:
a. How many hours of engine use per 0.95 liter
(1 U.S. quart) of oil used?
b. How is the engine being used (e.g., sustained
high-speed operation, heavy loads, high
ambient temperature, etc.)?
c. What is the expected normal oil consumption?
2. Verify that the engine has no external oil leak as
described under Engine Oil Leaks in this section.
3. Verify that the oil level dipstick (6750) and oil
level indicator tube (6754) are unmodified and in
good condition. Verify that the oil level indicator
tube (6754) is properly seated in the block, and
the dipstick seats properly in the oil level indicator
tube (6754).
4. Verify that the engine is not being run in an
overfilled condition. Check the oil level at least
five minutes after a hot shutdown (engine must
be level). Under no circumstances should the oil
level be above the FULL line. If a significant
overfill is indicated, perform Steps 5a through 5d
to verify the dipstick calibration. If the dipstick
calibration checks OK, instruct the operator to
avoid overfilling the engine and return the engine
to service. To verify the engine’s actual oil
consumption, perform Steps 5e and 5f only after
the dipstick has been calibrated.
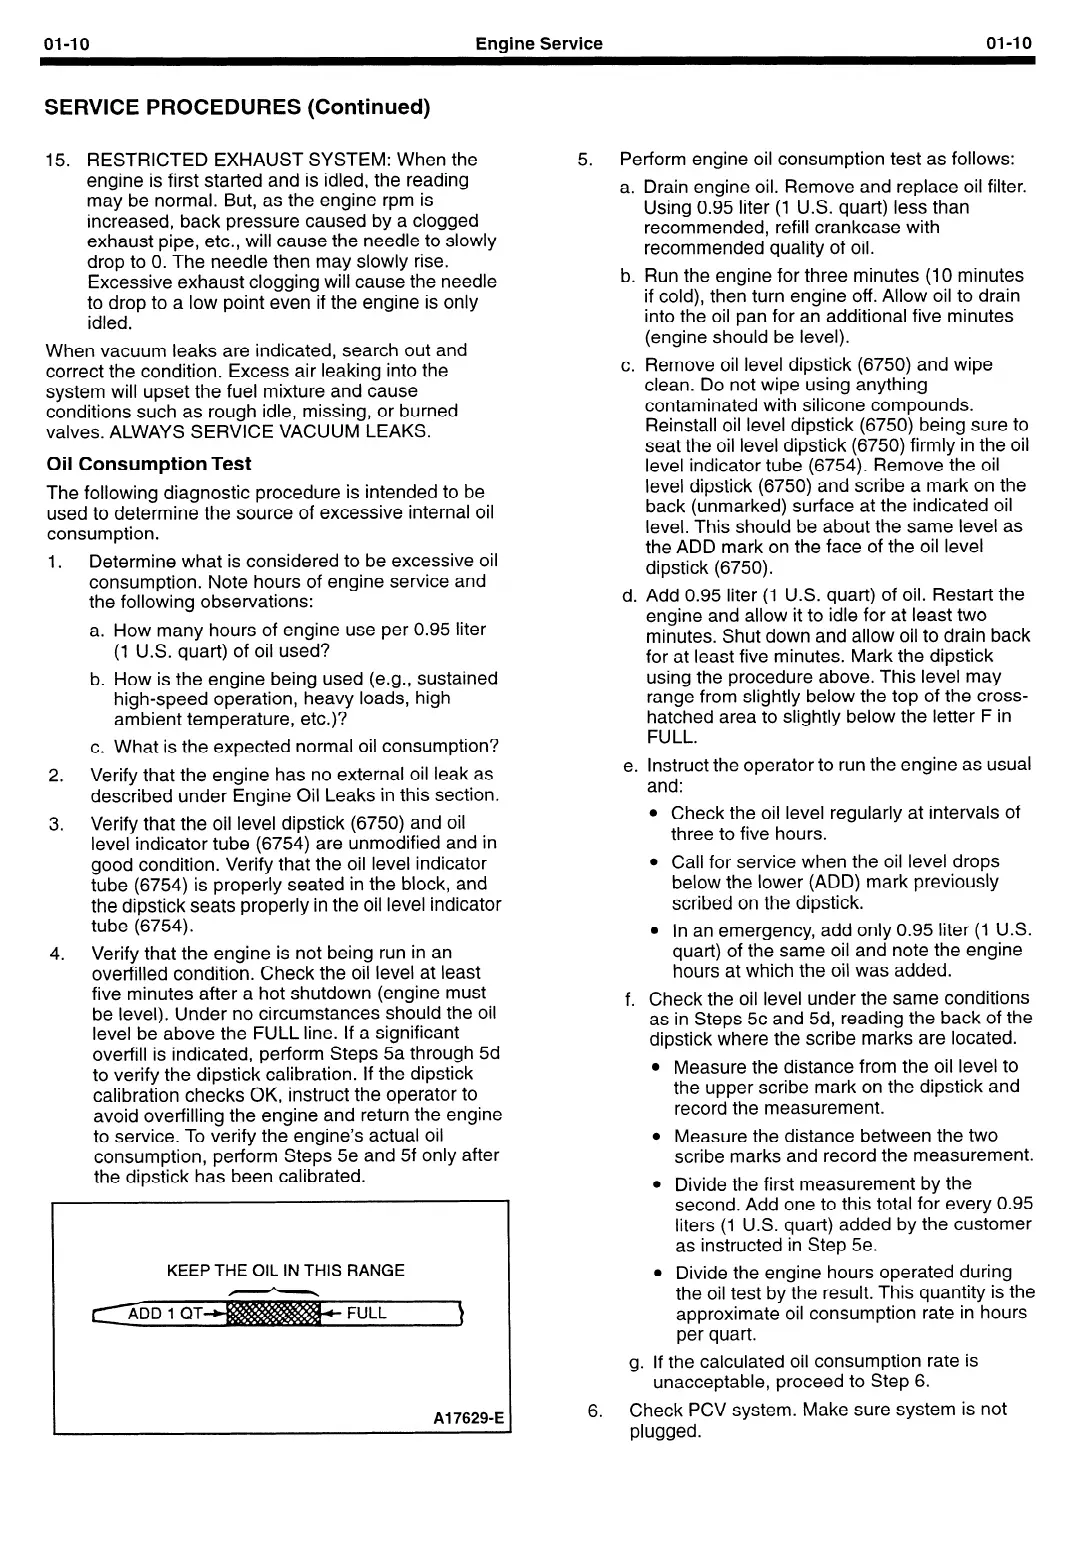
KEEP THE OIL IN THIS RANGE
Al 7629-E
5.
Perform engine oil consumption test as follows:
a. Drain engine oil. Remove and replace oil filter.
Using 0.95 liter (1 U.S. quart) less than
recommended, refill crankcase with
recommended quality of oil.
b. Run the engine for three minutes (10 minutes
if cold), then turn engine off. Allow oil to drain
into the oil pan for an additional five minutes
(engine should be level).
c. Remove oil level dipstick (6750) and wipe
clean. Do not wipe using anything
contaminated with silicone compounds.
Reinstall oil level dipstick (6750) being sure to
seat the oil level dipstick (6750) firmly in the oil
level indicator tube (6754). Remove the oil
level dipstick (6750) and scribe a mark on the
back (unmarked) surface at the indicated oil
level. This should be about the same level as
the ADD mark on the face of the oil level
dipstick (6750).
d. Add 0.95 liter (1 U.S. quart) of oil. Restart the
engine and allow it to idle for at least two
minutes. Shut down and allow oil to drain back
for at least five minutes. Mark the dipstick
using the procedure above. This level may
range from slightly below the top of the cross-
hatched area to slightly below the letter F in
FULL.
e. Instruct the operator to run the engine as usual
and:
l
Check the oil level regularly at intervals of
three to five hours.
l
Call for service when the oil level drops
below the lower (ADD) mark previously
scribed on the dipstick.
l
In an emergency, add only 0.95 liter
(1
U.S.
quart) of the same oil and note the engine
hours at which the oil was added.
f. Check the oil level under the same conditions
as in Steps 5c and 5d, reading the back of the
dipstick where the scribe marks are located.
l
Measure the distance from the oil level to
the upper scribe mark on the dipstick and
record the measurement.
l
Measure the distance between the two
scribe marks and record the measurement.
l
Divide the first measurement by the
second. Add one to this total for every 0.95
liters (1 U.S. quart) added by the customer
as instructed in Step 5e.
l
Divide the engine hours operated during
the oil test by the result. This quantity is the
approximate oil consumption rate in hours
per quart.
g. If the calculated oil consumption rate is
unacceptable, proceed to Step 6.
6.
Check PCV system. Make sure system is not
plugged.
 Loading...


