3.
In the Cine area, click the [Play] icon , which uses all the default settings.
Alternatively, make selections from the Cine area.
To do this:
Use this setting: Icon:
Define the range of slices in the cine dis‐
play
Check [Play All] to play all of the images
in the series, or click [Play Range] and
enter the image numbers in the
From
and
To
fields.
Define the image interval Typically, leave this value set to 1 (the
default value). When displaying a multi-
phase series in cine, enter the number
representing the number of phases in
the image range.
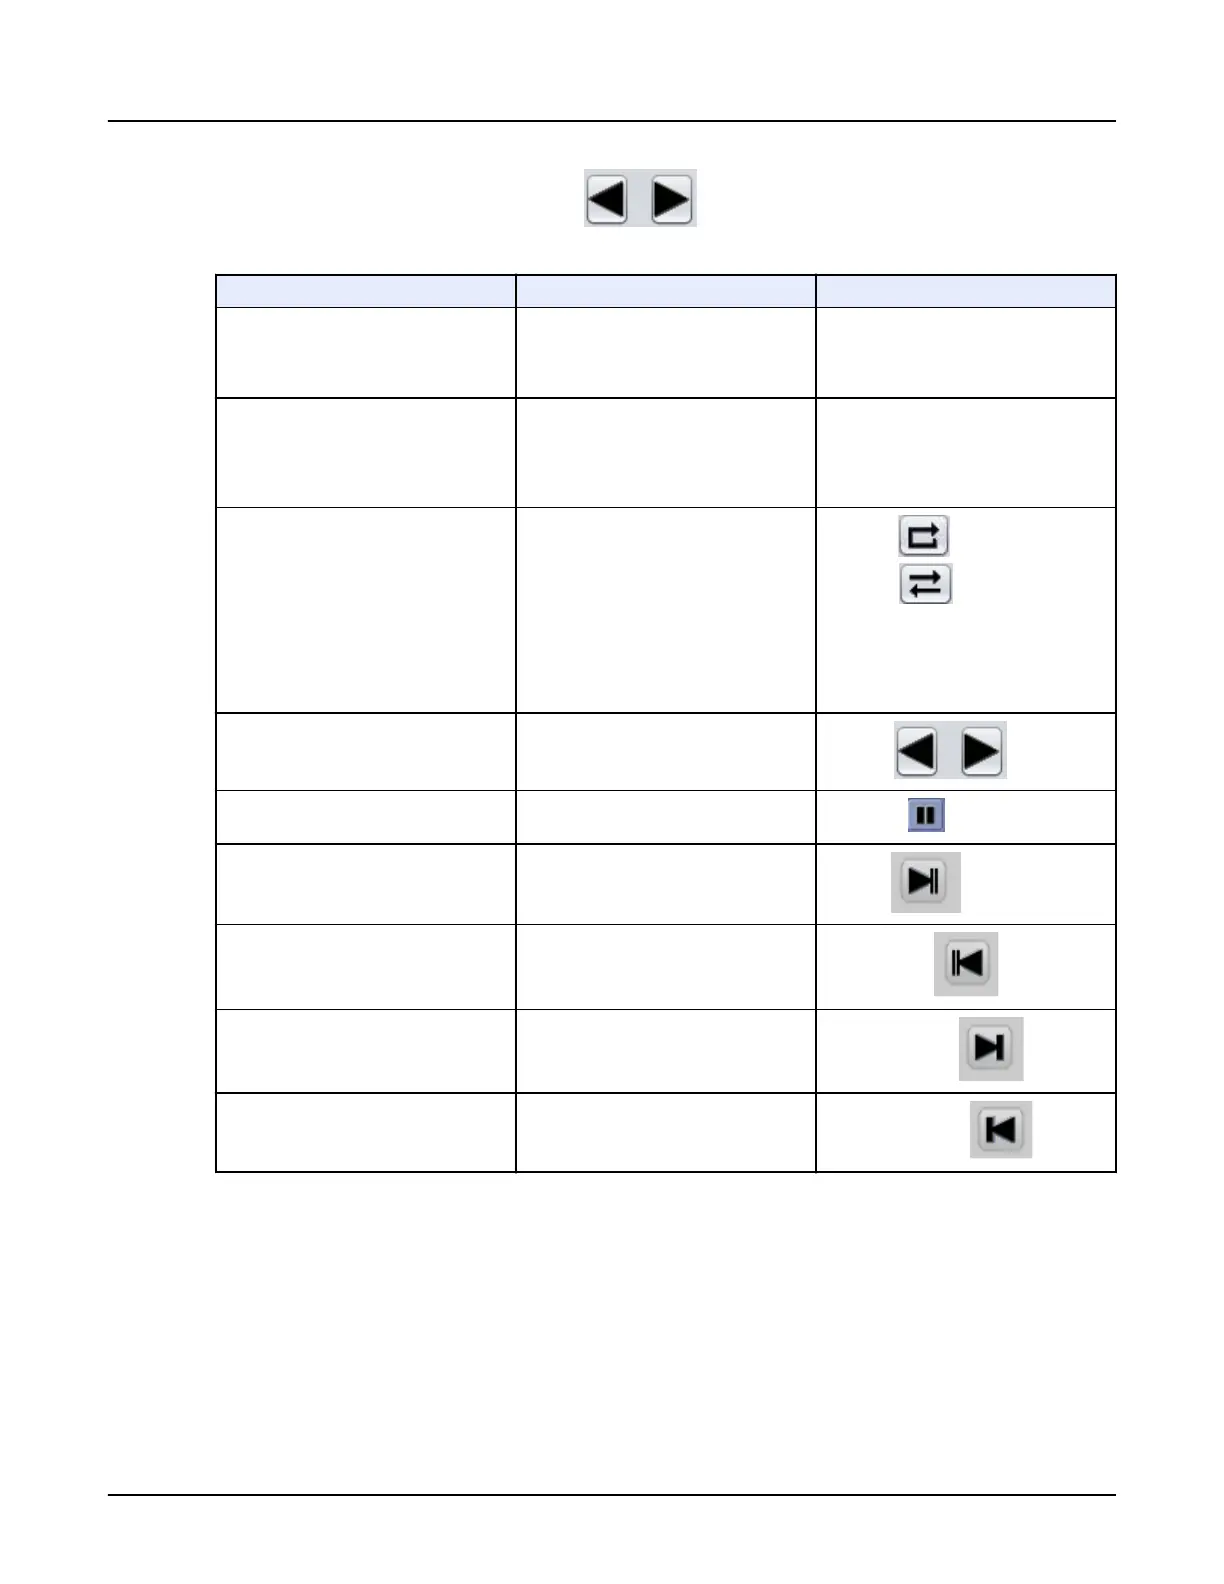
Select a viewing mode Click the [Loop] icon to view the series
from start to end, then from start to end.
For example, if there are 20 images in
the series, the images display 1-20, 1–
20, 1-20, and so on.
Click the [Rock] icon to view the series
from start to end, and then end to start.
For example, if there are 20 images in
the series, the images display 1-20,
20-1, 1-20, and so on.
Loop icon
Rock icon
Play the cine loop forward and backward
Click the [Play] icon to play the cine
loop.
Play icon
Pause the cine loop
Click the [Pause] icon.
Pause icon
Go to the end of the cine loop Click the [End] icon.
End icon
Go to the beginning of the cine loop
Click the [Beginning] icon.
Beginning icon
Step forward through the cine loop, one
image at a time
Click the [Step Forward] icon.
Step Forward icon
Step backward through the cine loop,
one image at a time
Click the [Step Backward] icon.
Step Backward icon
NOTE:
To change the series, load the new series into the viewport.
2.5 View a reference image
Use this procedure to show the image from which the primary image was prescribed in small
viewport within the image.
This is done from the command line.
•
Type ri to put on single image.
•
Type ria to put on all images in the series.
Revolution CT User Manual
Direction 5480385-1EN, Revision 1
384 2 Image Display

 Loading...