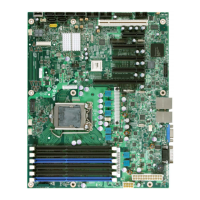
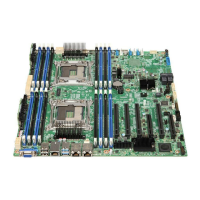
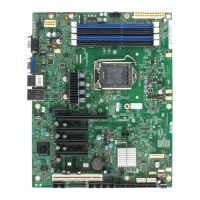
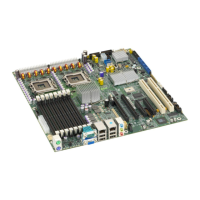
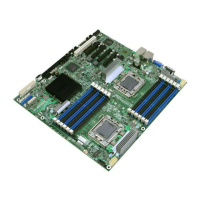
Intel® Server Boards S5520HC, S5500HCV, and S5520HCT TPS Appendix A: Integration and Usage Tips
Revision 1.8
Intel order number E39529-013
145
Appendix A: Integration and Usage Tips
• Prior to adding or removing components or peripherals from the server board, you must
remove the AC power cord. With AC power plugged into the server board, 5-V standby
is still present even though the server board is powered off.
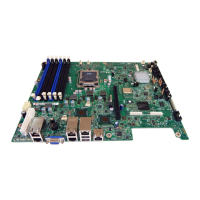
• This server board supports Intel
®
Xeon
®
Processor 5500 Series only. This server board
does not support previous generation Intel
®
Xeon
®
processors.
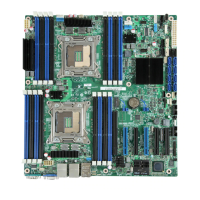
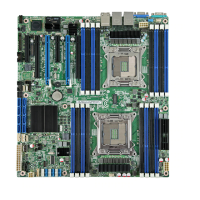
• You must install processors in order. CPU 1 socket is located near the back edge of the
server board and must be populated to operate the board and enable CPU 2 socket.
• On the back edge of the server board, there are EIGHT diagnostic LEDs that display a
sequence of amber POST codes during the boot process. If the server board hangs
during POST, the LEDs display the last POST event run before the hang.
• Only Registered DDR3 DIMMs (RDIMMs) and Unbuffered DDR3 DIMMs (UDIMMs) are
supported on this server board. Mixing of RDIMMs and UDIMMs is not supported.
• Must always start populating DDR3 DIMMs in the first slot on each memory channel
(Memory slot A1, B1, C1, D1, E1, or F1)
• Must populate Quad-Rank RDIMM starting with the first slot (Memory slot A1, B1, C1,
D1, E1, or F1) on each memory channel.
• For the best performance, you should balance the number of DDR3 DIMMs installed
across both processor sockets and memory channels. For example: with two processors
installed, a 6-DIMM configuration with identical DIMMs in slot A1, B1, C1, D1, E1, and
F1 performs better than a 6-DIMM configuration with identical DIMMs at A1, A2, B1, B2,
C1, and C2.
• The Intel
®
RMM3 connector is not compatible with the Intel
®
Remote Management
Module (Product Code AXXRMM) or the Intel
®
Remote Management Module 2 (Product
Code AXXRMM2).
• Normal BMC functionality is disabled with the Force BMC Update jumper (J1H1) set to
the “enabled” position (pins 2-3). You should never run the server with the Force BMC
Update jumper set in this position and should only use the jumper in this position when
the standard BMC firmware update process fails. This jumper must remain in the default
(disabled) position (pins 1-2) when the server is running normally.
• This server board no longer supports the Rolling BIOS (two BIOS banks). It implements
the BIOS Recovery mechanism instead.
• When performing a normal BIOS update procedure, you must set the BIOS Recovery
jumper (J1E5) to its default position (pins 1-2).
• Locate the device that generates System Event Log (SEL) PCI device event: the SEL
PCI device event may not specify which PCI device in the system that generates the
event entry, users can follow below tips to locate the PCI device:
- Step1: Identify the PCI device location number: the SEL event entry in Hex code
(see the SEL viewer utility help text instruction for read of Hex code) provides the
PCI device bus number, device number, and function number with last two bytes:
ED2 and ED3. The byte of ED2 provides the PCI device bus number; the higher four
bits of ED3 byte provides the device number, and the lower four bits of ED3 byte
provides the function number.
 Loading...