90-826148R2 MARCH 19971D-6 - IMPORTANT INFORMATION
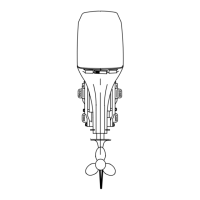
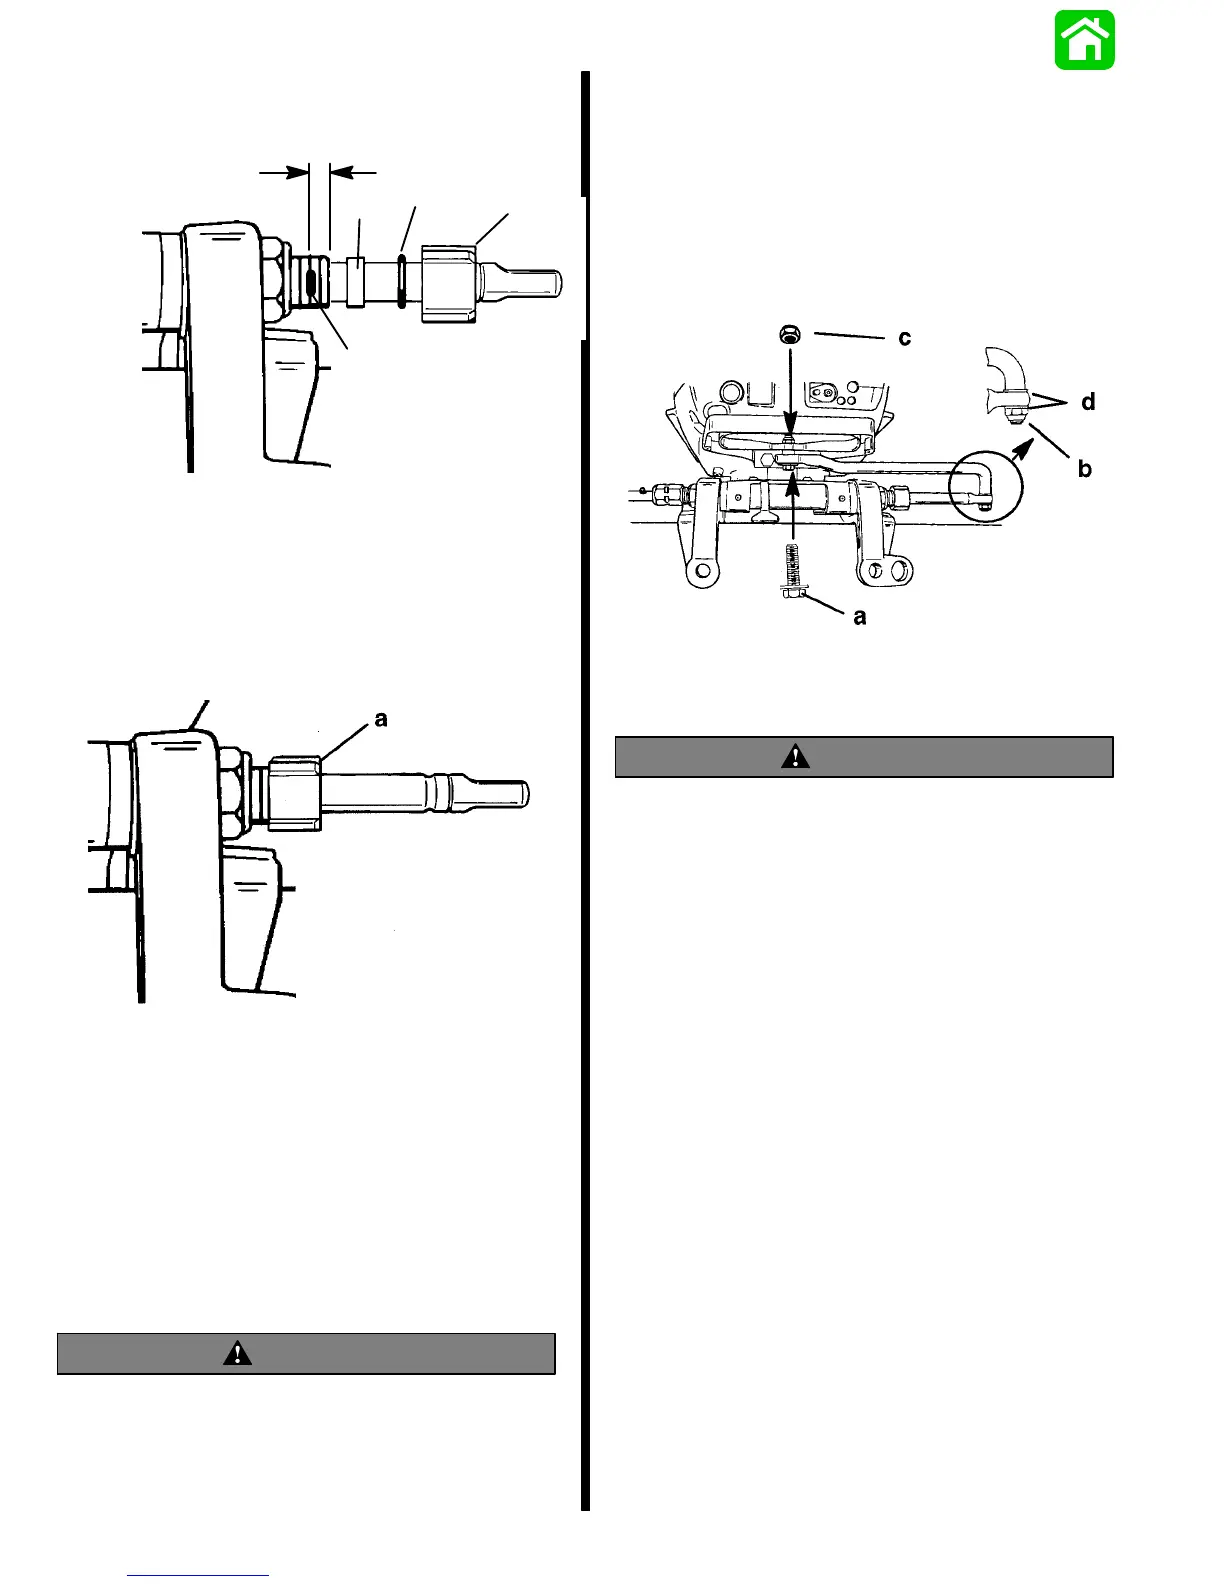
3. Placeamarkonthetilttube,1/4in.(6.4mm)from
end of tilt tube. Install plastic spacer, o-ring and
cap onto steering cable as shown.
1/4 in.
(6.4mm
)
a
b
c
d
a - Mark
b - Plastic Spacer
c - O-ring
d - Cap
4. Thread cap onto the tilt tube up to the 1/4 in.
(6.4mm) mark.
a - Cap
Steering Link Rod Installation
IMPORTANT: The steering link rod that connects
thesteeringcabletotheenginemustbefastened
using special washer head bolt (“a”) (10-823919)
and self locking nuts (“b” & “c”) (11-34863).
These locknuts must never be replaced with
common nuts (non locking) as they will work
looseand vibrateofffreeing thelinkrod todisen-
gage.
WARNING
Disengagement of a steering link rod can result
in the boat taking a full, sudden, sharp turn. This
potentiallyviolentactioncancauseoccupantsto
be thrown overboard exposing them to serious
injury or death.
1. Assemble steering link rod tosteering cablewith
two flat washers and nylon insert locknut
(11-34863). Tighten locknut until it seats, then
back nut off 1/4 turn.
2. Assemble steeringlink rod toengine with special
washer head bolt (10-823919) and nylon insert
locknut (11-34863). First torque bolt to 20 lb. ft.
(27.1 N·m), then torque locknut to 20 lb. ft. (27.1
N·m).
a - Washer Head Bolt
b - Nylon Insert Locknut
c - Nylon Insert Locknut
d - Flat Washer (2)
WARNING
After installation is complete (and before operat-
ing outboard), check that boat will turn right
whensteering wheel is turned right and thatboat
will turn left when steering wheel is turned left.
Check steering thru full range (left and right) and
atalltiltanglestoassureinterference-freemove-
ment.
Remote Control Installation
Refer to “Quicksilver Accessories Guide” to deter-
mine correct length of remote control cables.
IMPORTANT:Remotecontrolcablesmustbecor-
rect length. Sharp bends on too-short of cables
result in “kinks;” too-long of cables require un-
necessary bends and/or loops. Both conditions
place extra stress on the cables.
IMPORTANT: Install control cables to remote
control and mount remote control BEFORE at-
taching control cables to engine. Refer to instal-
lation instructions included with remote control.
 Loading...