2-6
Turning the Power ON/OFF
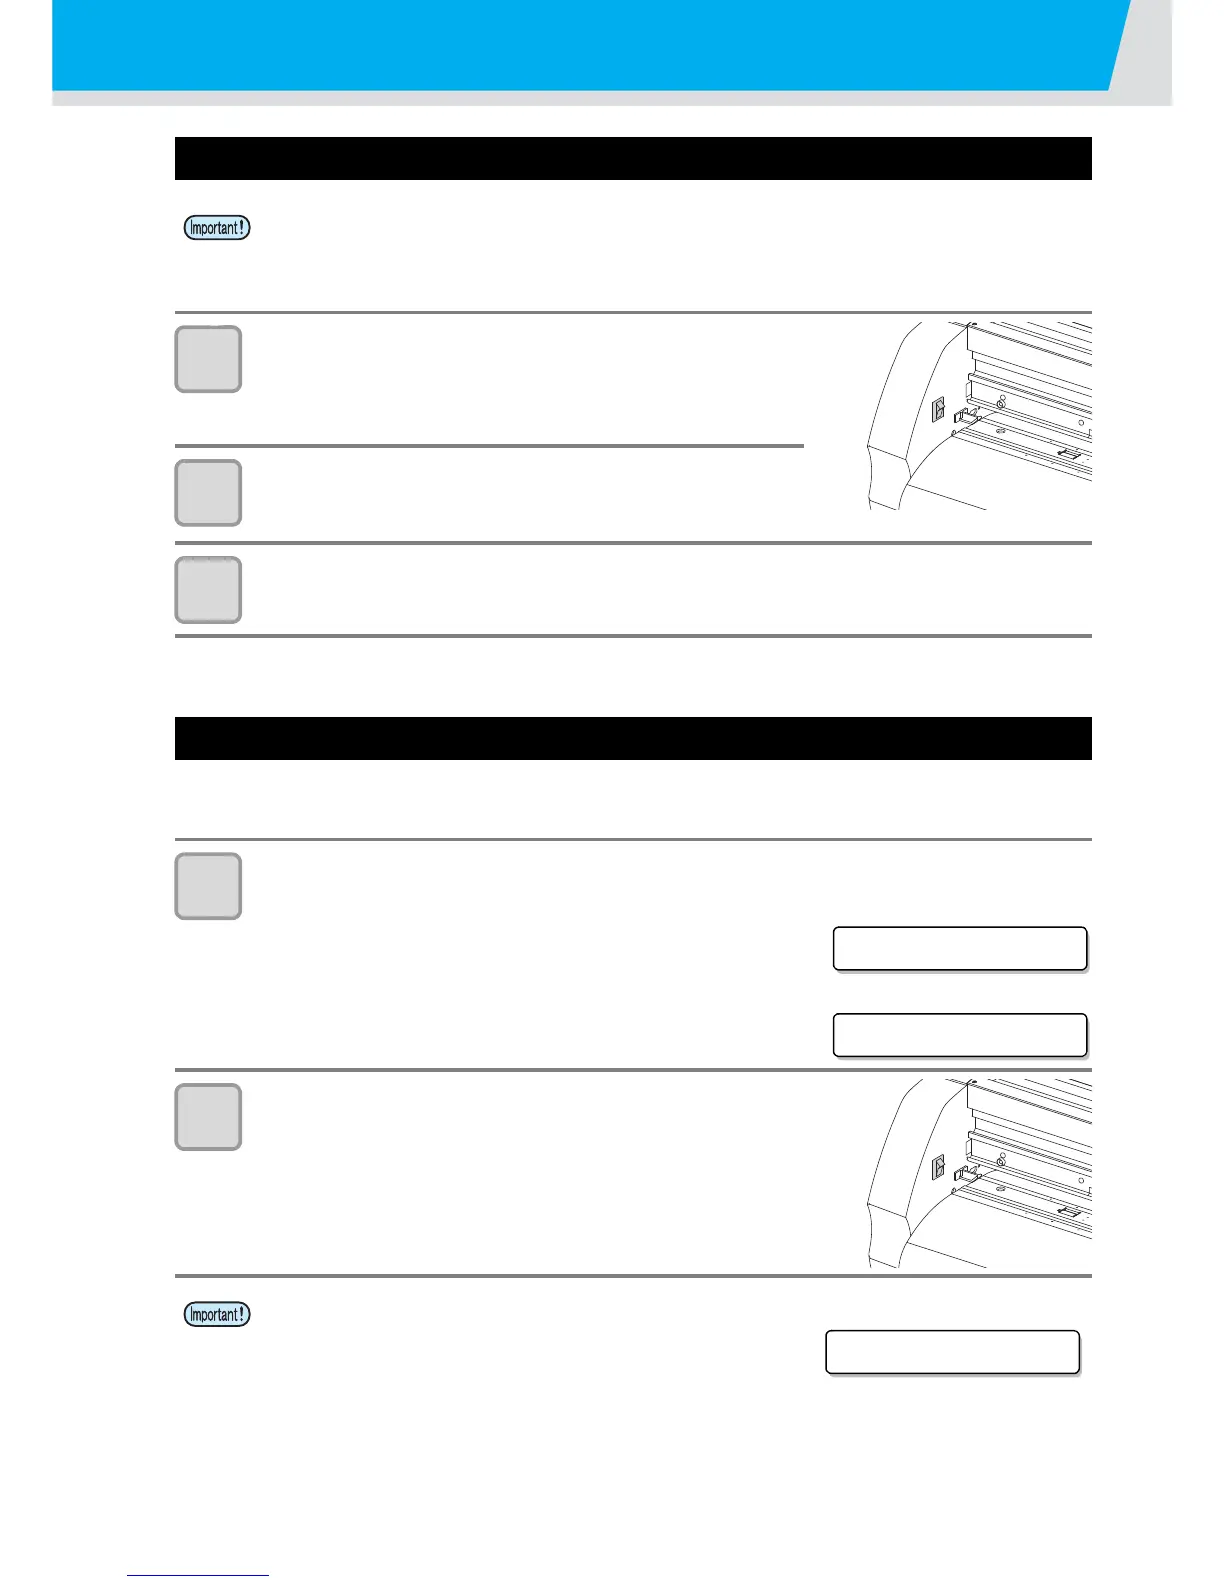
Turning the power on
1
Press the “ | ” side of the power switch.
• When the plotter is turned on, it will enter the first operation mode,
which are followed by the subsequent modes. Refer to P.1-12 for
the operation modes.
2
The POWER lamp is lit in green and the fan for sheet
suction rotates.
3
Check the receiving buffer.
• Then, the conditions for the currently selected tool appears on the display.
Turning the power off
When plotting is completed, press the “ O ” side of the power switch to turn the power off.
Before turning off the power, check that no data has been received.
1
Confirm that the plotter is not receiving any data.
• Make sure that the display is indicating REMOTE mode or LOCAL
mode.
2
Press the “ O ” side of the power switch.
• The POWER lamp on the operation panel turns off.
• Before turning the power on, check that the pinch rollers have been raised.
• Be sure to turn on the host computer before turning on the plotter. If this order is not correctly
followed, the plotter can malfunction.
• Once the power is turned off, wait at least five seconds before turning the power on again.
• Turn on the power again after five sec. and more have passed when you turned it off once.
• While the setting value such as tool condition has been saved, the
message on the right is displayed on the screen. Do not turn off
the power while the message has been displayed.
If the setting value such as tool condition has not been saved
normally, the setting value returns to the factory default when
turning on the power next time.
 Loading...