2-17
1
2
Basic Operations
4
6
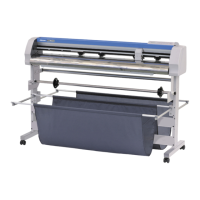
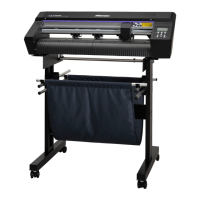
Installing a Roll Sheet
Attach the sheet basket
Attach the sheet basket to prevent the cut (plotted) result from being stained.
Attach the sheet basket both on the front side and the rear side of this device.
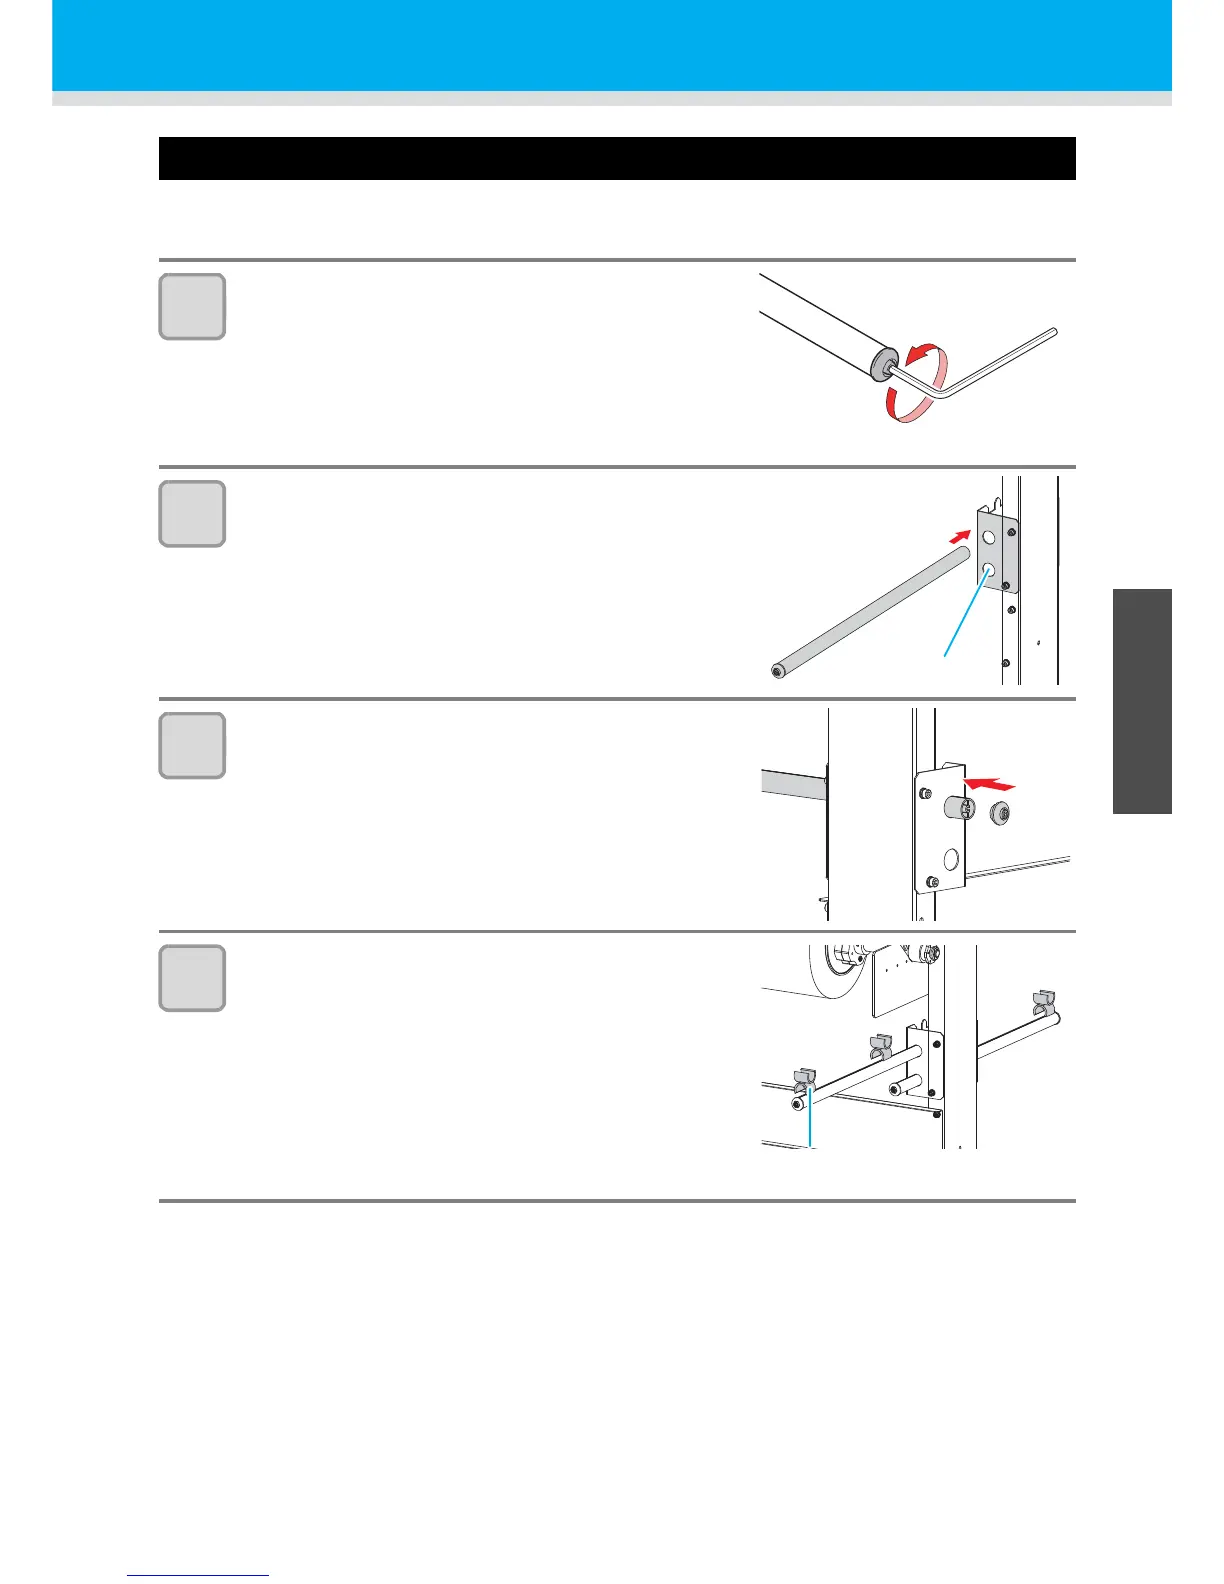
1
Remove the cap of the attached basket bars (x 4)
(only one side).
• Remove the cap with the attached hexagon wrench.
2
Insert the basket bar into the basket bar attaching
hole on the leg of this device.
• Attach the basket bar as indicated.
3
Attach the cap removed in the Step 1 on the basket
bar.
4
Attach the pipe joint on the basket bar.
• Use the upper basket bar on right and left for the sheet basket
in front, and use the lower basket bar for the sheet basket in
rear.
• Attach the pipe joint on two positions on the upper basket bar
and one on the rear side basket bar (both for right and left).
 Loading...