Set-up & Connections
5-6
5.10 Installing a Graph / Text Printer
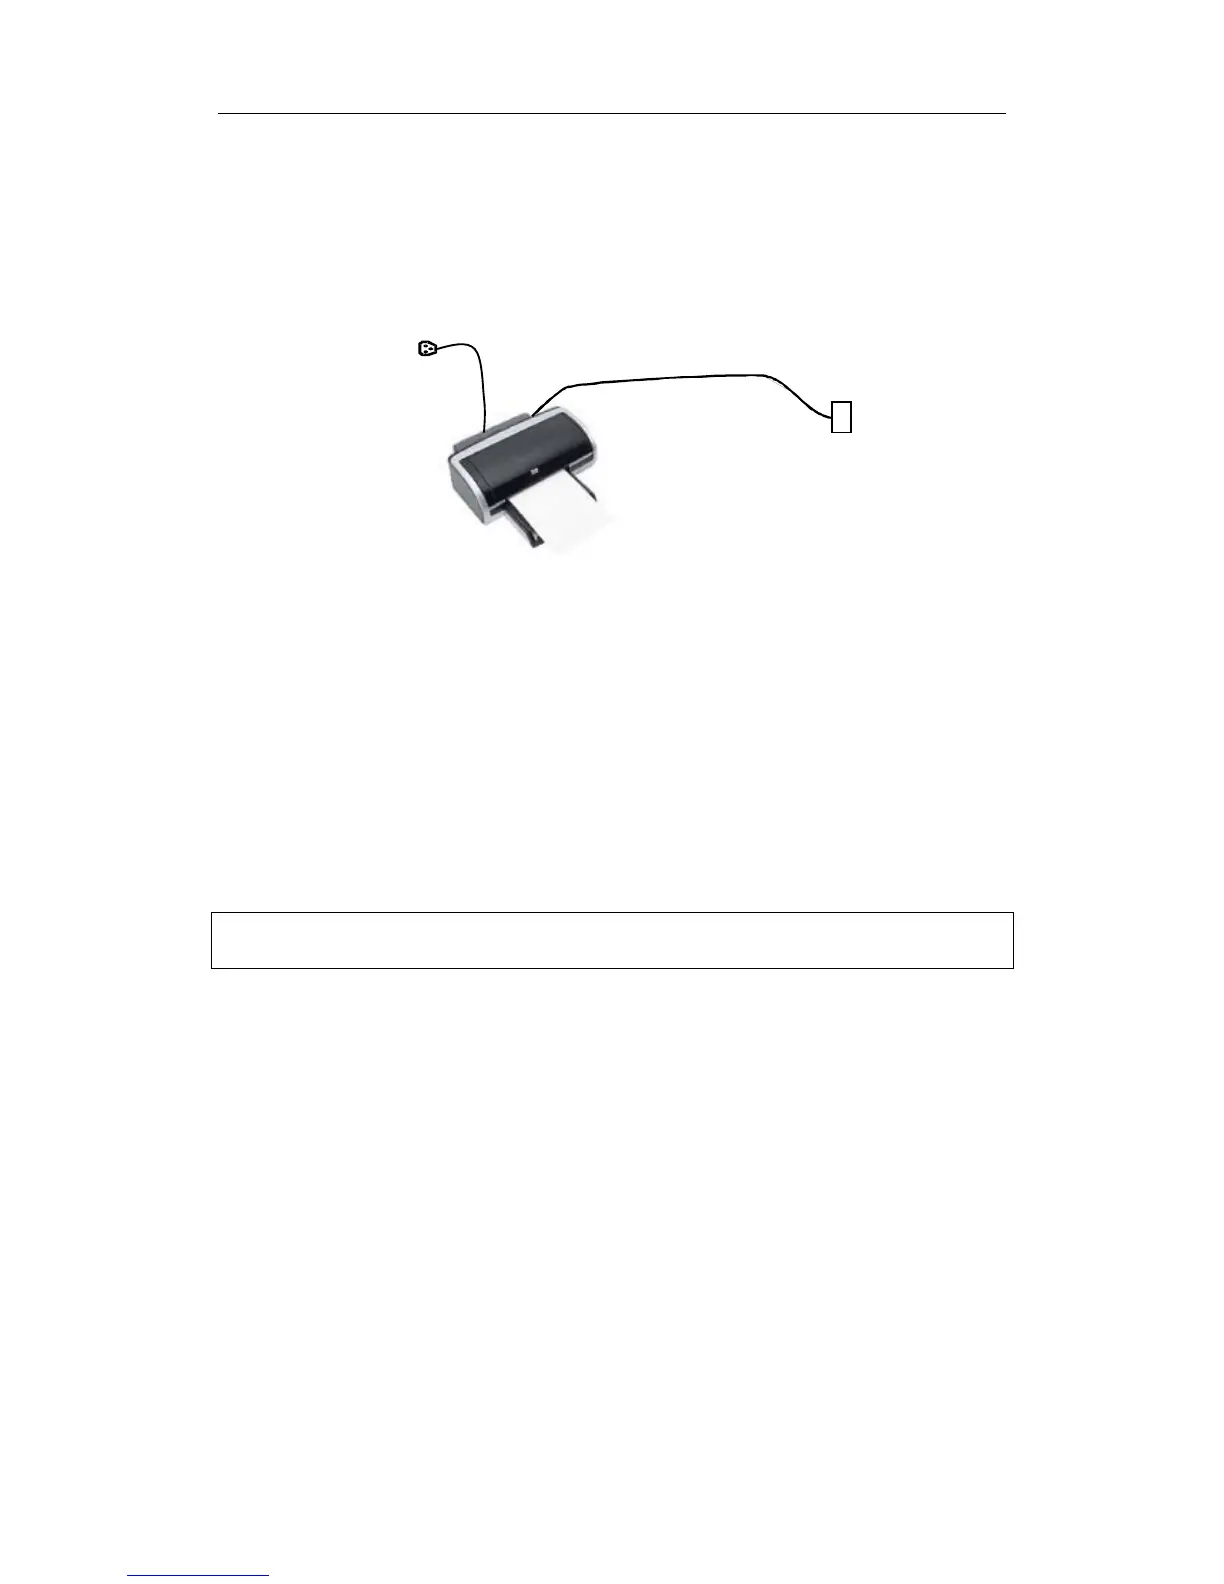
As shown in the figure below, a graph / text printer has a power cord and data cable. The
power cord shall be directly connected to a wall receptacle as required.
To install the printer:
1
Connect the data cable to a USB port of the system.
2
Connect the power cord of the printer to a wall receptacle.
3
Turn on the power of the ultrasound system and the power of the printer.
4
Press [Setup] key on the control panel to show the [Setup] menu.
5
Click [Peripheral Preset] to open the [Peripheral Config] screen.
6
The [Printer] page is opened by default.
7
Click [Add Printer] button to open the [Browse] screen.
8
Select the specific path for installation and click [OK] to install it.
NOTE:
When you install the printer’s driver, you must specify the specific path for installation;
otherwise vague path may result in longer time for searching.
To set up the printer:
1 Click to select the installed printer in the list in the [Printer] page.
2 Set it as default printer.
3 To view its attribute, click [Printer Attribute] button to open the [Local Printer Attribute]
screen.
4 To set paper size, select A4, B5, Letter and Unknown in the drop-down list.
5 To set print orientation, select between [Landscape] and [Portrait].
6 Click [OK] button.
USB connector
Power cord
Data cable
 Loading...