Exam Types
9-2
z Misc 3 (Miscellaneous 3)
z User-defined
9.2 Selecting Transducer and Exam Type
z Opening Select Probe & Exam Screen
Method one is:
1 Directly connect a transducer or connect a transducer via the Probe Extend Module.
2 Press [Info] key on the control panel to open the Patient Info screen.
3 Enter the patient information.
4 Press [Exam] key on the control panel to exit the patient information screen and open the
[Select Probe & Exam] screen and at the same time the patient information is saved.
Method two is:
1 Directly connect a transducer or connect a transducer via the Probe Extend Module.
2 Press [Exam] key on the control panel to open the Select Probe & Exam screen.
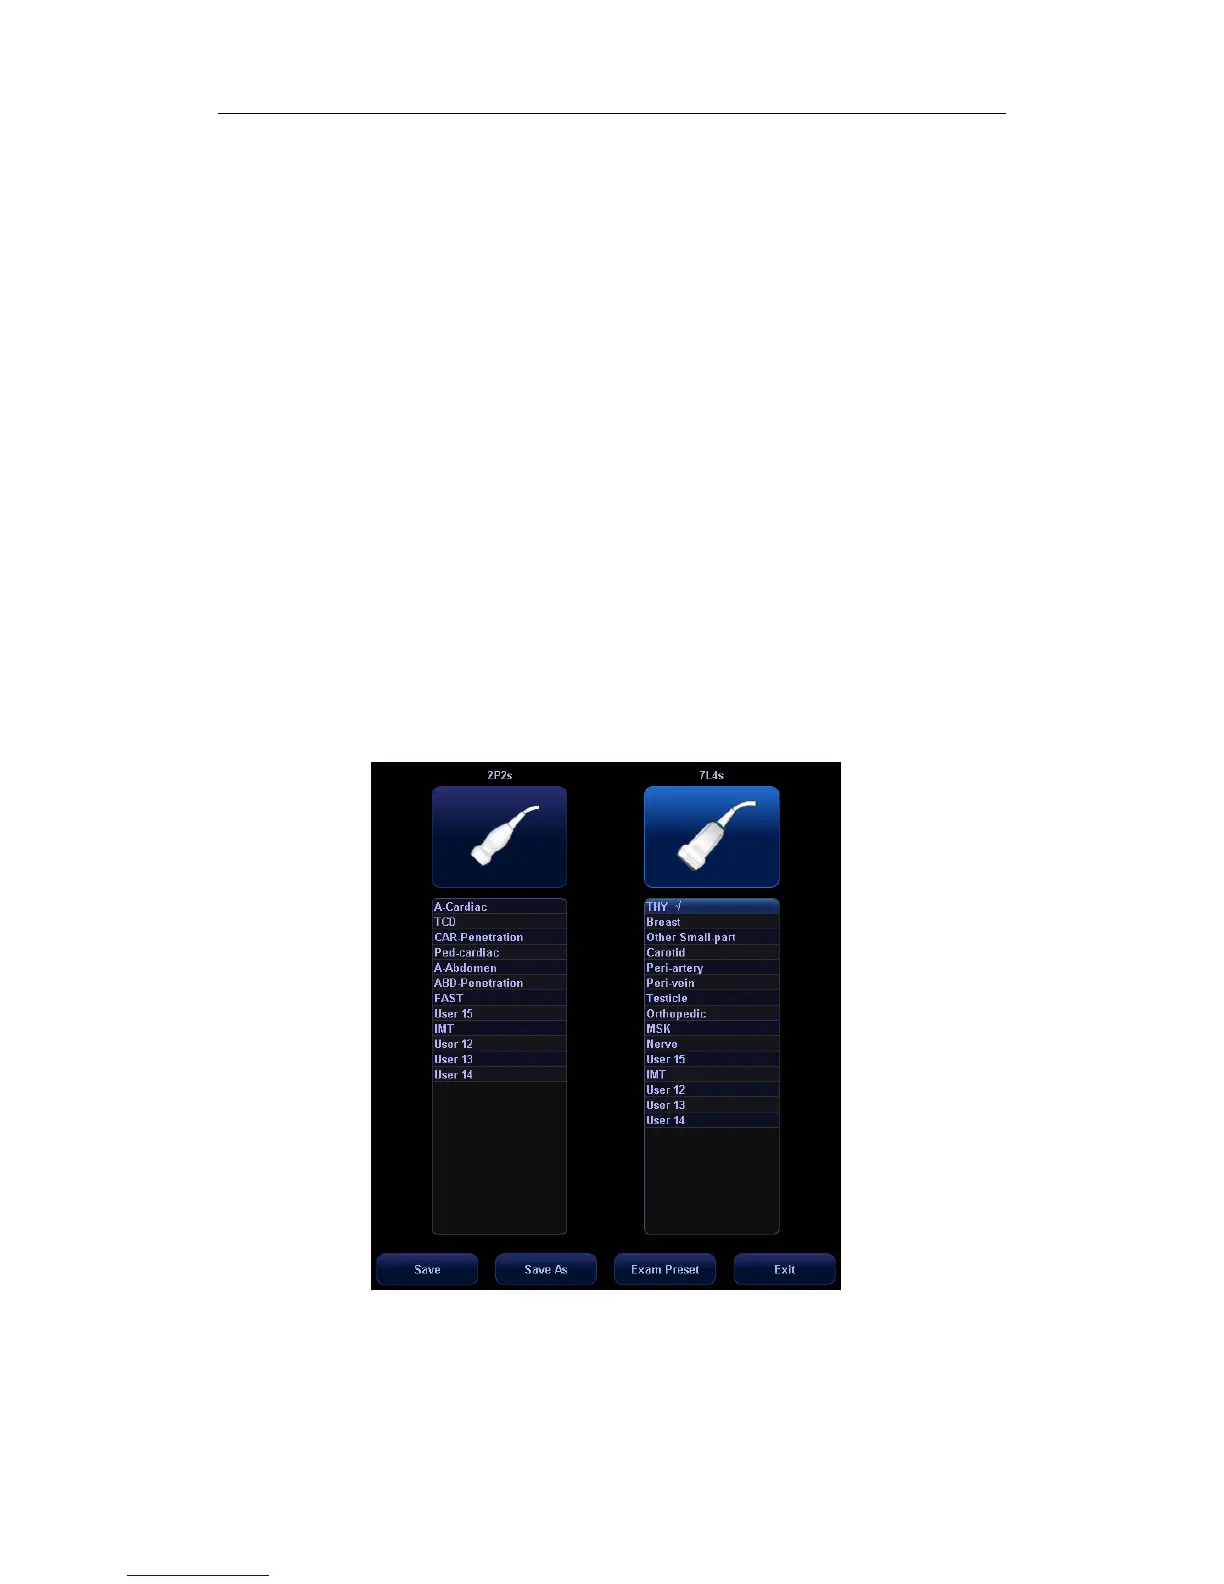
z Selecting Transducer and Exam Type
In the Select Probe & Exam screen as shown below, roll the trackball to move the cursor onto
an exam type in a transducer column, and click [Set]. The transducer and the exam type are
selected, and the selected exam type is entered.
To save image parameter settings of the current exam mode:
z [Save]: Click to pop up a dialog box to prompt you that the operation will overwrite
the current image parameters. You can select [OK] or [Cancel].
z [Save As]: Click to save the current image parameter settings to specified exam
mode.
 Loading...