USEFUL FUNCTIONS
- 169 -
2
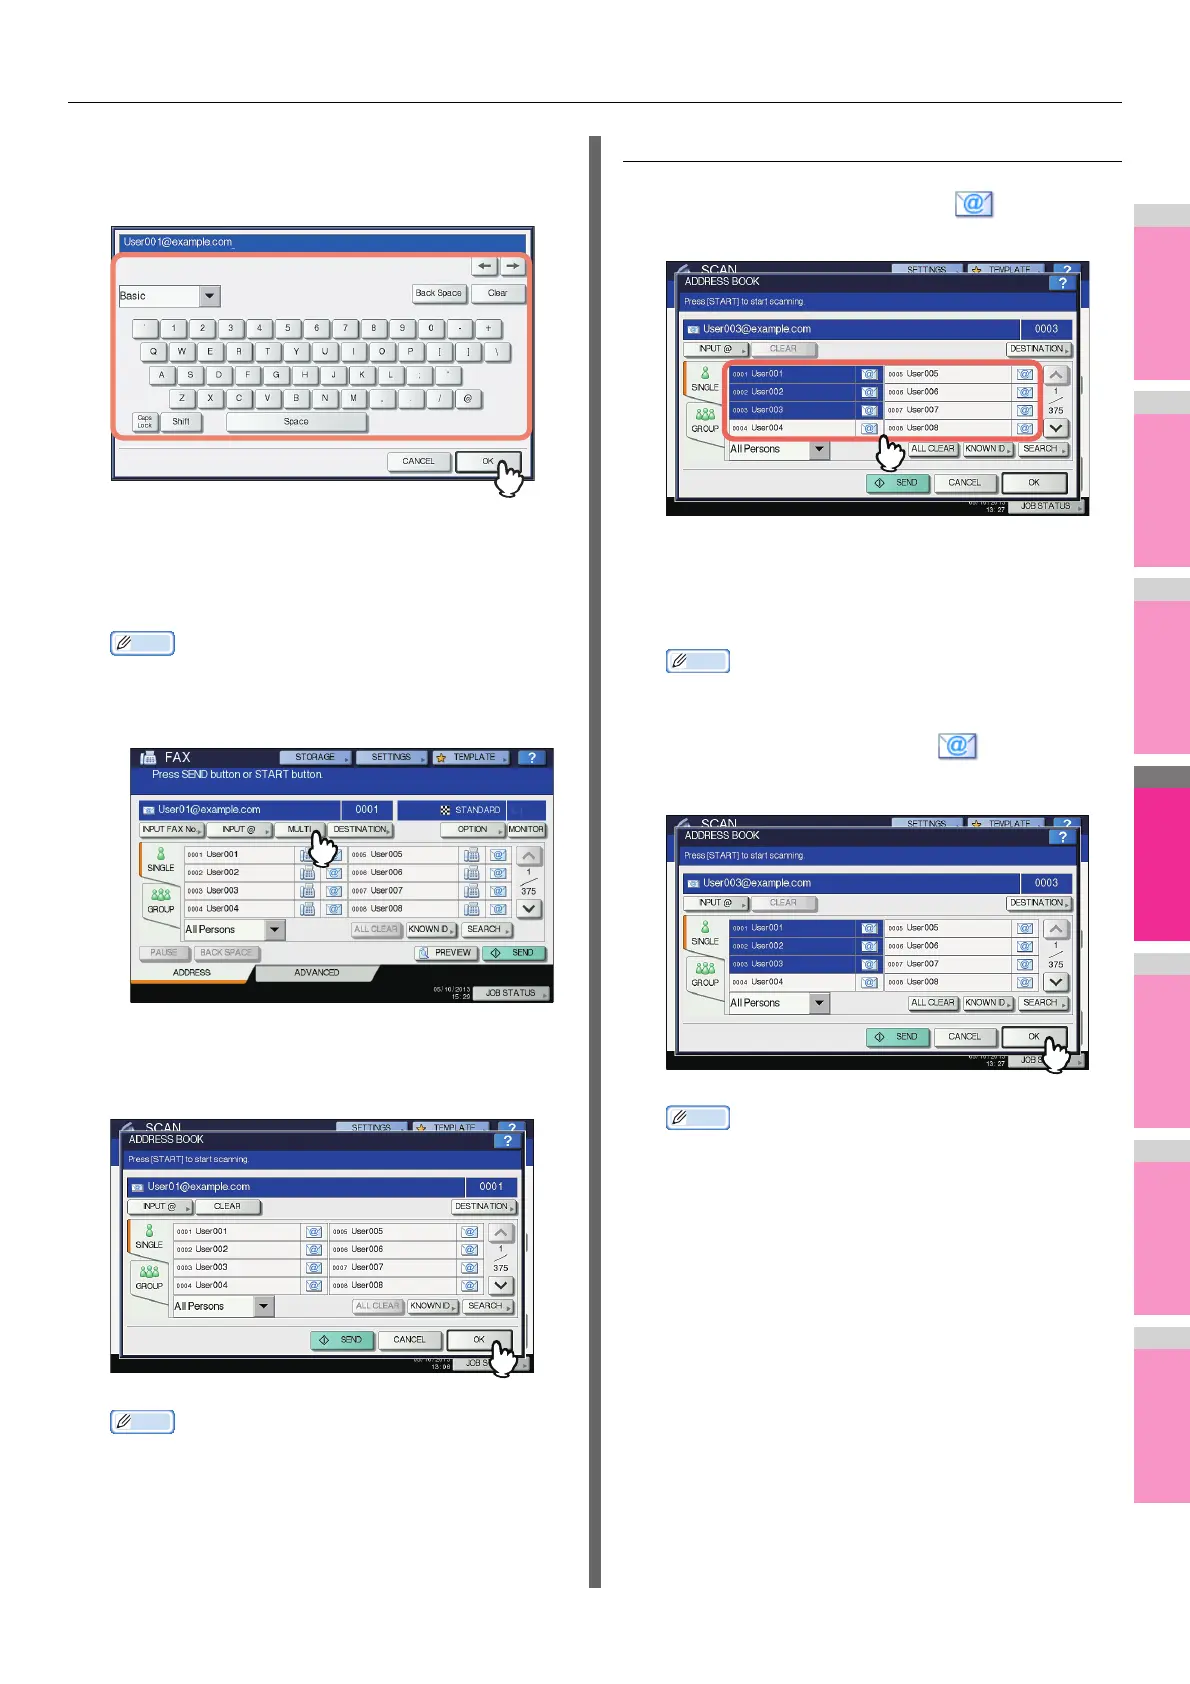
Enter an e-mail address using the keyboard
and digital keys, and then press [OK] to set
the entry.
• For Scan to E-mail, proceed to step 3.
• For Internet faxing, the e-mail address is specified.
Continue the Internet faxing operation.
P.181 "Sending Internet Faxes"
• If you want to specify multiple e-mail addresses for
Internet faxing, press [MULTI] and repeat steps 1 and
2.
• If you press [INPUT @] without pressing [MULTI], you
can edit the e-mail address you have just entered.
3
Press [OK].
• Before pressing [OK], you can specify additional e-mail
addresses.
• If you want to view or delete the specified e-mail
addresses, press [DESTINATION].
P.175 "Viewing/Deleting specified e-mail
addresses"
Selecting from the address book
1
On the [SINGLE] tab, press for the
desired contacts.
• For Scan to E-mail, proceed to step 2.
• For Internet faxing, the e-mail address is specified.
Continue the Internet faxing operation.
P.181 "Sending Internet Faxes"
• You can select multiple contacts.
• Selected contacts are highlighted.
• To cancel your selection, press again.
2
Press [OK].
• If you want to view or delete the specified e-mail
addresses, press [DESTINATION].
P.175 "Viewing/Deleting specified e-mail
addresses"
 Loading...