MANAGING COUNTERS (COUNTER MENU)
- 296 -
Note
• When the remaining number of available copies/prints
becomes “0” during printing, a few copies that exceed
the quota may be printed and counted because the
equipment cannot stop the job immediately.
Editing department codes
You can edit an existing department code.
1
On the DEPT. MANAGEMENT menu screen,
press [DEPARTMENT REGISTRATION].
The DEPARTMENT CODE screen is displayed.
Memo
• For instructions on how to display the DEPT.
MANAGEMENT menu screen, see the following page:
P.293 "Logging on as administrator"
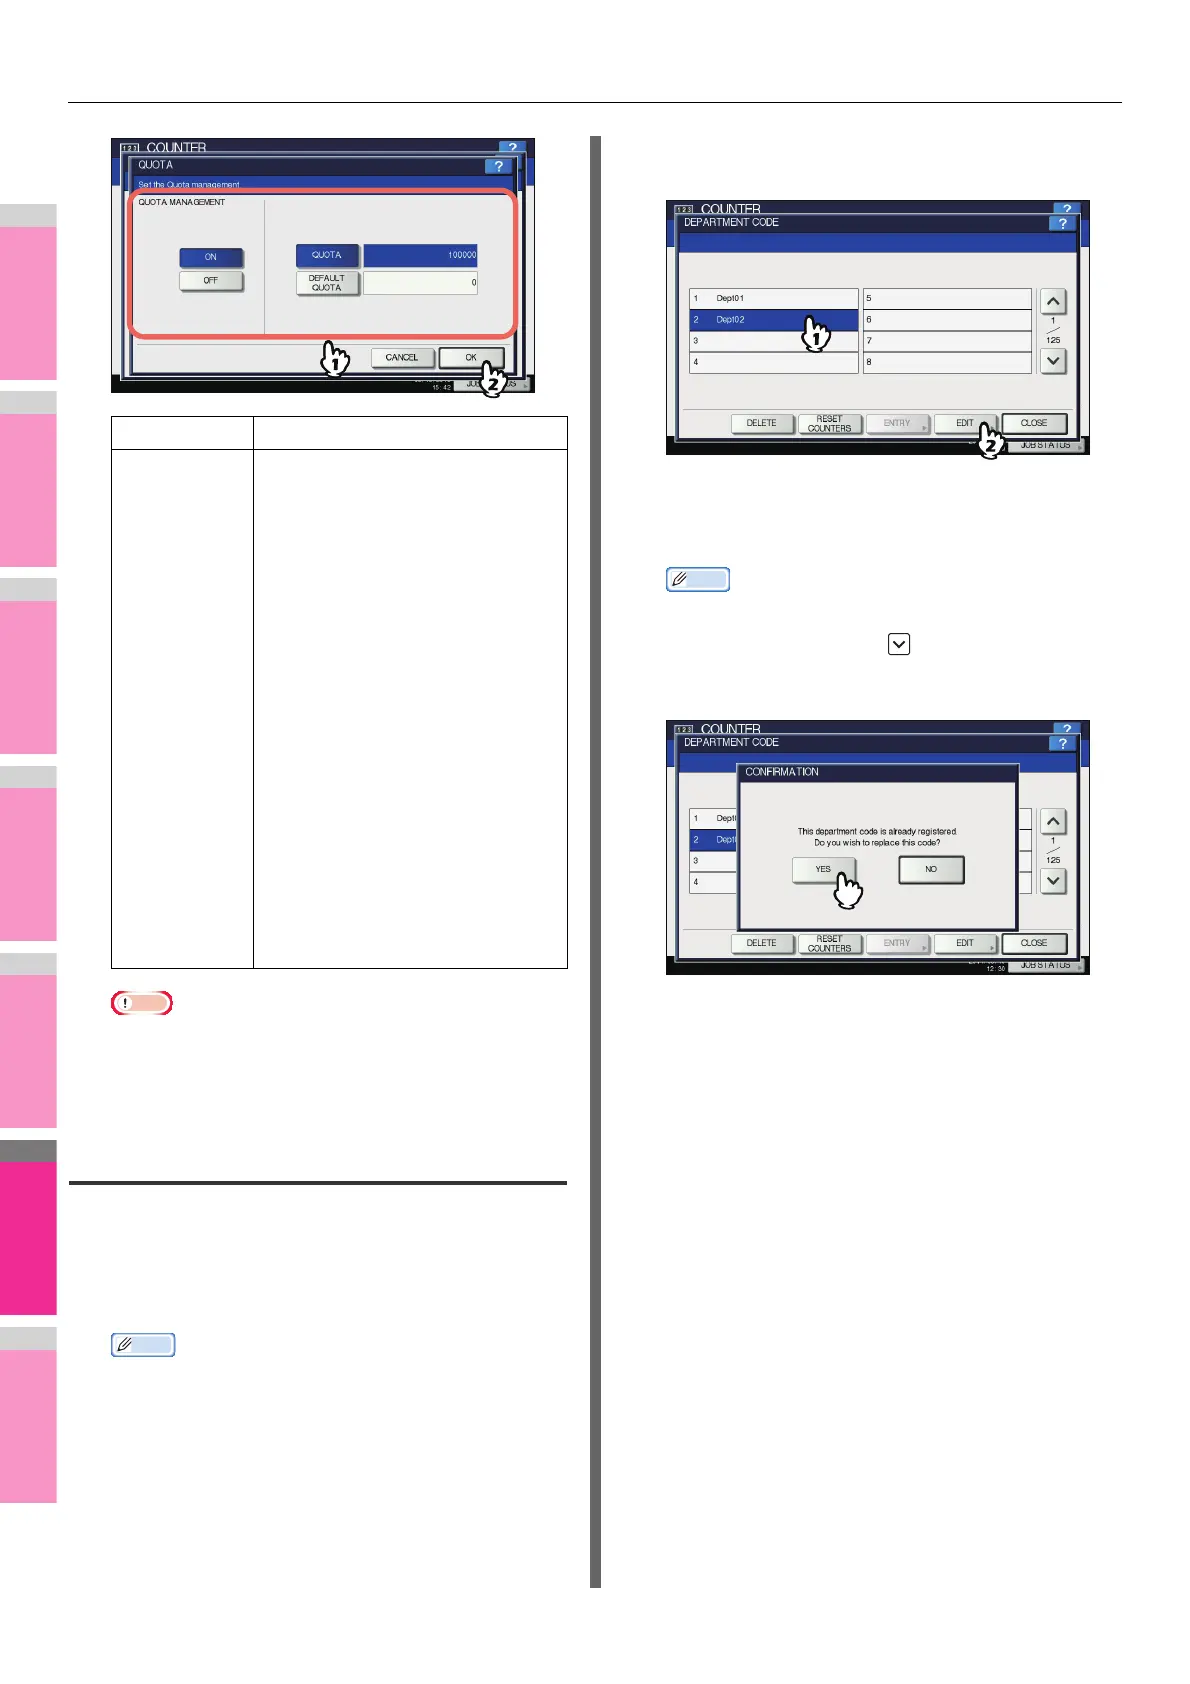
2
Press the department button that you want
to edit, and then [EDIT].
The message “This department code is already
registered. Do you wish to replace this code?” is
displayed on the CONFIRMATION screen.
Memo
• If the touch panel does not display the desired
department code, press to display the next page.
3
Press [YES].
The on-screen keyboard is displayed.
For details of the on-screen keyboard, see the following
page:
P.300 "On-screen keyboard"
4
If changing the department name, enter a
new department name and press [OK]. If
not, just press [OK].
The department code currently set is displayed on the
EDIT DEPARTMENT CODE screen.
Item name Description
Quota
Management
Quota management is enabled or
disabled by pressing [ON] or [OFF].
To enable it, press [ON] and set the
quota and the default quota value.
• QUOTA — Displays the
remaining number of available
copies/prints for this department
code. The number entered in the
[DEFAULT QUOTA] box is
subtracted every time a copy/print
is performed. Copy/print is
restricted when it reaches “0”.
When a new department code is
registered, the number entered in
the [DEFAULT QUOTA] box is
displayed in this box.
You can manually change the
number displayed in this box to a
desired value.
• DEFAULT QUOTA — Enter the
initial quota for this department
code. You can enter up to
“99,999,999.99”.
 Loading...