EDITING FUNCTIONS
- 80 -
4
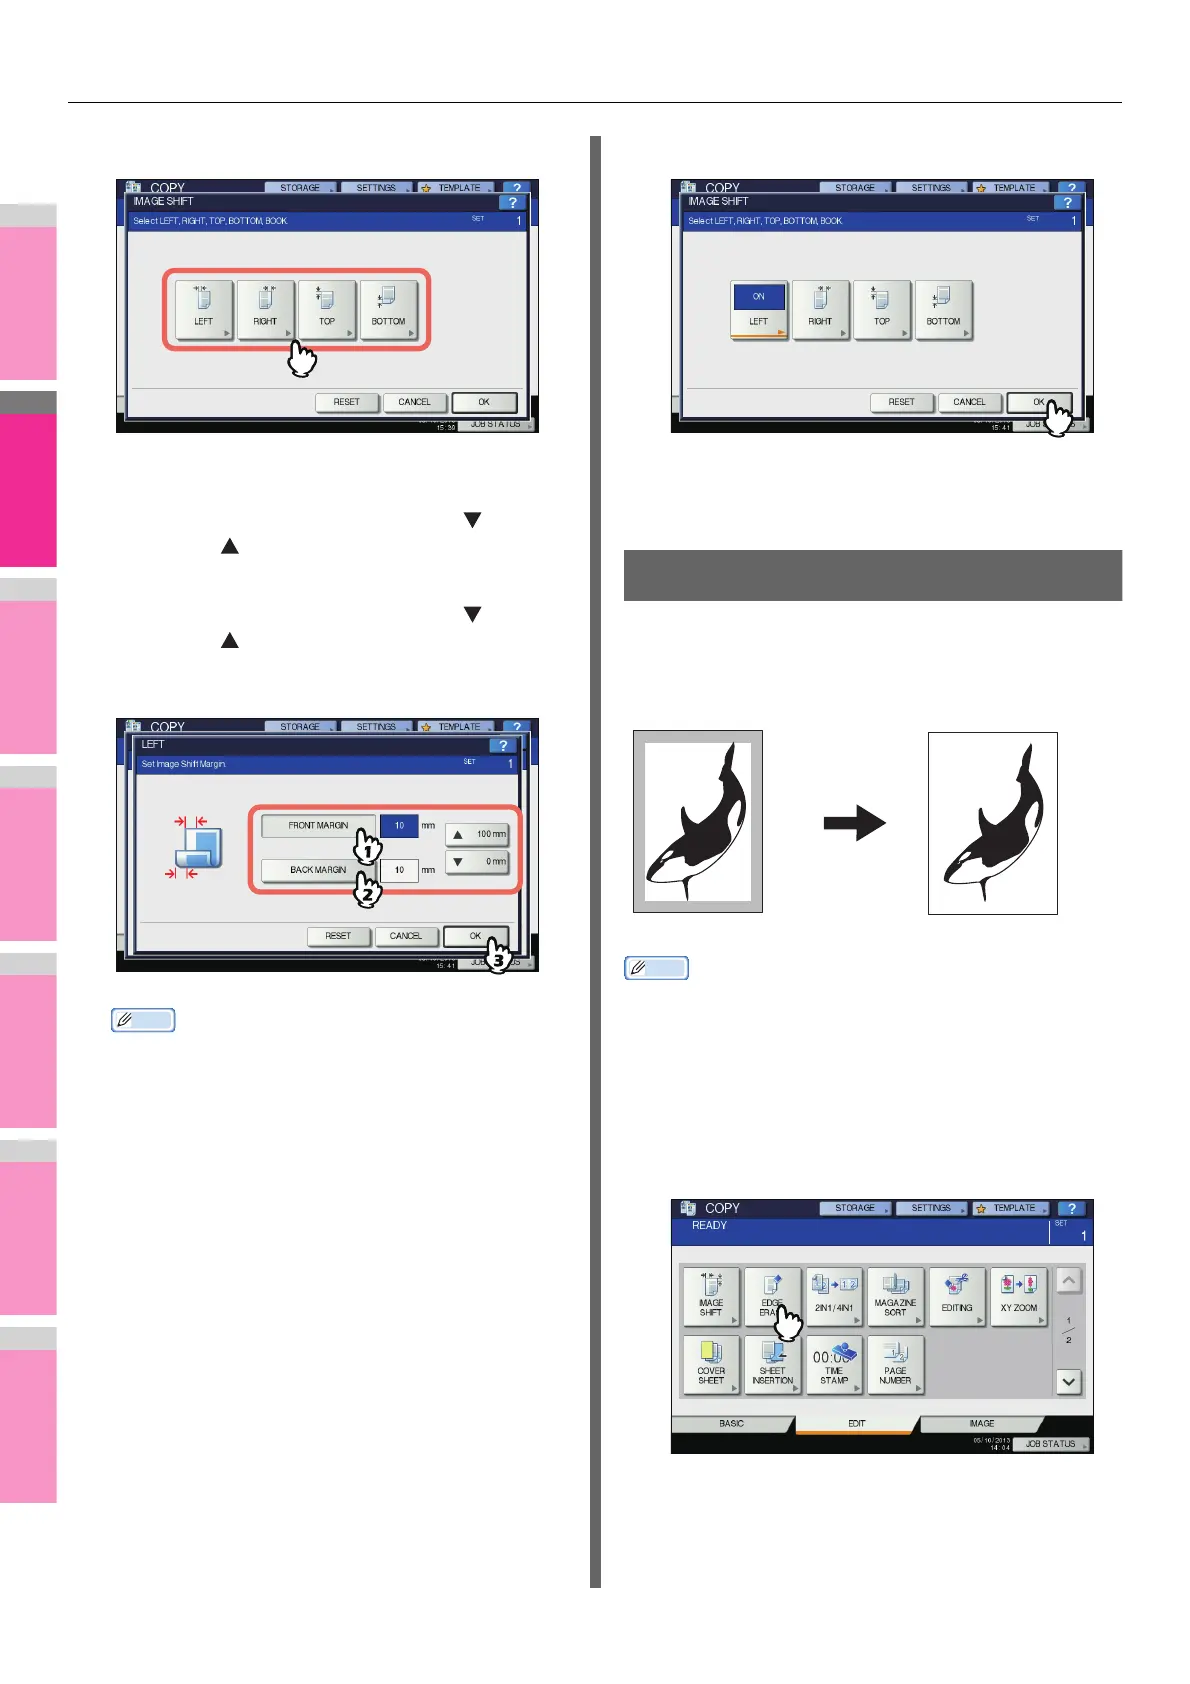
Select the type of binding margin.
5
Adjust the width of the binding margin.
1) Press [FRONT MARGIN] and adjust the binding
margin width on the front side using [ 0 mm]
(0") and [ 100 mm] (3.94"). (The width on the
back side will be also adjusted in the same way.)
2) Press [BACK MARGIN] and adjust the binding
margin width on the back side using [ 0 mm]
(0") and [ 100 mm] (3.94"). (Only the width on
the back side will be adjusted.)
3) Press [OK].
Memo
• Note that a left/right binding margin will be created on
the opposite side on the back side of paper in duplex
copying. (For example, when a binding margin is
created on the right of the front side of the paper, it will
be created on the left of the back side.)
6
Press [OK].
7
Select other copy modes as required, and
then press the [START] button on the
control panel.
Edge Erase
You can whiten the edge of the copied image when a shadow-
like dark part appears on it. This function is called “edge
erase”. It is useful when you want to make the copied image
neat and clear if the edge of the original is dirty or torn.
Memo
• Only standard size originals are applicable.
1
Place paper in the tray(s).
When using bypass copying, be sure to set the paper
size.
2
Place the original(s).
3
Press [EDGE ERASE] on the EDIT menu.
 Loading...