EasyManuals Logo
Home>Ricoh>All in One Printer>GR-C1

Ricoh GR-C1 User Manual

Ricoh GR-C1
1207 pages
To Next Page IconTo Next Page
To Previous Page IconTo Previous Page
Page #202 background imageLoading...
Page #202 background image
Image Creation
D117/D118 4-48 SM
4.7.2 PCDU (CMY)
The removal procedure of the PCDU (CMY) is same as for PCDU (K). However, it is not
necessary to release the lock lever.
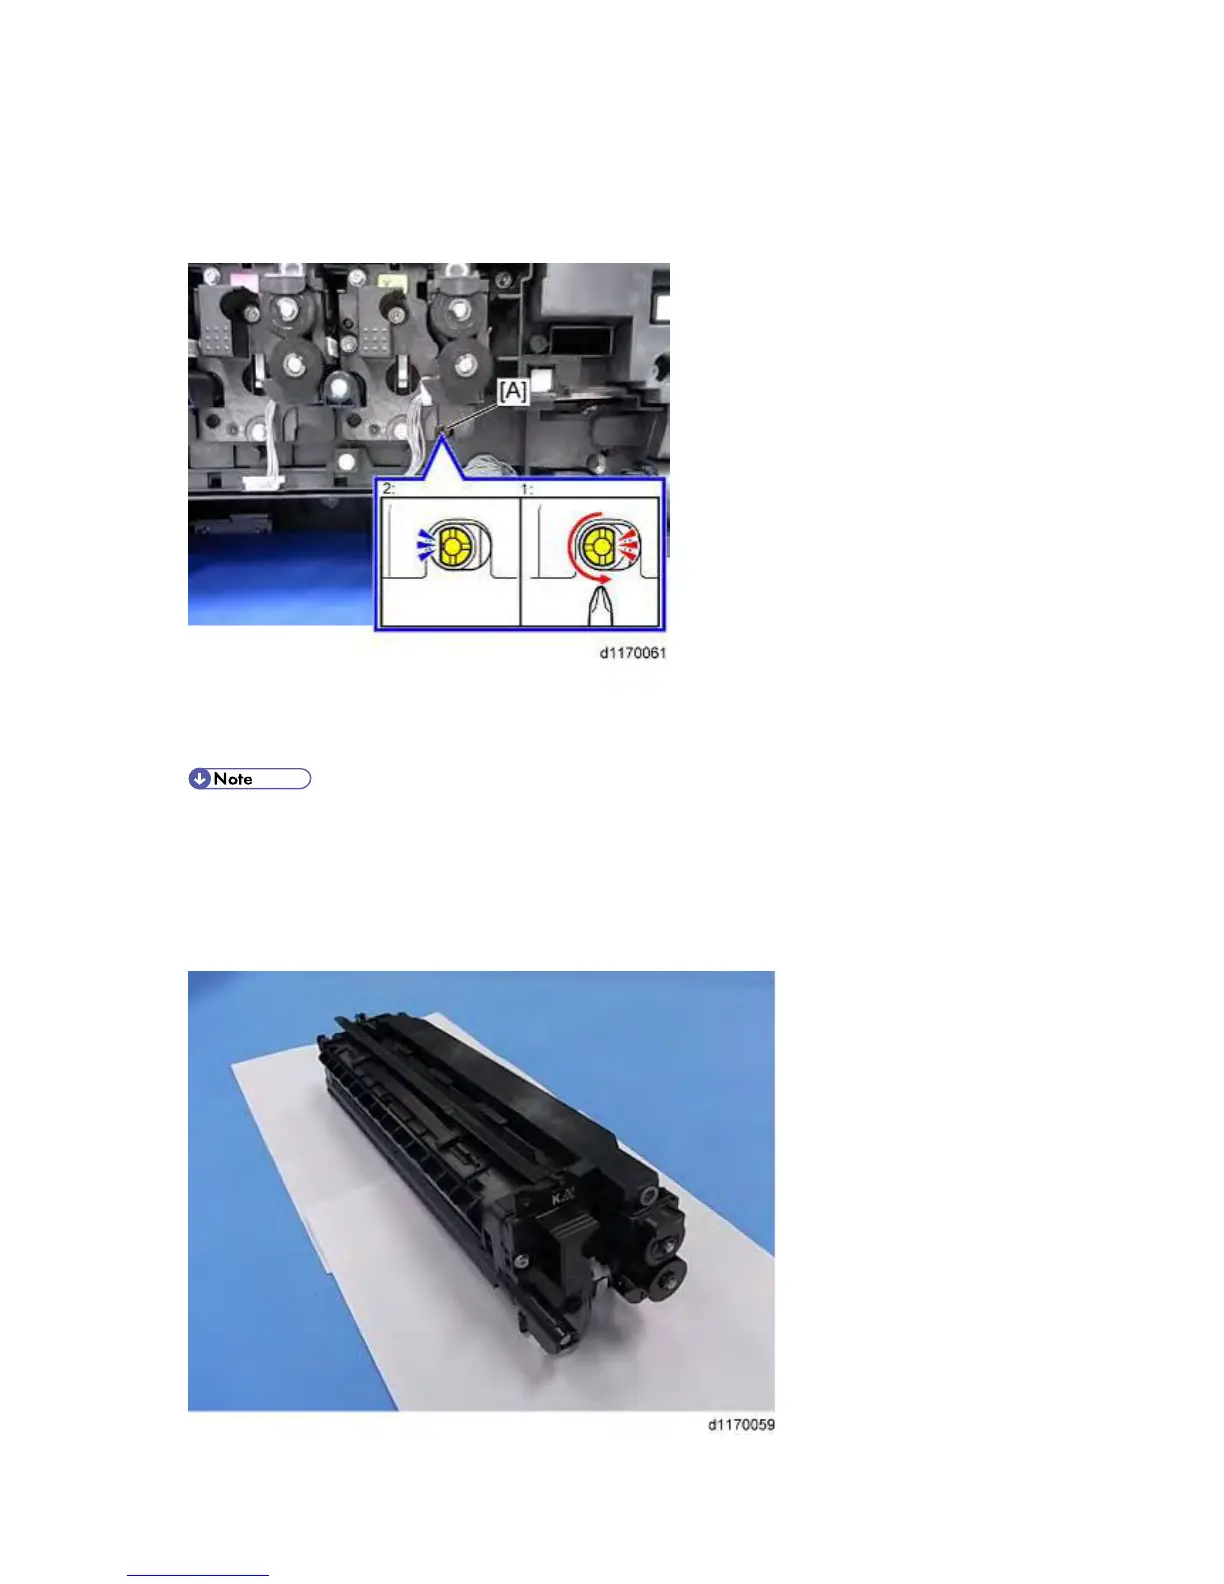
1: Tension released
2: Tension applied
ï‚§ Check that the ITB has no tension before PCDU (CMY) replacement. Otherwise, the ITB
may be damaged.
ï‚§ The tension of the ITB can be released as follows.
ï‚§ Turn the pressure release screw [A] to the left, until the flat part of the half moon on the
screw points to the right [1].

Table of Contents

Other manuals for Ricoh GR-C1

Questions and Answers:

Question and Answer IconNeed help?

Do you have a question about the Ricoh GR-C1 and is the answer not in the manual?

Ricoh GR-C1 Specifications

General IconGeneral
BrandRicoh
ModelGR-C1
CategoryAll in One Printer
LanguageEnglish

Related product manuals