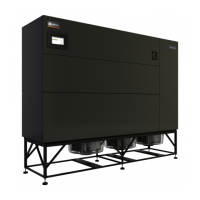
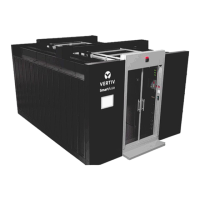
13.6 Installing the U2U Network
13.6.1 Required Network Equipment
Ethernet cable CAT5 or greater
• Maximum cable length is 328ft. (100m).
• An Ethernet repeater is required for cable lengths greaterthan328ft.(100m).
Network switch
• IEEE 802.3; IEEE 802.3u
• 10/100Mbps speed
• Multiple 10/100 RJ-45 ports, one shared.
• RJ-45 up link port
NOTE: Up to 32 cooling units may be connected in a U2U network.
13.6.2 Plan Wiring Runs
When planning the layout of the conditioned space, consider the following:
• Good wiring practices.
• An Ethernet repeater is required for cable lengths greaterthan328ft.(100m).
• A private network that only connects and manages the cooling units is required.
• Keep control and communication cables away from power cables to prevent electromagnetic interference.
• Keep cables away from noise introducing devices such as machines, fluorescent lights, and electronics.
• Do not bend cables to less than four times the diameter of the diameter of the cable.
• Do not deform cables when hanging or securing in bundles.
• Do not exceed 25lb (11kg) of tension when pulling cables to avoid stretching.
• Do not damage cables when securing them. Use only approved hangers, such as telephone wire/RG-6 coaxial
wire hangers.
13.6.3 U2U Wiring Connections
NOTICE
Cooling units are factory wired for stand alone operation. Do not connect the U2U network cabling before setting
the U2U network configuration/groups. Network communication conflicts and unreliable display readings will
result.
Before you begin, refer to Preparing for U2U Group Set Up on page97 , andConfiguring U2U Network Settings
on page98 .
– or –
Contact Vertiv™ Technical Support at 1-800-543-2778, opt. 5 or https://www.vertiv.com/en-us/support/.
13 Vertiv™ Liebert® iCOM™ Hardware Installation
197
Vertiv™ Liebert® iCOM™Installer/User Guide