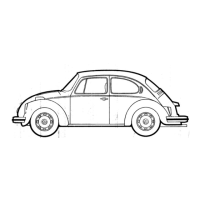
– Unbolt securing bolts -arrows- and take reservoir out of vehi‐
cle.
Installing:
Installation is carried out in the reverse order. When installing,
note the following:
– Tighten threaded connections to specified torque settings
⇒ page 178 .
– Bleed the headlight washer system after completing work
⇒ page 173 .
2.3 Removing and installing washer pump -
V5-
Removing:
– Switch off ignition and all electrical consumers and pull out
ignition key.
– Remove front bumper cover ⇒ Body Repairs, exterior; Rep.
Gr. 63 ; Front bumper .
Note
The connections to the pump and hose lines are colour-coded in
order to prevent the washer water lines being incorrectly connec‐
ted to the front and rear windscreen and rear window washer
pump -V59- . The hose fittings must be inserted into the correct
colour-coded pump connections during assembly.
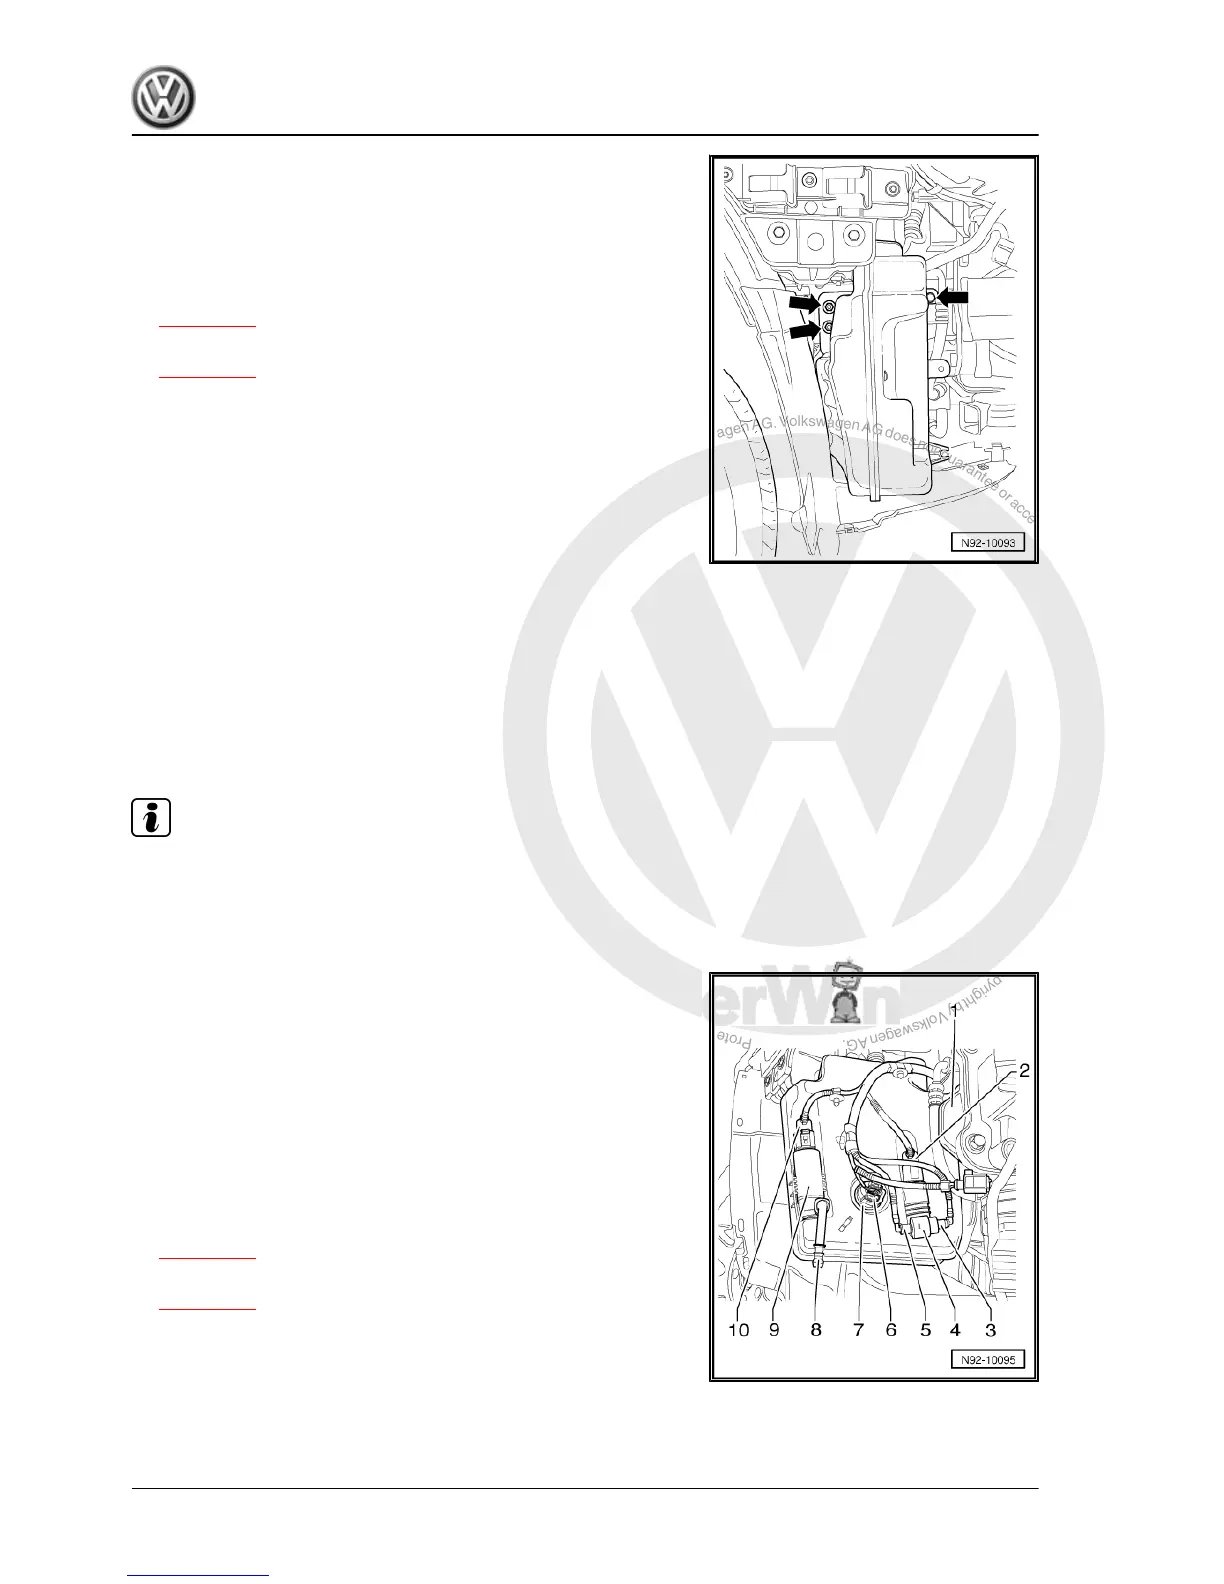
– To unlock, turn the securing clips hose connections -3- and
-5- and pull them out of the windscreen washer pump -V5-
-4-.
– If necessary, collect fluid leaking out with a suitable container.
– Pull washer pump -V5- -4- upwards out of the reservoir.
– Disconnect connector -2-.
Installing:
Installation is carried out in the reverse order. When installing,
note the following:
– Tighten threaded connections to specified torque settings
⇒ page 178 .
– Bleed the headlight washer system after completing work
⇒ page 173 .
Jetta 2005 ➤ , Bora 2006 ➤
Electrical System - Edition 05.2005
168 Rep. Gr.92 - Windscreen wash/wipe system
 Loading...