WPC 2000 User Manual 1128500
Installation 2-41
Setting Switch S701 on the Display Board
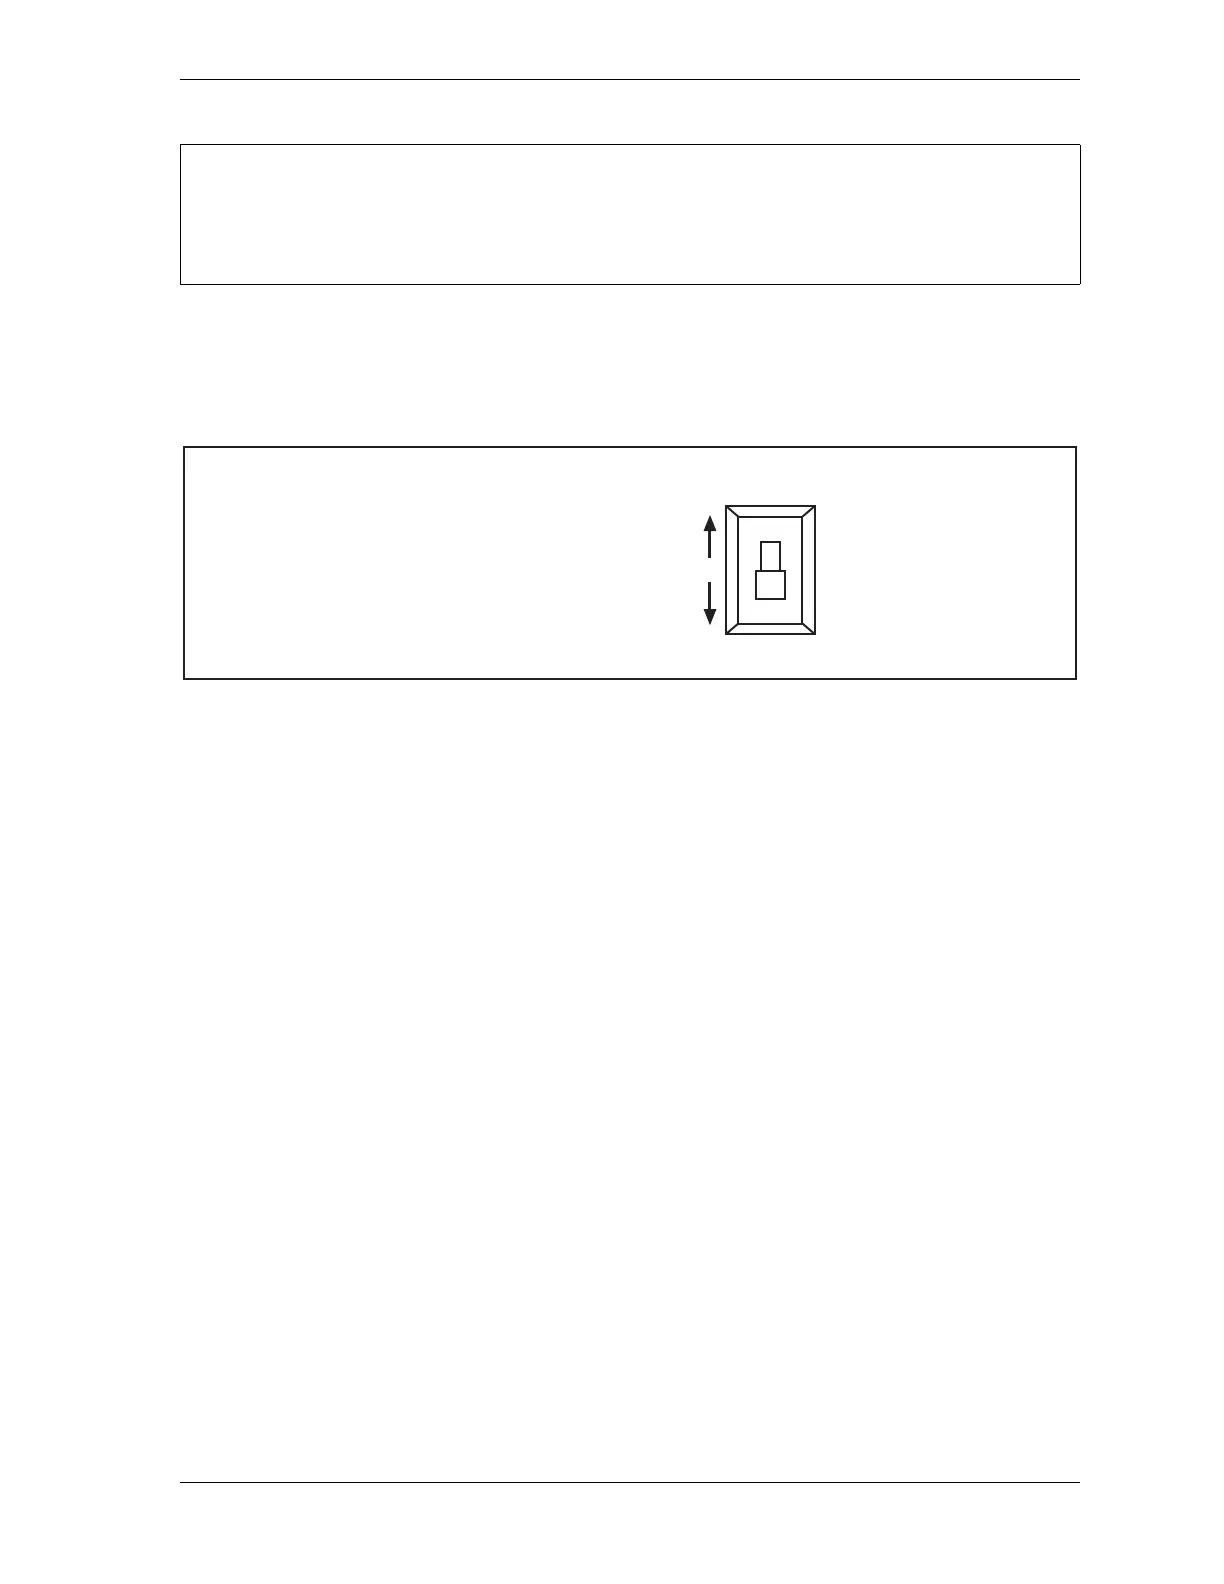
You enable the Set Cams function on switch S701 (see Figure 2-16, page 2-34 for switch
location) by moving the switch to its Up position, as shown in Figure 2-22.
Setting Switch 1 on S102 on the Main Processor Board
You can also enable the Set Cams function by setting switch 1 on switch block S102 on the
Main Processor board (see Figure 2-12, page 2-23 or Figure 2-13, page 2-24 for location) to
its ON (or Up) position. (See Making Settings on Switch Block S102, page 3-31 for further
details.) Using this switch may be preferable if the Display board is difficult to access.
Wiring a Remote Switch
You can also enable the Set Cams function by wiring your own two-position switch and
turning the function On and Off remotely. Wire the remote switch to pins #155 (Ground) and
#156 (Prog. Cams) on the WPC 2000 Display board, referring to Figure 2-16, page 2-34 and
Figure 5 at the end of the manual. If you opt to use a remote switch to enable cam settings,
make sure that switch S701 is in the Down position.
ENABLING CAM ADJUSTMENTS
You should enable cam adjustments only when you are actually ready to set the cams. Otherwise,
you will not be able to adjust Top-stop Angle, Auto Carry-up Angle, etc.
Figure 2-22. “Set Cams” Switch (S701) Positions
S701
DOWN position: Normal operation
UP position: Enable cam adjustments

 Loading...