Install Hardware Options
38
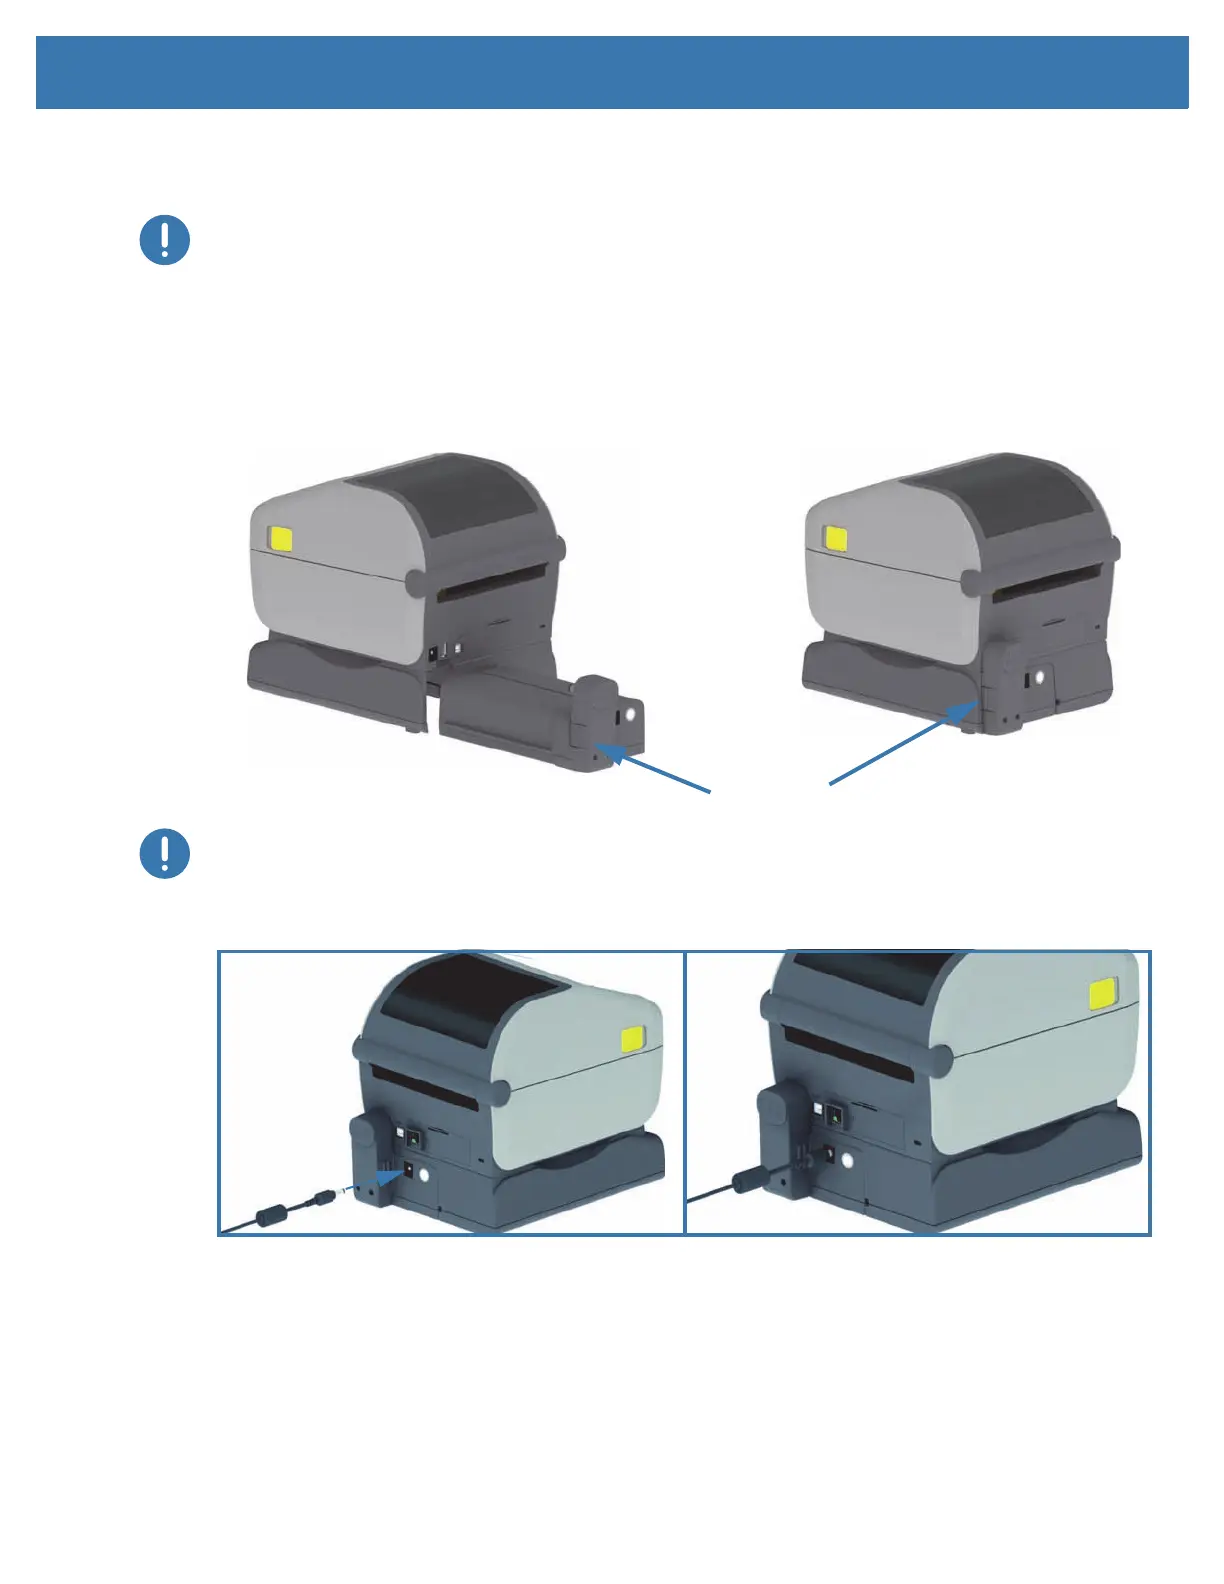
Installing the Battery into the Attached Battery Base
Important • The printer must have an Attached Battery Base installed and securely connected your printer to keep
from damaging the printer or battery.
1. Disconnect the printer’s external power supply from the DC Power Input located in the rear of the
printer.
2. Slide the battery into the battery base’s battery slot. Push the battery into the base until battery pack is
flush to the rear of the battery base, and the connectors on the battery pack are engaged with the ports
on the back of the printer.
Important • Batteries are shipped in Shutdown Mode for safety and to keep the battery from discharging during
storage and shipping. The battery requires charging prior to initial use with the printer.
3. Attach the printer’s power supply to the battery to wake up the battery from Shutdown Mode and begin
its initial charge.
4. The printer must be fully charged before it’s first use. See Battery Indicators and Controls to learn how
to:
• Turn the battery on.
• Discover battery charge saving features and behaviors.
• Check the battery’s charge level and health.
5. The printer will take approximately two hours to reach a full charge. The battery status (health) indicator
(lighting bolt) will go from Amber (Charging) to Green (Charged).
Battery Ready to Install Printer with Battery installed
Battery Latch
 Loading...