6 Calibration Procedures
Adjustments procedures
190 U3606A User’s and Service Guide
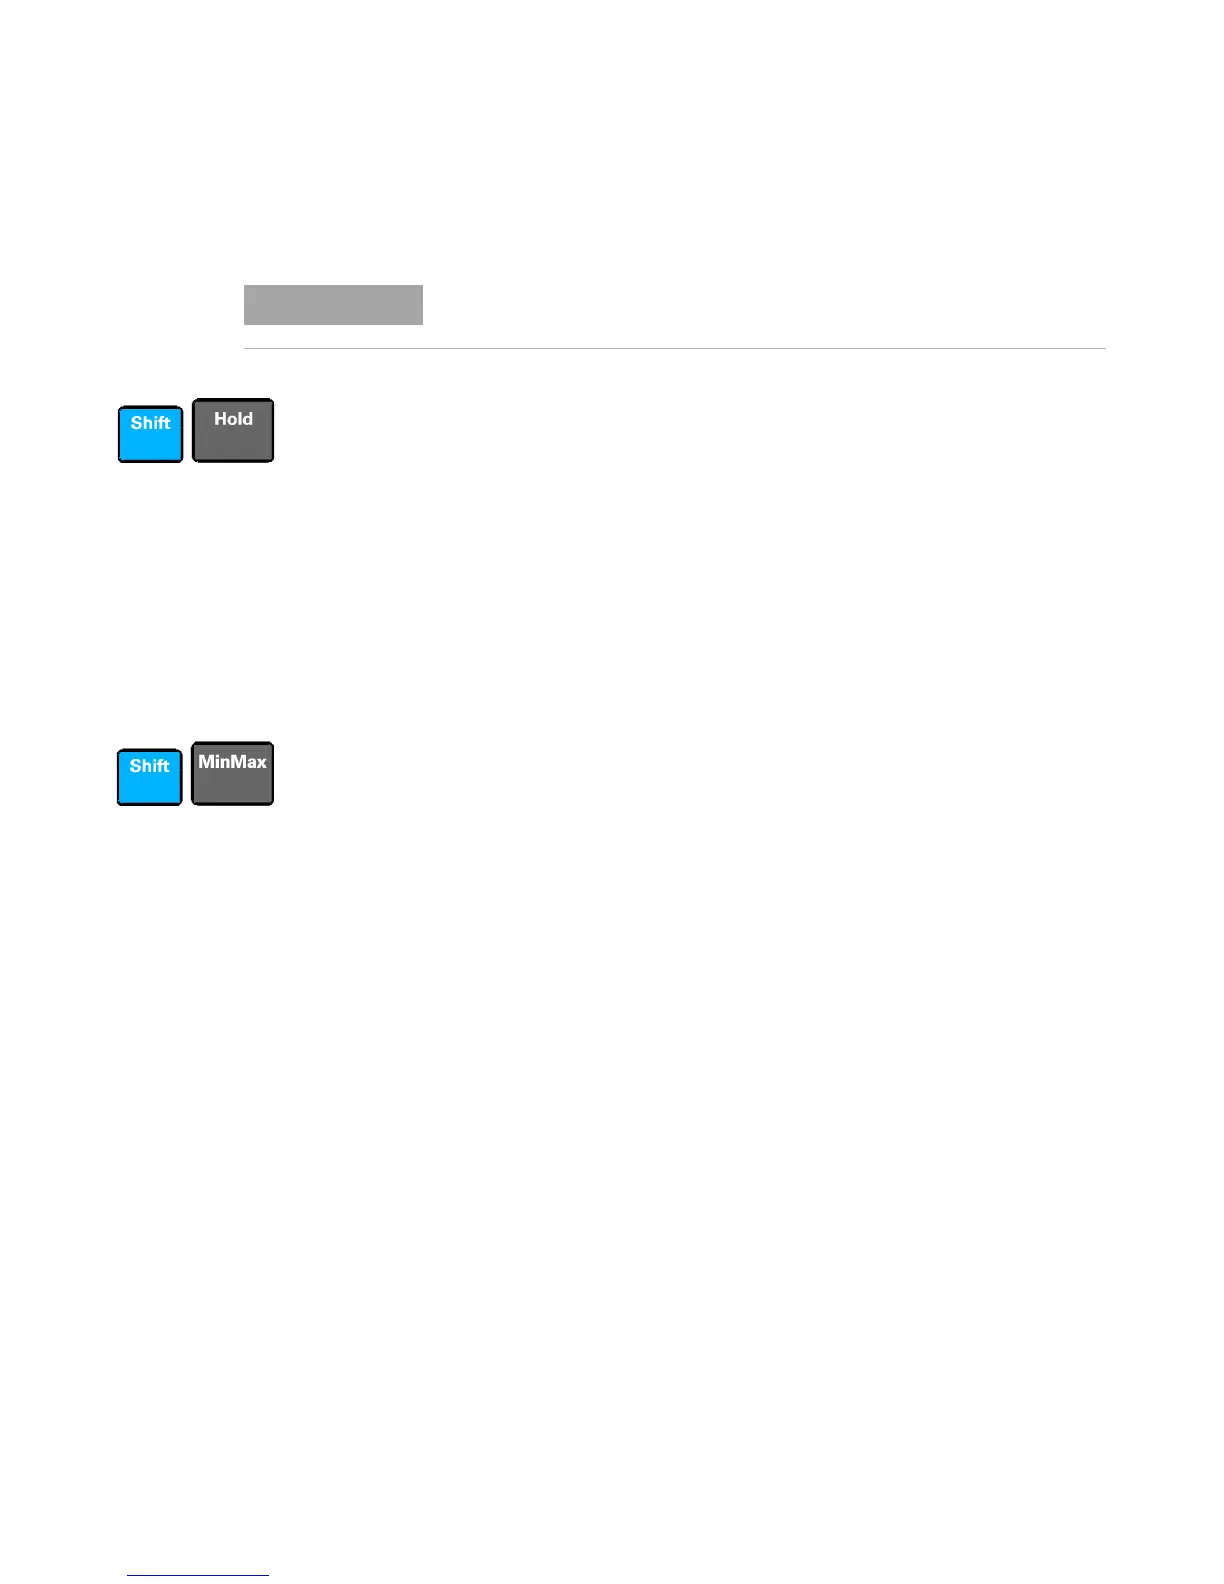
3 Press Shift > Hold. The display “CALib” in the lower secondary display
starts flashing to indicate that the calibration is in progress.
4 The primary display will show the measurement functions and ranges
as the adjustments progress.
• Successful completion of the adjustment is indicated by a short beep
and the primary display briefly showing “PASS”.
• An adjustment failure is indicated by a long beep, the primary
display showing “FAiL” and a calibration error number appearing in
the upper secondary display. Correct the problem and repeat this
procedure.
5 Remove the shorting plug from the input terminals.
6 Press Shift > MinMax. The display “CALib” in the lower secondary
display starts flashing to indicate that the calibration is in progress.
7 The primary display will show the measurement functions and ranges
as the adjustments progress.
• Successful completion of the adjustment is indicated by a short beep
and the primary display briefly showing “PASS”.
• An adjustment failure is indicated by a long beep, the primary
display showing “FAiL” and a calibration error number appearing in
the upper secondary display. Correct the problem and repeat this
procedure.
8 Perform the “Zero offset verification test” on page 150 to check the zero
calibration results.
To minimize thermal effects, wait at least 1 minute after connecting the
shorting plug before executing the zero offset adjustment.

 Loading...