Getting Started 1
Connecting Power to the Instrument
U3606A User’s and Service Guide 5
Connecting Power to the Instrument
Connect the power cord to the AC power connector (see “The rear panel
at a glance” on page 22 for the AC power connector location). The mains
plug should only be inserted into a socket outlet that provides protective
earth contact. Push the power switch to turn on the instrument.
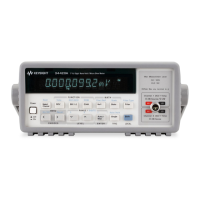
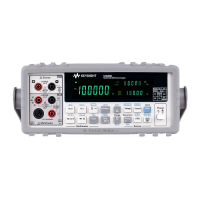
The front- panel display illuminates while the U3606A performs its
power- on self- test. (If the instrument does not power- on, refer to the
“Operating Checklist” on page 216). If self- test is successful, the U3606A
goes into normal operation.
The U3606A powers up in the following modes when turned on for the
first time:
• DC voltage measurement function with autoranging enabled, and
• Constant voltage (CV) mode with the output disabled (on standby).
For subsequent power cycles, the U3606A returns to the last power- off
state (when power is applied) by default. You can change this behavior in
the utility menu. See “Changing the power- on state” on page 116 for more
details on changing the instrument power- on setting.
DC voltage measurement
Constant voltage mode
Output on standby
Autoranging enabled
• If the self-test is unsuccessful, the Error is displayed on the right
side of the display. To read the error number, you will need to access
the utility menu. Press Shift > Utility to access the utility menu. See
“Reading error messages” on page 114 for more information.
• A more extensive self-test is available from the utility menu. See
“Using the Utility Menu” on page 108 for details.
In the unlikely event
that the self-test repeatedly fails, contact your nearest Agilent Sales
Office.
 Loading...
