MY23P0a -52_1.0_11.10.2022
168
Operation
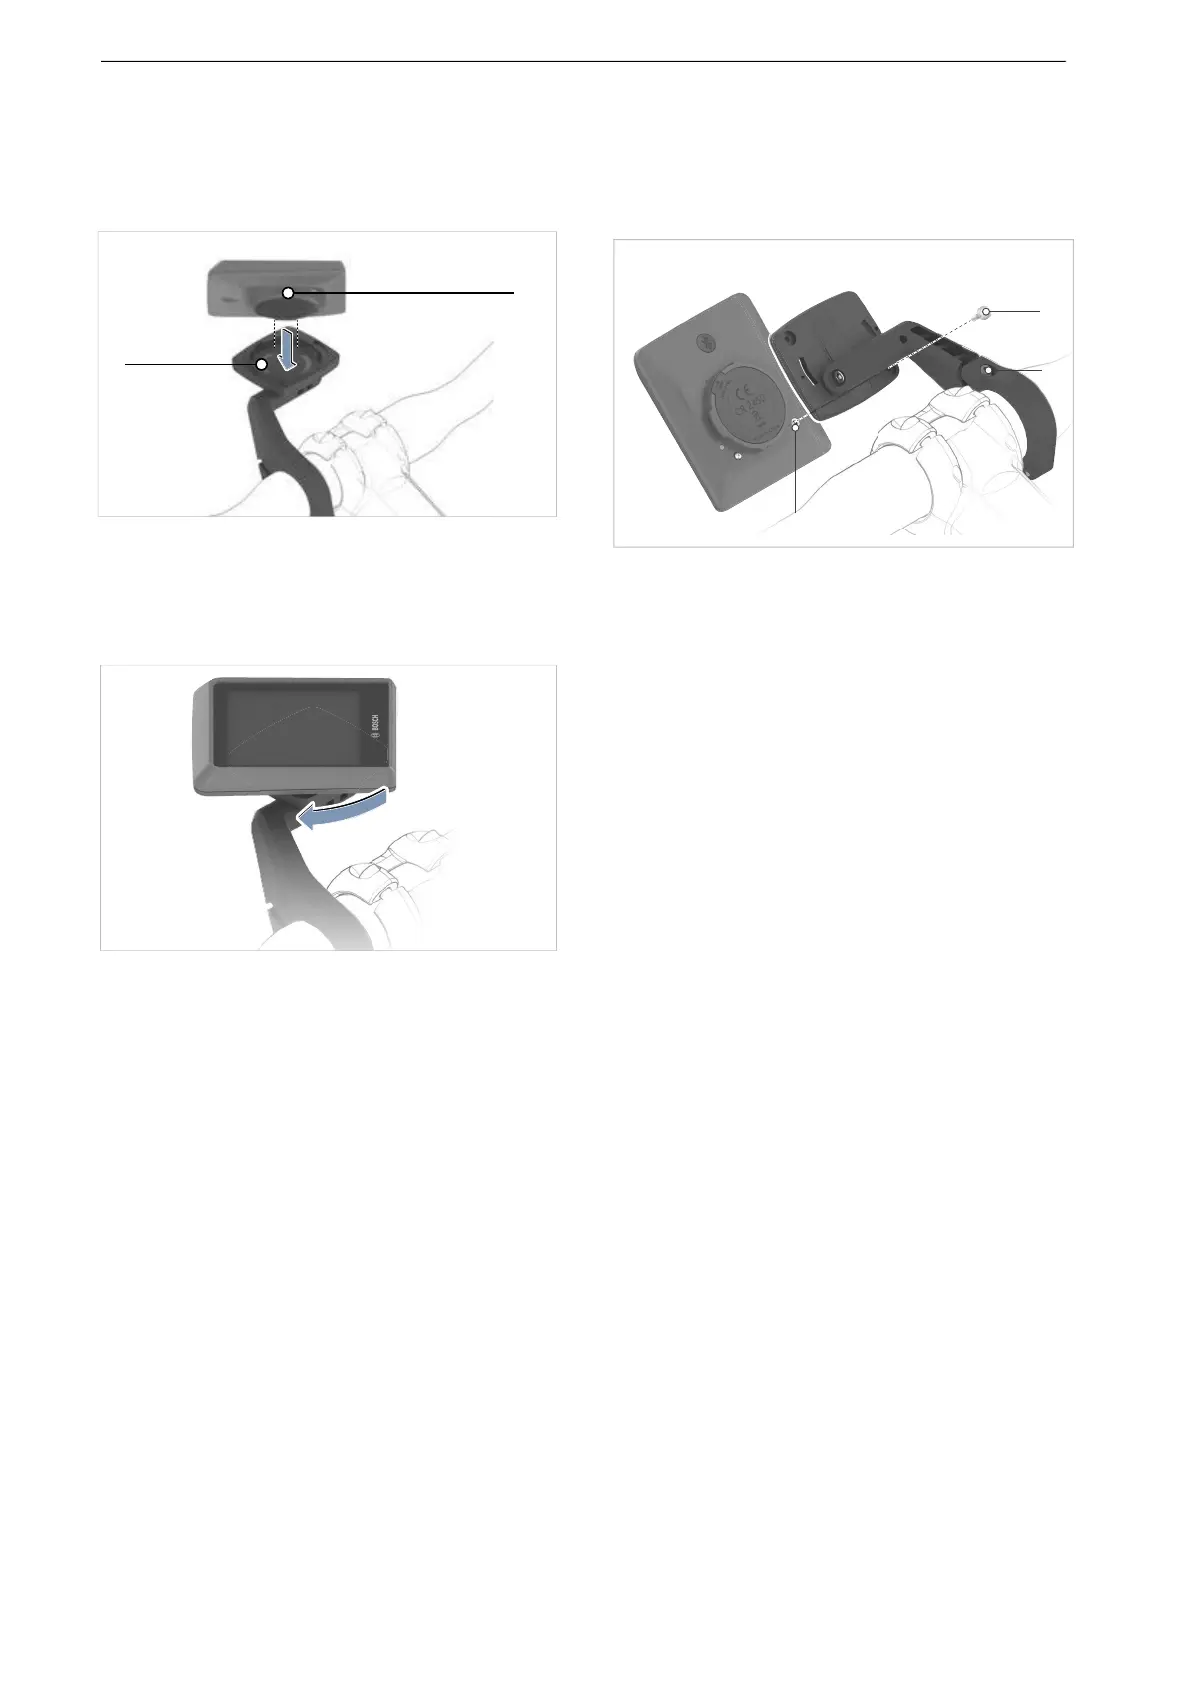
6.5.18.7 Inserting the display
1 Insert the battery compartment nub (1) into the
bracket mount recess (2).
2 Gently press display downwards.
Figure 152: Putting the display into position
3 Turn display clockwise until it clicks into place.
The display is fastened into position.
Figure 153: Turning the display clockwise
6.5.18.8 Removing the on-board computer
The display is not secured.
Turn the display anticlockwise to release.
Remove the display from the mount recess in
the display mount.
6.5.18.9 Securing the on-board display
(optional)
It is possible to secure the on-board computer so
that it cannot be removed. Inserting the blocking
screw does not provide protection against theft.
.
Figure 154: Position of headset screw
The display is fastened into position.
1 Use a 3 mm hex key to unfasten the display
mount (1) attachment screw.
The display mount can still move forwards.
2 Turn the display mount downwards until you
can access the display’s lower surface.
3 Insert blocking screw (2) and fasten into the
screw hole in the display (3).
4 Turn the display mount back into its original
position.
5 Use a 3 mm hex key to fasten the display
mount (1) attachment screw with 1 Nm.
The display can now only be removed if the
blocking screw (2) is unfastened.
 Loading...