4 Connect the other end of the circuit to a leakage port or to a patient interface with
integrated leakage port.
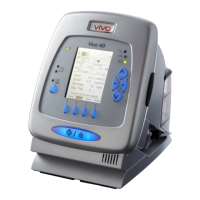
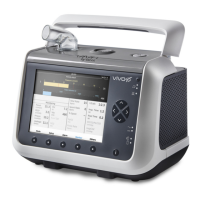
4.5 Inspecting the Vivo 45 before Use
Inspection of Device
• Check that there is no visible damage.
• Check that the surface is clean.
Inspection of Cables
• Check that all cables are recommended by Breas.
• Check that the cables are undamaged.
• Check that the cables are properly connected.
Inspection of Placement
• The Vivo 45 shall be placed on solid flat surface below the patient level (see 4.2 Plac-
ing the Vivo 45, page 38).
• Make sure that nothing can block the air inlet at the side.
Inspection at Ventilator Startup
This procedure checks the ventilator’s alarm handling and power source handling. If
any check fails, take the ventilator out of use and contact your service provider.
1 Connect a patient circuit to the ventilator
2 Connect the power supply to the ventilator. If the power is supply is connected and
the ventilator is turned off, press the Start/Stop button.
⇒The ventilator now turns on and enters stand by mode. If it is the first time the
ventilator is turned on, you also have to select language.
3 If needed, perform a pre-use test.
4 Press and hold the Start/Stop button until the progress bar is filled to start the
treatment.
⇒At the start of the treatment the ventilator performs an alarm test. Check that:
• The alarm LEDs flash
• The ventilator beeps
5 Disconnect the power supply for more than 5 seconds.
⇒The ventilator now switches to the internal battery (or click-in battery, if
connected). Check that Lost mains power alarm is given.
6 Reconnect the power supply.
42 Preparing the Vivo 45 for Use
Vivo 45 User manual
Doc. 006149 D-3
 Loading...