11
Select and click a roll paper in the APaper Source list.
12
Select the paper width of the roll loaded in the printer for BRoll Width. In this case, 10 in. (254.0mm) is selec-
ted.
13
Specify additional printing conditions.
For details on available printing conditions, see "Printer Driver Settings ." ➔ P.276
14
Confirm the print settings, and then click MPrint to start printing.
Note
• For tips on confirming print settings, see "Confirming Print Settings ." ➔ P.279
Printing Office Documents
Printing Office Documents
By selecting Office Document from Easy Settings of the printer driver, you can easily configure settings for printing
office documents.
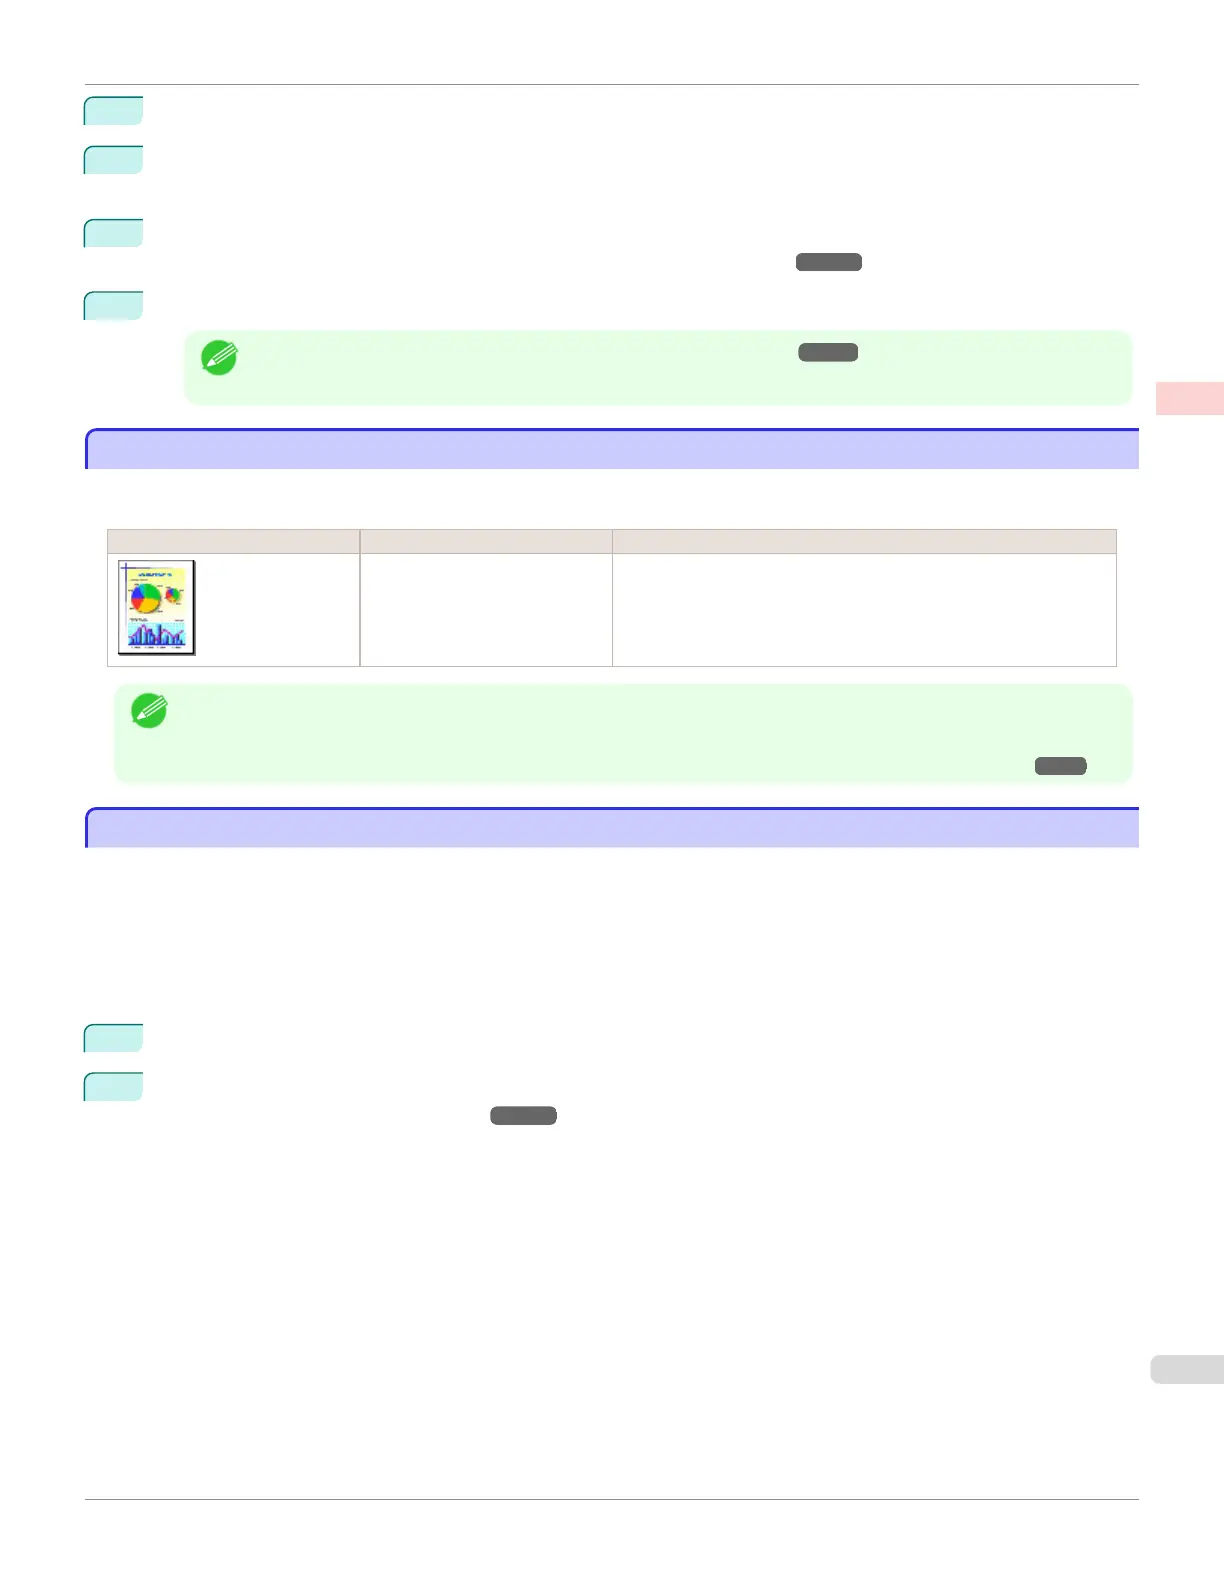
Print Target Description
Office Document Setting optimized for printing general office documents such as
materials for distribution so that they can be viewed easily.
Note
• You can check the settings values for each print target by clicking View Settings.
• You can also fine-tune these values as needed. (Advanced Settings)
For details on Advanced Settings, see "Giving Priority to Particular Graphic Elements and Colors for Printing." ➔ P.58
Printing Office Documents (Windows)
Printing Office Documents (Windows)
This topic describes how to print office documents based on the following example.
•
Document: Office document created using word-processing or spreadsheet programs
•
Page size: A4 (210.0 × 297.0 mm [8.3 × 11.7 in])
•
Paper: Sheets
•
Paper type: Plain Paper
•
Paper size: A4 (210.0 × 297.0 mm [8.3 × 11.7 in])
1
Choose Print in the application menu.
2
Select the printer in the dialog box, and then display the printer driver dialog box. (See "Accessing the Printer
Driver Dialog Box from Applications .") ➔ P.164
iPF680
Printing Oce Documents
User's Guide
Enhanced Printing Options Printing Photos and Oce Documents
37
 Loading...