User's Manual
175
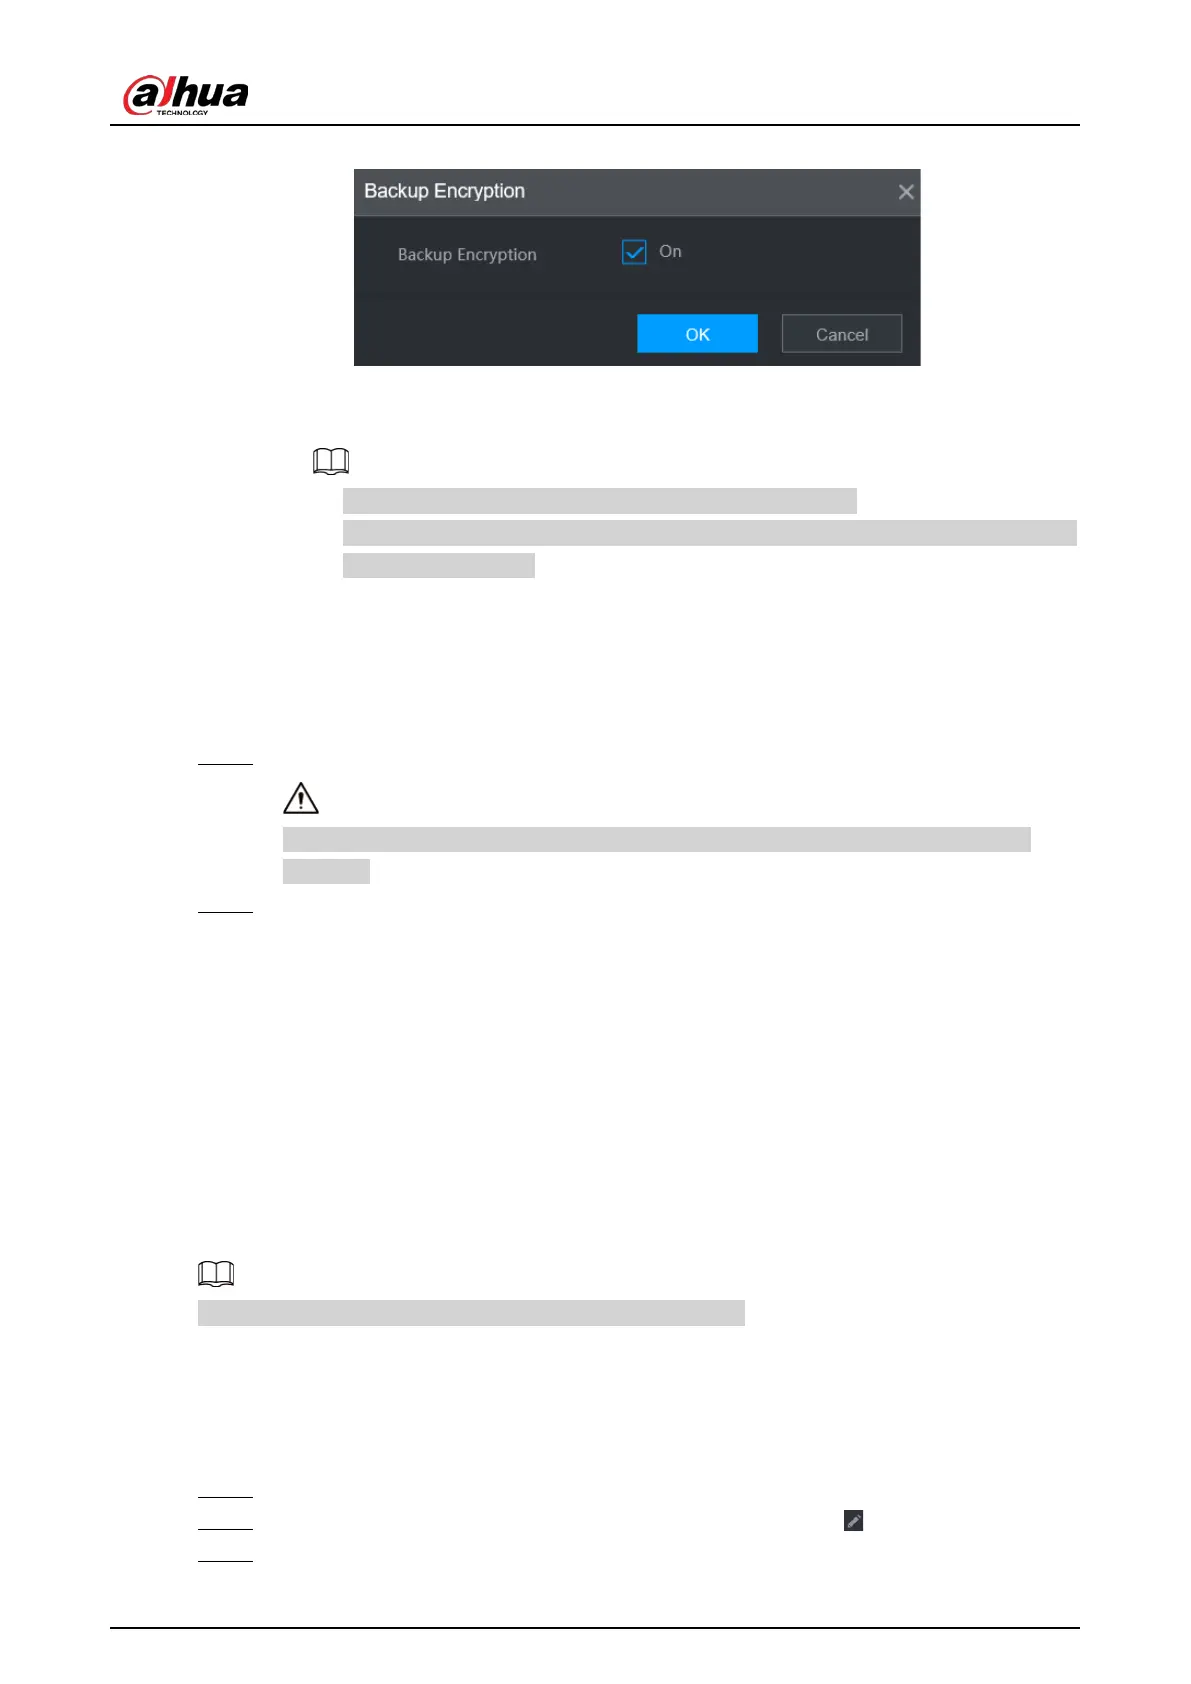
Figure 5-67 Backup encryption
2) Cancel the selection of the
On
checkbox to disable backup encryption, and then click
OK
.
●
If
Backup Encryption
is enabled, the file format is .backup.
●
If
Backup Encryption
is disabled, the file format is .csv. Keep unencrypted files well
to avoid data leakage.
3) Select the storage path and then click
Save
.
●
The template file is named RemoteConfig_
20220222191255
.csv.
20220222191255
represents the export time.
●
The template includes the IP address or registration ID, port, remote channel No.,
manufacturer, username, password and other information.
Step 3 Fill in the template and then save the file.
Do not change the file extension of the template. Otherwise, the template cannot be
imported.
Step 4 Click
Import
, select the template file and then open it.
The remote devices in the template are added to the NVR. If the remote device in the
template has been added, the system will prompt you whether to replace the existing one
on the device list.
●
If you select
Yes
, the system deletes the existing one and import the device again.
●
If you select
No
, the system retains the existing one and add the device to another
unoccupied channel.
5.7.3 Changing IP Address of Remote Device
The procedures to change the IP addresses of connected and unconnected cameras are different.
You can change the IP address only when the camera is online.
5.7.3.1 Changing IP Address of Connected Remote Device
Procedure
Step 1 Select
Main Menu
>
CAMERA
>
Camera List
>
Camera List
.
Step 2 On the
Added Device
list, double-click a remote device or click .
Step 3 Change the IP address.
 Loading...