5 Scan
184
Scan
5
General Settings
The [General Settings] screen displayed for [E-mail], [Scan to Mailbox], [Network
Scanning], and [Scan to PC] allows you to set basic features. The following shows the
reference section for each feature.
Scanning Color (Selecting the Color to Scan) ..........................................................................184
2 Sided Originals (Scanning Both Sides of a Document).........................................................185
Original Type (Selecting the Document Type).........................................................................186
File Format (Selecting the Format of Scanned Data) ...............................................................186
Note • When selecting [Scan to Mailbox], [File Format] is disabled.
1 On the [All Services] screen, select
[E-mail], [Scan to Mailbox], or
[Scan to PC].
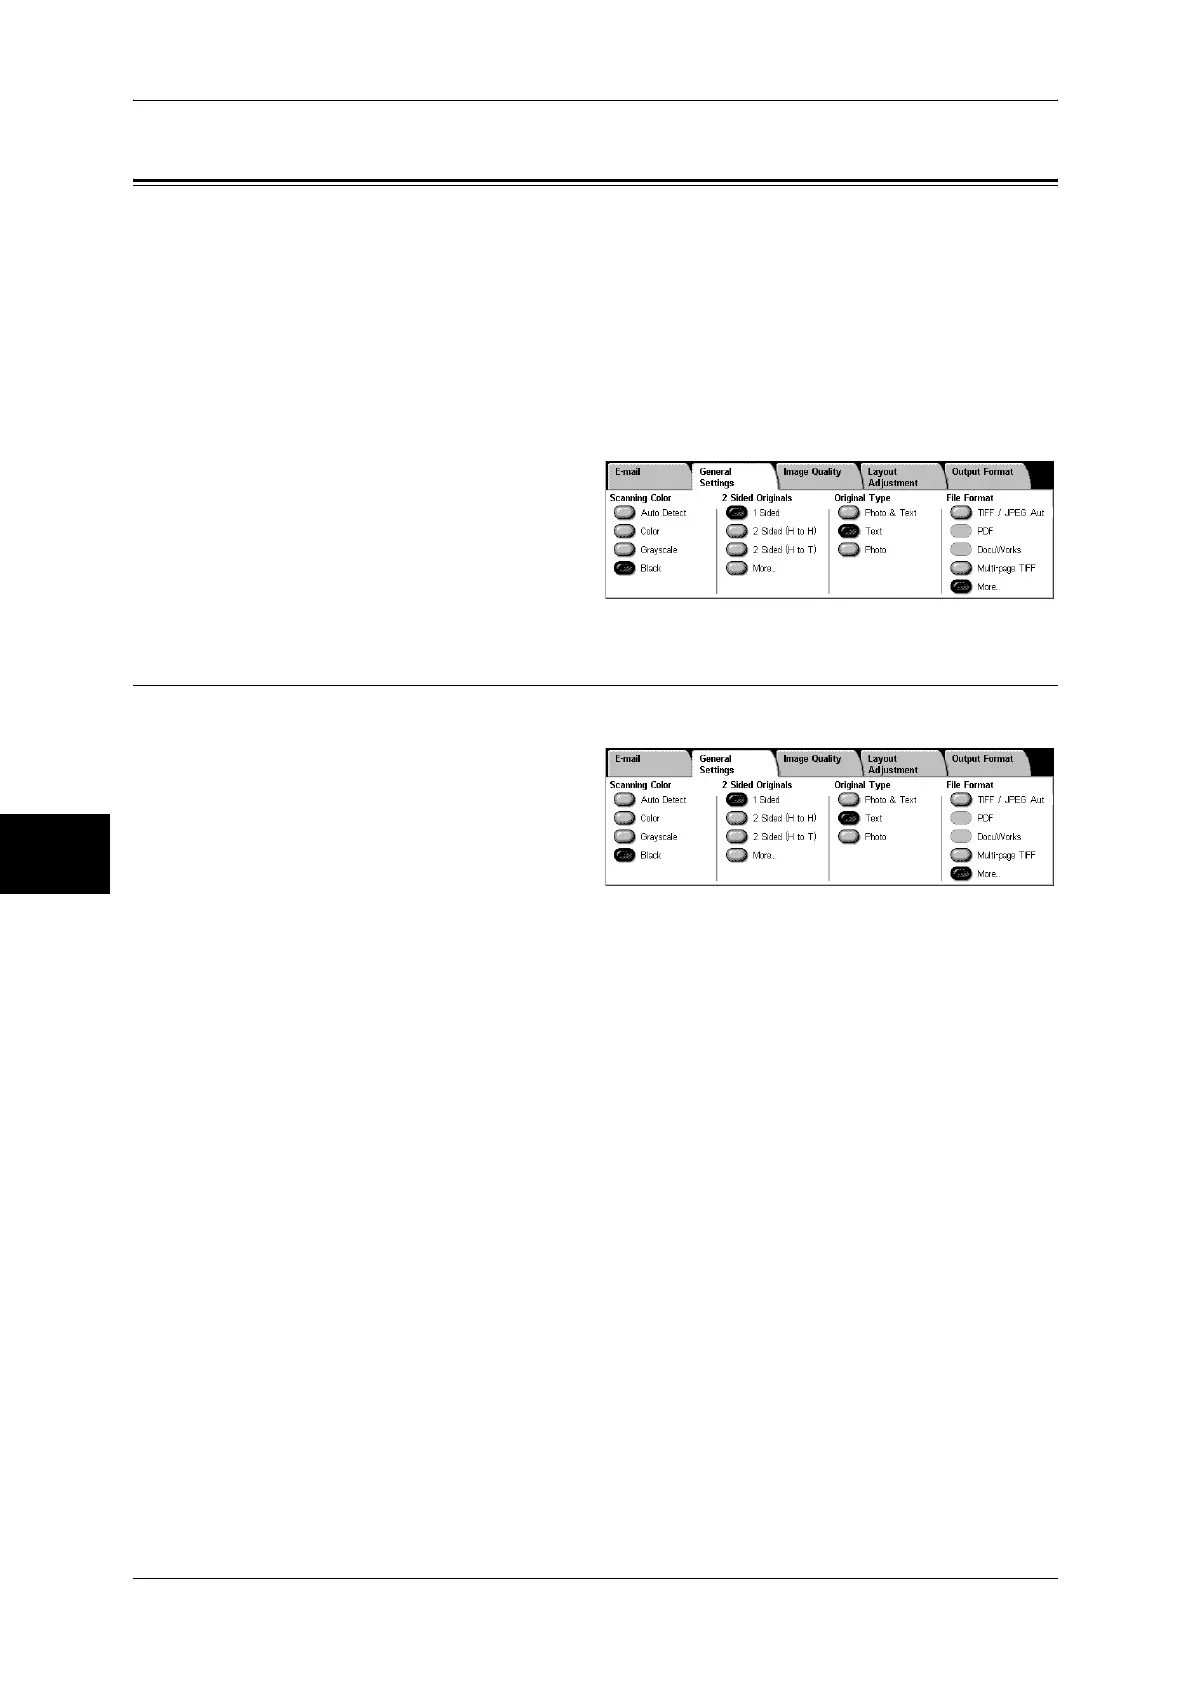
2 Select the [General Settings] tab,
and select a feature on the screen.
Scanning Color (Selecting the Color to Scan)
You can set the scanning color for the documents to be scanned.
1 Select the scanning color from
[Scanning Color].
Auto Detect
The color of the document is determined automatically; the machine scans in full color
when the document is colored, otherwise scans in monochrome.
Note • The features which can be set in the [Image Quality] screen when [Auto Detect] is selected,
are the same as if [Color] is specified for the [Scanning Color] when a color document is
loaded, or the same as if [Black] is specified for the [Scanning Color] when a monochrome
document is loaded.
Color
Select to scan a color document.
Grayscale
Scans a document in grayscale. Adds shades to monochrome, creating intermediate
tones that change gradually. Suited to documents containing gradations that cannot be
reproduced with monochrome (2-color).
Black
Scans a document in monochrome 2 tone. You can select the document type in the
[Original Type].
 Loading...