Output Format
199
Scan
5
Output Format
On the [Output Format] screen under [E-mail], [Scan to Mailbox], [Network Scanning],
or [Scan to PC], you can configure the output formats.
For more information, refer to below.
Image Compression (Specifying an Image Compression Ratio When Scanning)................... 199
Read Receipts........................................................................................................................... 200
Split Send (Sending in Sections).............................................................................................. 200
File Name (Specifying the Filename to be Sent) ..................................................................... 200
Reply To (Set the Address for Reply)...................................................................................... 201
File Name Conflict (Setting Procedures When a File Name conflicts with others) ................ 201
1 On the [All Services] screen, select
[E-mail], [Scan to Mailbox], or [Scan
to PC].
2 Select the [Output Format] tab, and
then select a feature on the screen.
Note • Items displayed vary
depending on the selected feature. The screen on the right is for the [E-mail] feature.
Image Compression (Specifying an Image Compression Ratio When
Scanning)
When scanning a document from the [General Settings] screen with [Scanning Color]
set to [Color] or [Grayscale], select the image compression ratio.
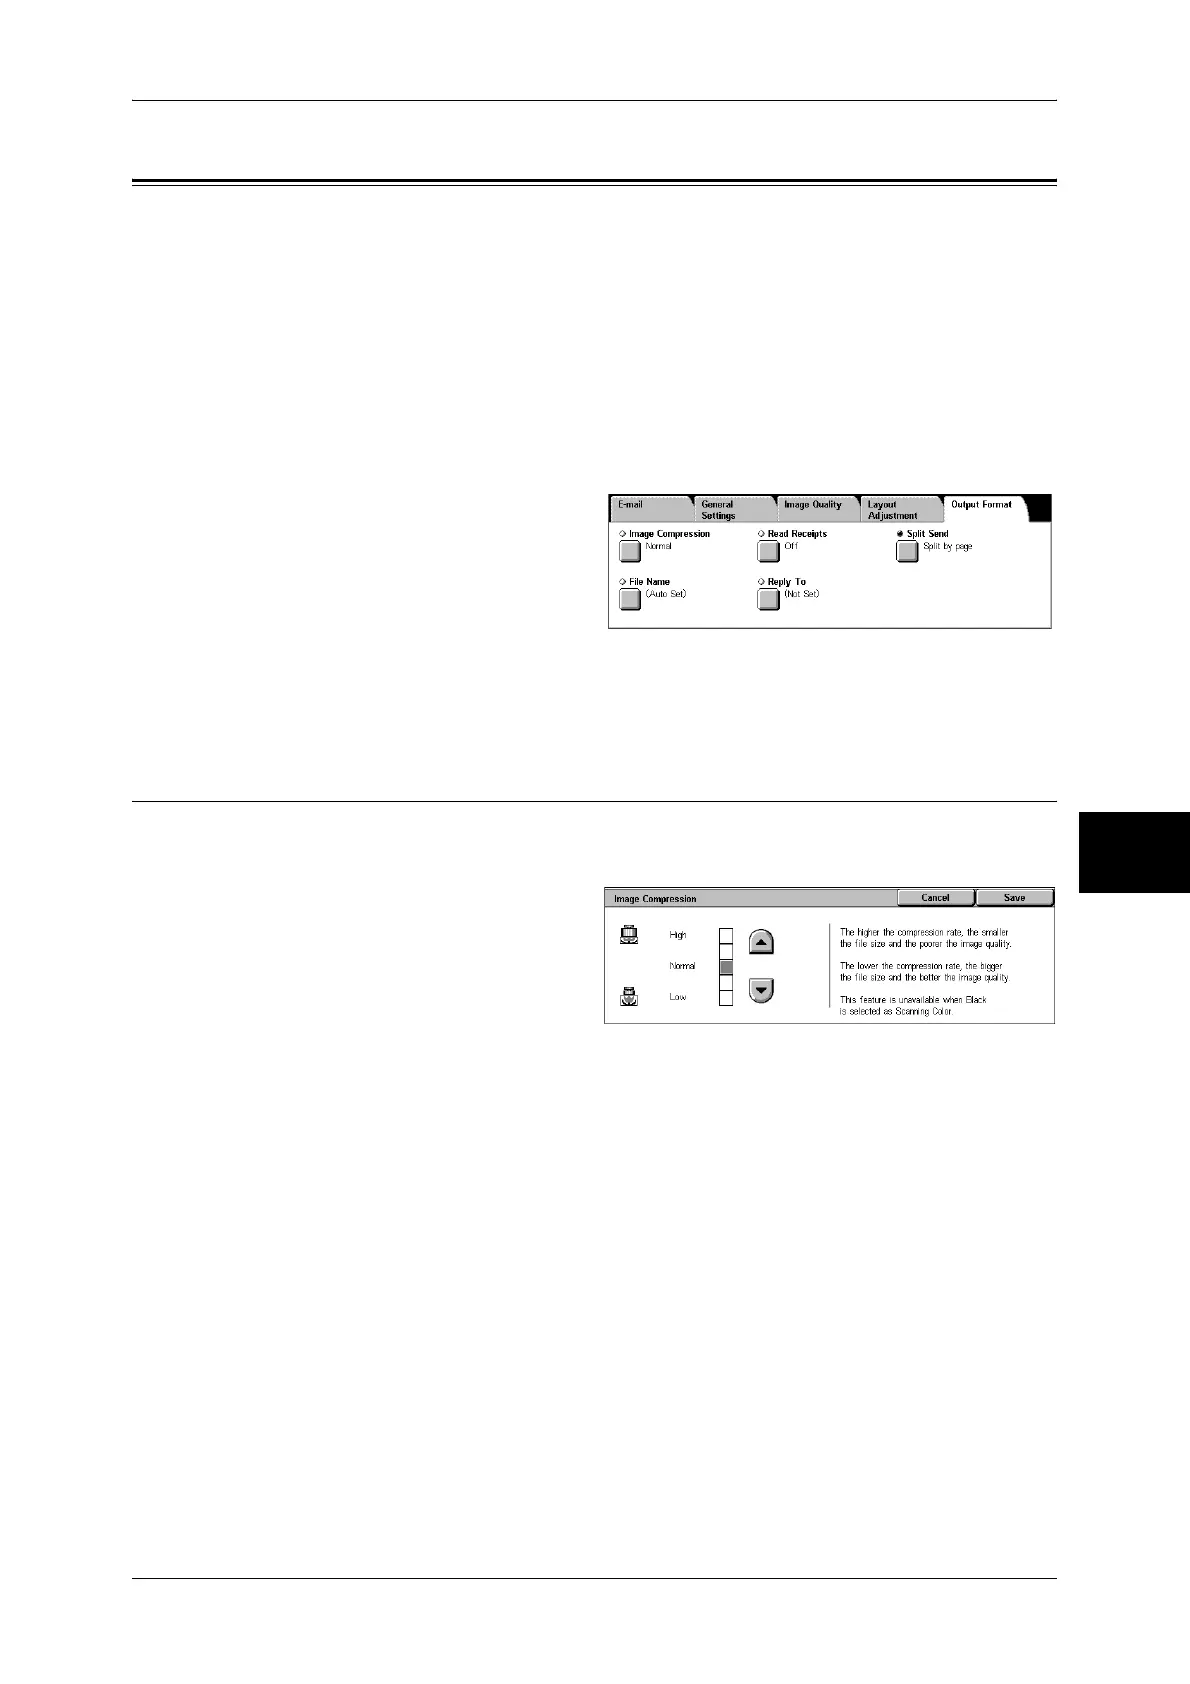
1 Select [Image Compression].
2 You can select from among 5
levels of compression, including
the 3 below.
Note • If a High-compression Image
Kit is installed, and when [PDF
High Compression] or
[DocuWorks High
Compression] is selected for [Output Format], 3 image compression levels are available.
High
Image is saved with high compression. Image quality degrades, but file size decreases.
Normal
Image is saved with standard compression. Results in a standard image quality and file
size.
Low
Image is saved with low compression. Image quality improves, but file size increases.
 Loading...