GE Power Management
489 Generator Management Relay 3-5
3 OPERATION 3.2 SETPOINT ENTRY
3
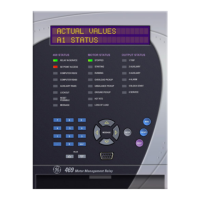
3.2 SETPOINT ENTRY 3.2.1 PROCEDURE
To store setpoints from the front panel keypad, terminals C1 and C2 (access terminals) must be shorted (a key switch may
be used for security). There is also a setpoint passcode feature that can restrict setpoint access from the keypad and com-
munication ports. If activated, the passcode must be entered before changing the setpoint values. A passcode of 0 turns off
the passcode feature and only the access jumper is required to change setpoints. If no setpoint changes are made for 30
minutes, access to setpoint values will be restricted until the passcode is entered again. To prevent setpoint access before
the 30 minutes expiry, the unit may be turned off and back on, the access jumper may be removed, or the
SETPOINT
ACCESS
setpoint may be changed to Restricted. The passcode for the front panel keypad cannot be entered until terminals
C1 and C2 are shorted. The SETPOINT ACCESS indicator will be on if setpoint access is enabled for the front panel key-
pad.
The following procedure may be used to access and alter any setpoint message. This specific example will refer to entering
a valid passcode in order to allow access to setpoints if the passcode was '489'.
1. The 489 programming is broken down into pages by logical groups. Press to cycle through the setpoint pages
until the desired page appears on the screen. Press to enter a page.
2. Each page is broken further into subgroups. Press the and keys to cycle through subgroups until
the desired subgroup appears on the screen. Press to enter a subgroup.
3. Each sub-group has one or more associated setpoint messages. Press the and keys to cycle
through setpoint messages until the desired setpoint message appears on the screen.
4. The majority of setpoints may be may be altered by pressing the and keys until the desired value
appears then pressing . Numeric setpoints may also be entered directly through the keypad. If an entered set-
point value is out of range, the original setpoint value reappears. If an out-of-step setpoint is entered, an adjusted value
is stored (e.g. a value of 101 for a setpoint that steps 95, 100, 105 is stored as 100). If a mistake is made entering the
new value, pressing resets the setpoint to its original value. Text editing is described in detail in Section 3.1.6:
ENTERING ALPHANUMERIC TEXT on page 3–4. When a new setpoint is successfully stored, the
NEW SETPOINT HAS
BEEN STORED
message flashes on the display.
5. Press the 4, 8, and 9 keys, then press . The following flash message is briefly displayed:
and the display returns to:
6. Press to exit the subgroup. Pressing numerous times always brings the cursor to the top of the page.
yy
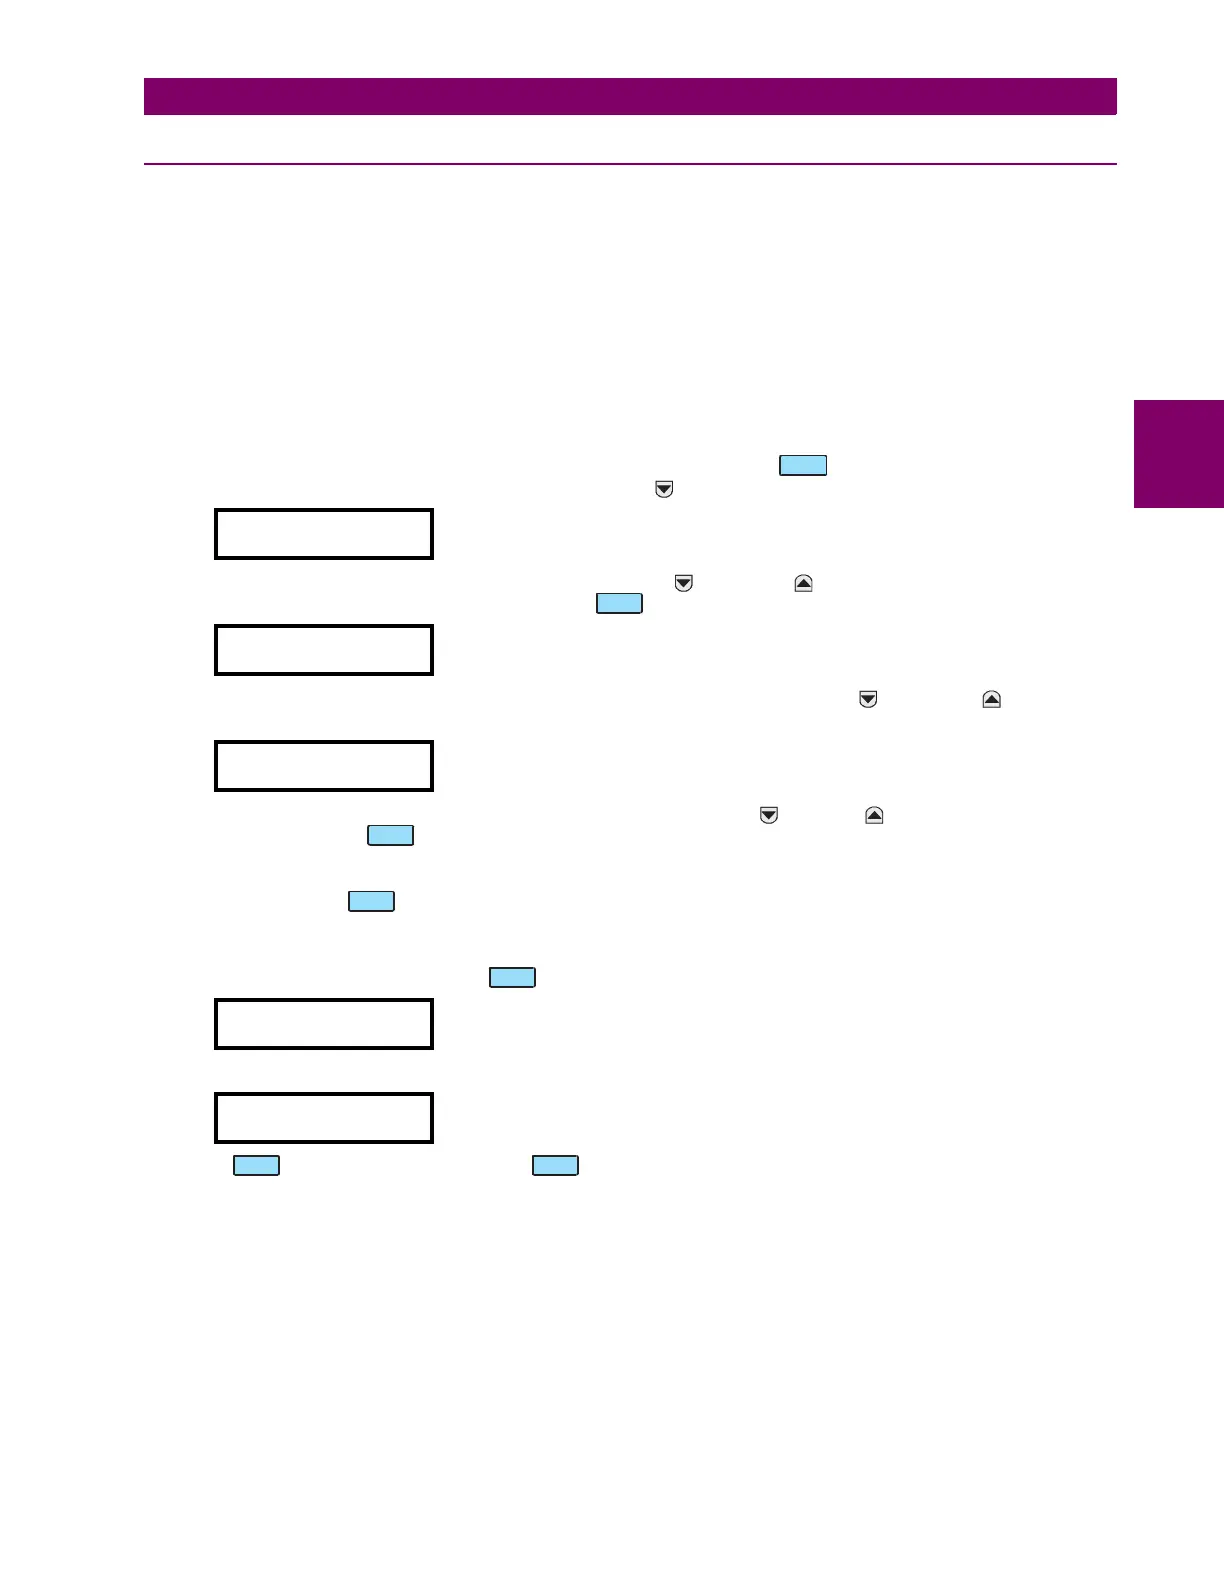
SETPOINTS
yy
S1 489 SETUP
y
PASSCODE
y
[ENTER] for more
ENTER PASSCODE FOR
ACCESS:
NEW SETPOINT HAS
BEEN STORED
SETPOINT ACCESS:
PERMITTED
SETPOINT
MESSAGE
MESSAGE
MESSAGE
ENTER
ENTER
ESCAPE
ESCAPE
ESCAPE
 Loading...