161
7. OPERATOR GUIDE
7. OPERATOR GUIDE
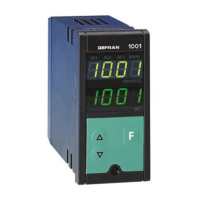
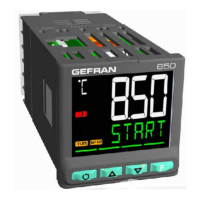
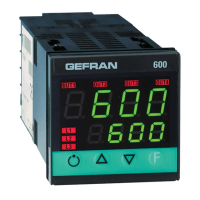
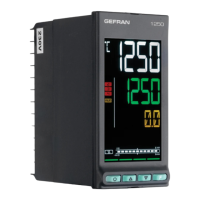
7.1. Displays and keys
The display and keys for each model are described in pa-
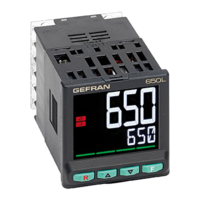
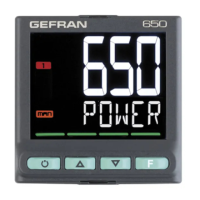
ragraphs “1.3.1. Display and keys” on page 13 for the 650,
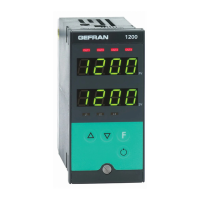
“1.4.1. Display and keys” on page 15 for the 1250, and
“1.5.1. Display and keys” on page 17 for the 1350.
7.1.1. Navigating the menus
keys are used for navigating menus and submenus, chan-
ging parameters, and confirming choices.
Their function depends on the context and on how long they
are pressed.
The LEDs above the keys not only give confirmation
that each key has been pressed (by flashing), but
also show which keys can be used in each situa-
tion.
The following navigation functions are assigned to the keys:
Scroll User Configuration menu (Setpoint, Alarm
setpoints, Control output, etc.).
Each time the key is pressed, it confirms the value
of the displayed parameter and goes to the next
item on the menu.
Keep the key pressed for more than 2 seconds to
enter the Programming/Configuration Menu.
Each time the key is pressed, you go back to the
previous menu item or to the higher menu level, ac-
cording to the context.
Keep the key pressed for more than 2 seconds to
return to the Home page.
Press the key to enter a submenu or to lower the di-
splayed parameter value, according to the context.
Keep the key pressed to progressively increase the
speed of lowering the displayed parameter.
Press the key to raise the value of the displayed
parameter.
Keep the key pressed to progressively increase the
speed of raising the displayed parameter.
When the process variable is displayed, in standard confi-
guration the ) key switches the controller function mode
(manual/automatic).
7.2. Power-on
The controller runs a self-diagnostics test immediately after
power-on.
During the test all segments of the display flash and a check-
sum is run.
The hardware resources present are also acquired.
If the self-diagnostics test detects no errors, the controller
enters normal functioning state (display shows Home page).
If any system errors are detected, the controller displays the
related information.
If the error is caused by a damaged program, update the
firmware.
If the error is caused by incorrect configuration, reconfigure
the controller with PC and GF_eXpress software.
Errors are saved in a register and can be displayed with the
Error function on the INFO menu.
7.3. Operation as controller
The device’s normal operating mode is controller-only.
The display shows the following information:
• PV displays the process variable value;
• SV displays the setpoint value (if dS.Sp = setp);
• models 1250 and 1350 also display the control output
value (if dS.F = OUT.PW);
• by pressing the key the PV display shows, in se-
quence the significant values that condition controller
function: setpoint, alarm setpoints, control output, etc.,
which can be changed if necessary (parameters in the
user menu).
Keep the key pressed for more than 2 seconds to enter
the Programming/Configuration menu.
Use the and keys to raise and lower the setpoint to
the value required.
Press the key to save the SP value; otherwise, the set
value is saved about 15 seconds after the last change.
 Loading...